
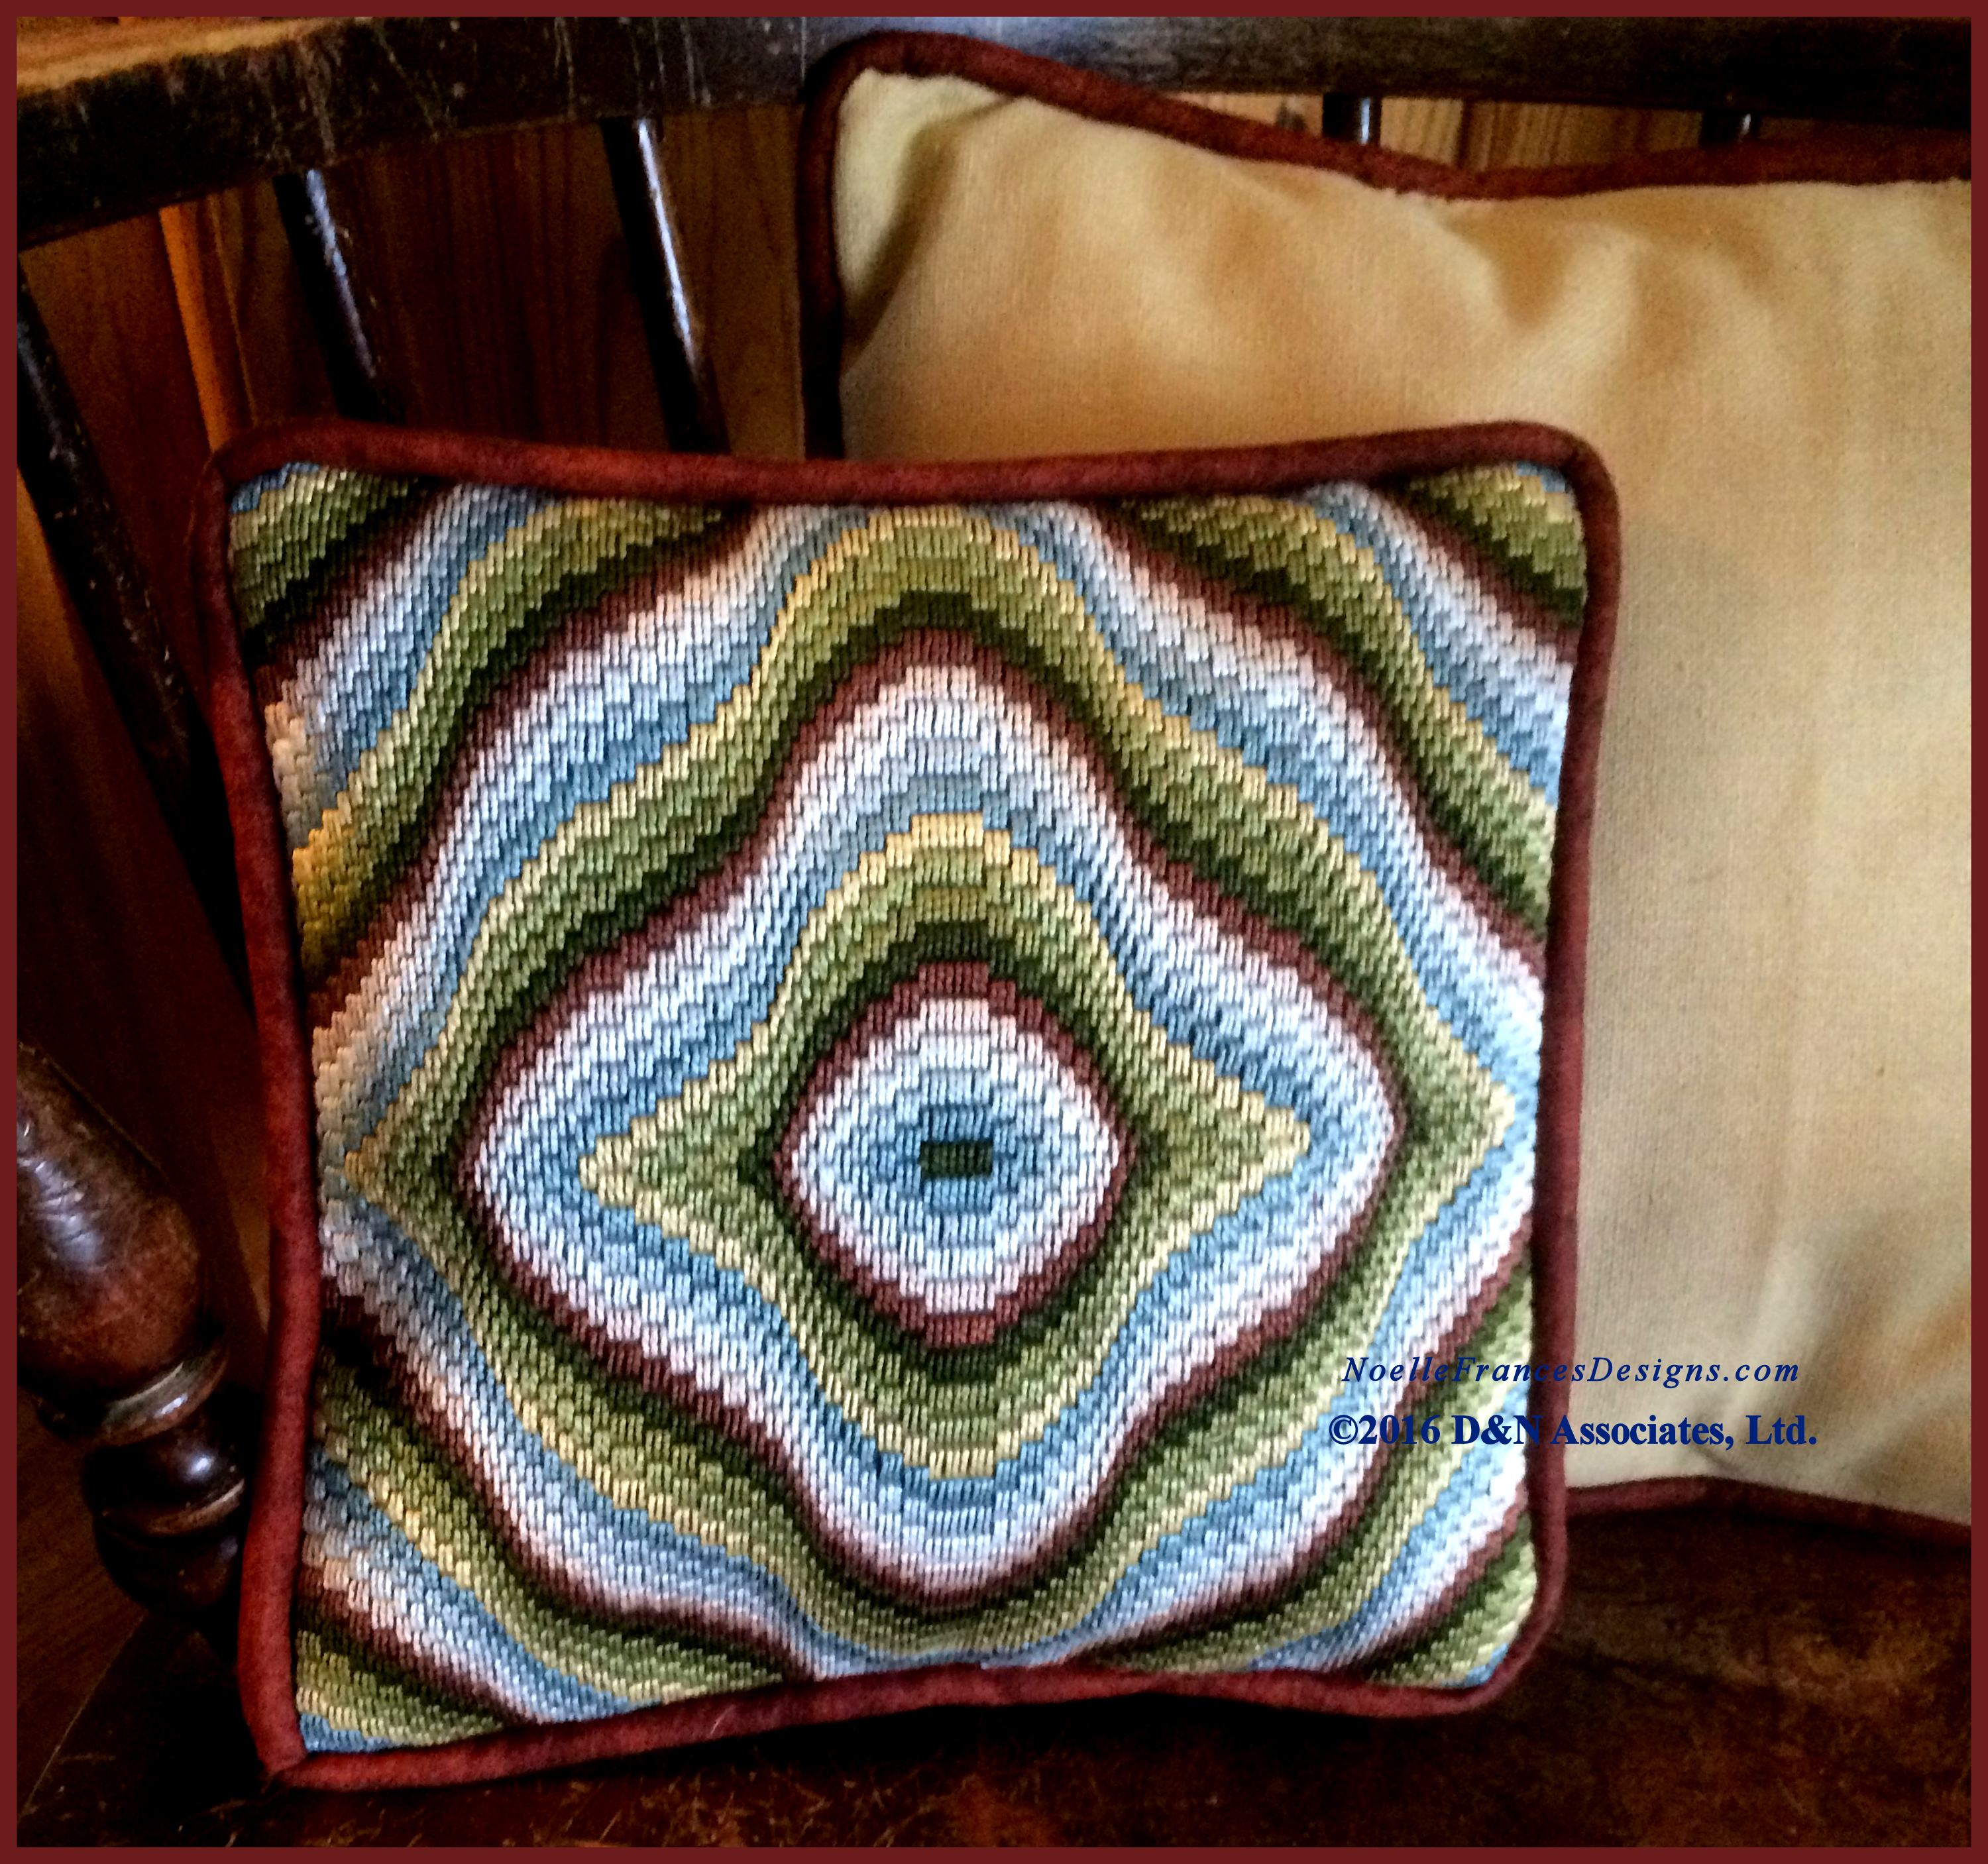
- What style pillow do you want to make?
- Sharp edge pillows have one seam around the edge. I normally stuff loose filling into this style of pillow.
- A box pillow has a 2-3 inch width of fabric that separates the two pieces of fabric (front and backing). Thus you have two seams around the pillow edge. This box edge provides the area into which you insert one piece of foam (cut to the appropriate width, length and thickness).
- Pillow with or without piping edge?
- Purchased or self-crafted piping?
- What type of fabric for the back of the pillow?
- Zippers: I found that I never washed the toss pillows so I no longer put in zippers. Still, if you are placing piping around the pillow’s edge then it helps to have a sewing machine with a zipper foot so that you can stitch quite close to the piping. Else (with no piping) a sewing machine with regular pressure foot works.
- What size pillow?
I have found that the larger (than 10-inch square) pillows work nicely for someone sitting in one of our barrel-backed wood chairs and the 9-inch pillows work well as support in the small of one’s back when sitting on our sofa. But no matter what size the pillow is, sat about the house on various chairs and deacon benches the pillows provide a nice way to display my worked embroidery pieces. - What width seam allowance do you want? I have always work with 1/4-inch seam allowance (dressing making, quilting blocks, etc.) and when I stitched my first pillows I am sure I cut the various pieces sized for 1/4-inch seam allowance all the way around. I quickly learned that 1/4-inch seam allowance did not give me much of a finger holder along the raw edges of a pillow to which I was adding piping. When I begun adding piping I moved to 1/2-inch seam allowances. On my last few pillows I have quilted the back fabric meaning, with piping, I would eventually be stitching through 6 layers of fabric plus 1 layer of quilt batting. Luckily I thought of finger holds along the edge of such a thick sandwiched layer of fabrics before I cut those pillows pieces and sized each piece with an inch seam allowance all the way around each piece.
Please note: clicking any of the photos presented will provide a larger view of the photo.
  |
 |
 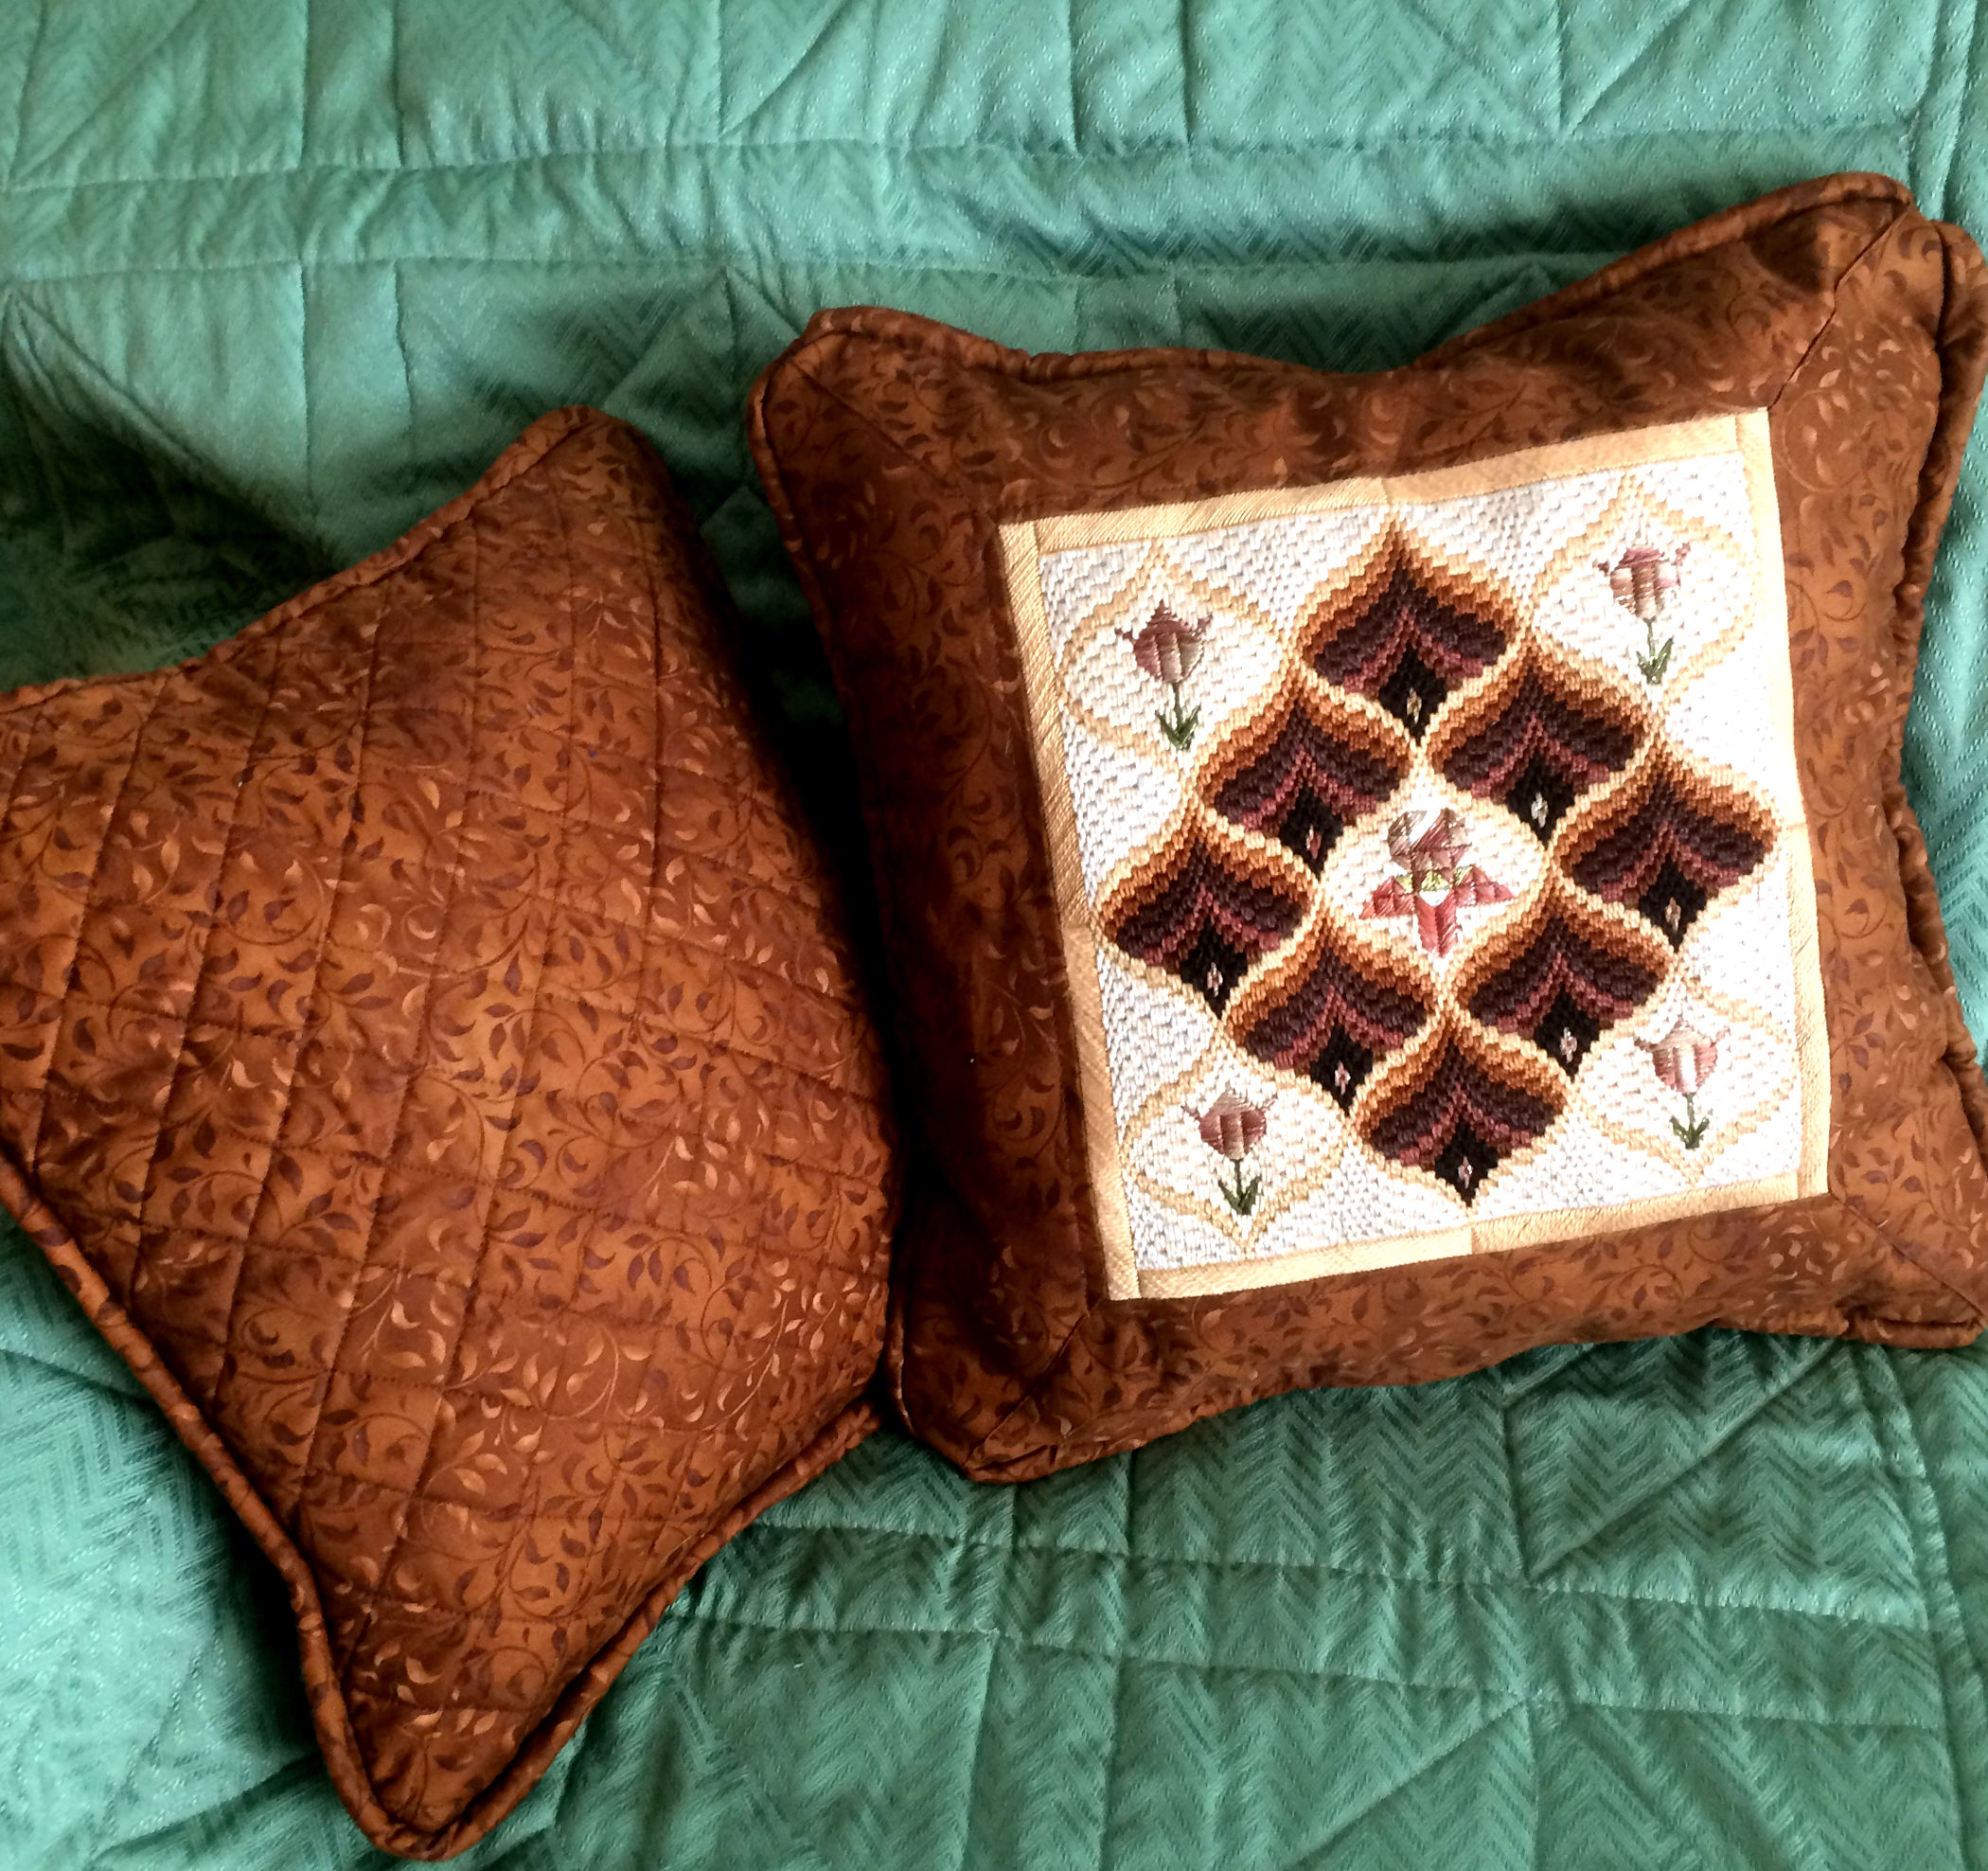 Click here to add fabric border around worked design area.
|
A few comments that apply to creating pillows:
Hot iron pressing:
There is a lot of pressing with a hot iron when making a pillow. If you are not sure of the color fastness of your worked design or the printed fabrics I would suggest not to spray starch and not iron between any damp towels.
Several projects ago I spray starched a finished Hardanger piece only to see halo rings developed around overdyed stitching threads. Piece was ruined. I angrily tossed it out but it was my fault for not checking before spraying moisture onto the worked piece.
To check for colorfastness: on a spare piece of the embroidery fabric that you used, stitch a small area using each of the embroidery threads for that project. Have about half inch to an inch of unused fabric between each of the different embroidery threads. Place on several absorbent layers like folded paper towels. Spray with water see if any color leakage or bleeding occurs. Also spray with starch and check colorfastness again. If you really want to be sure, once your testing piece has dried, remove all of the embroidery thread and see if there is any color leakage or bleeding left behind.
Fabric and threads: 100% cotton or polyester blends. I have used both, especially with specialty embroidery threads. Just be careful of the iron’s temperature if you have used nylon or polyester. After all of your work you do not need a melted spot. Not to mention getting it cleaned off of your iron can be quite a chore.
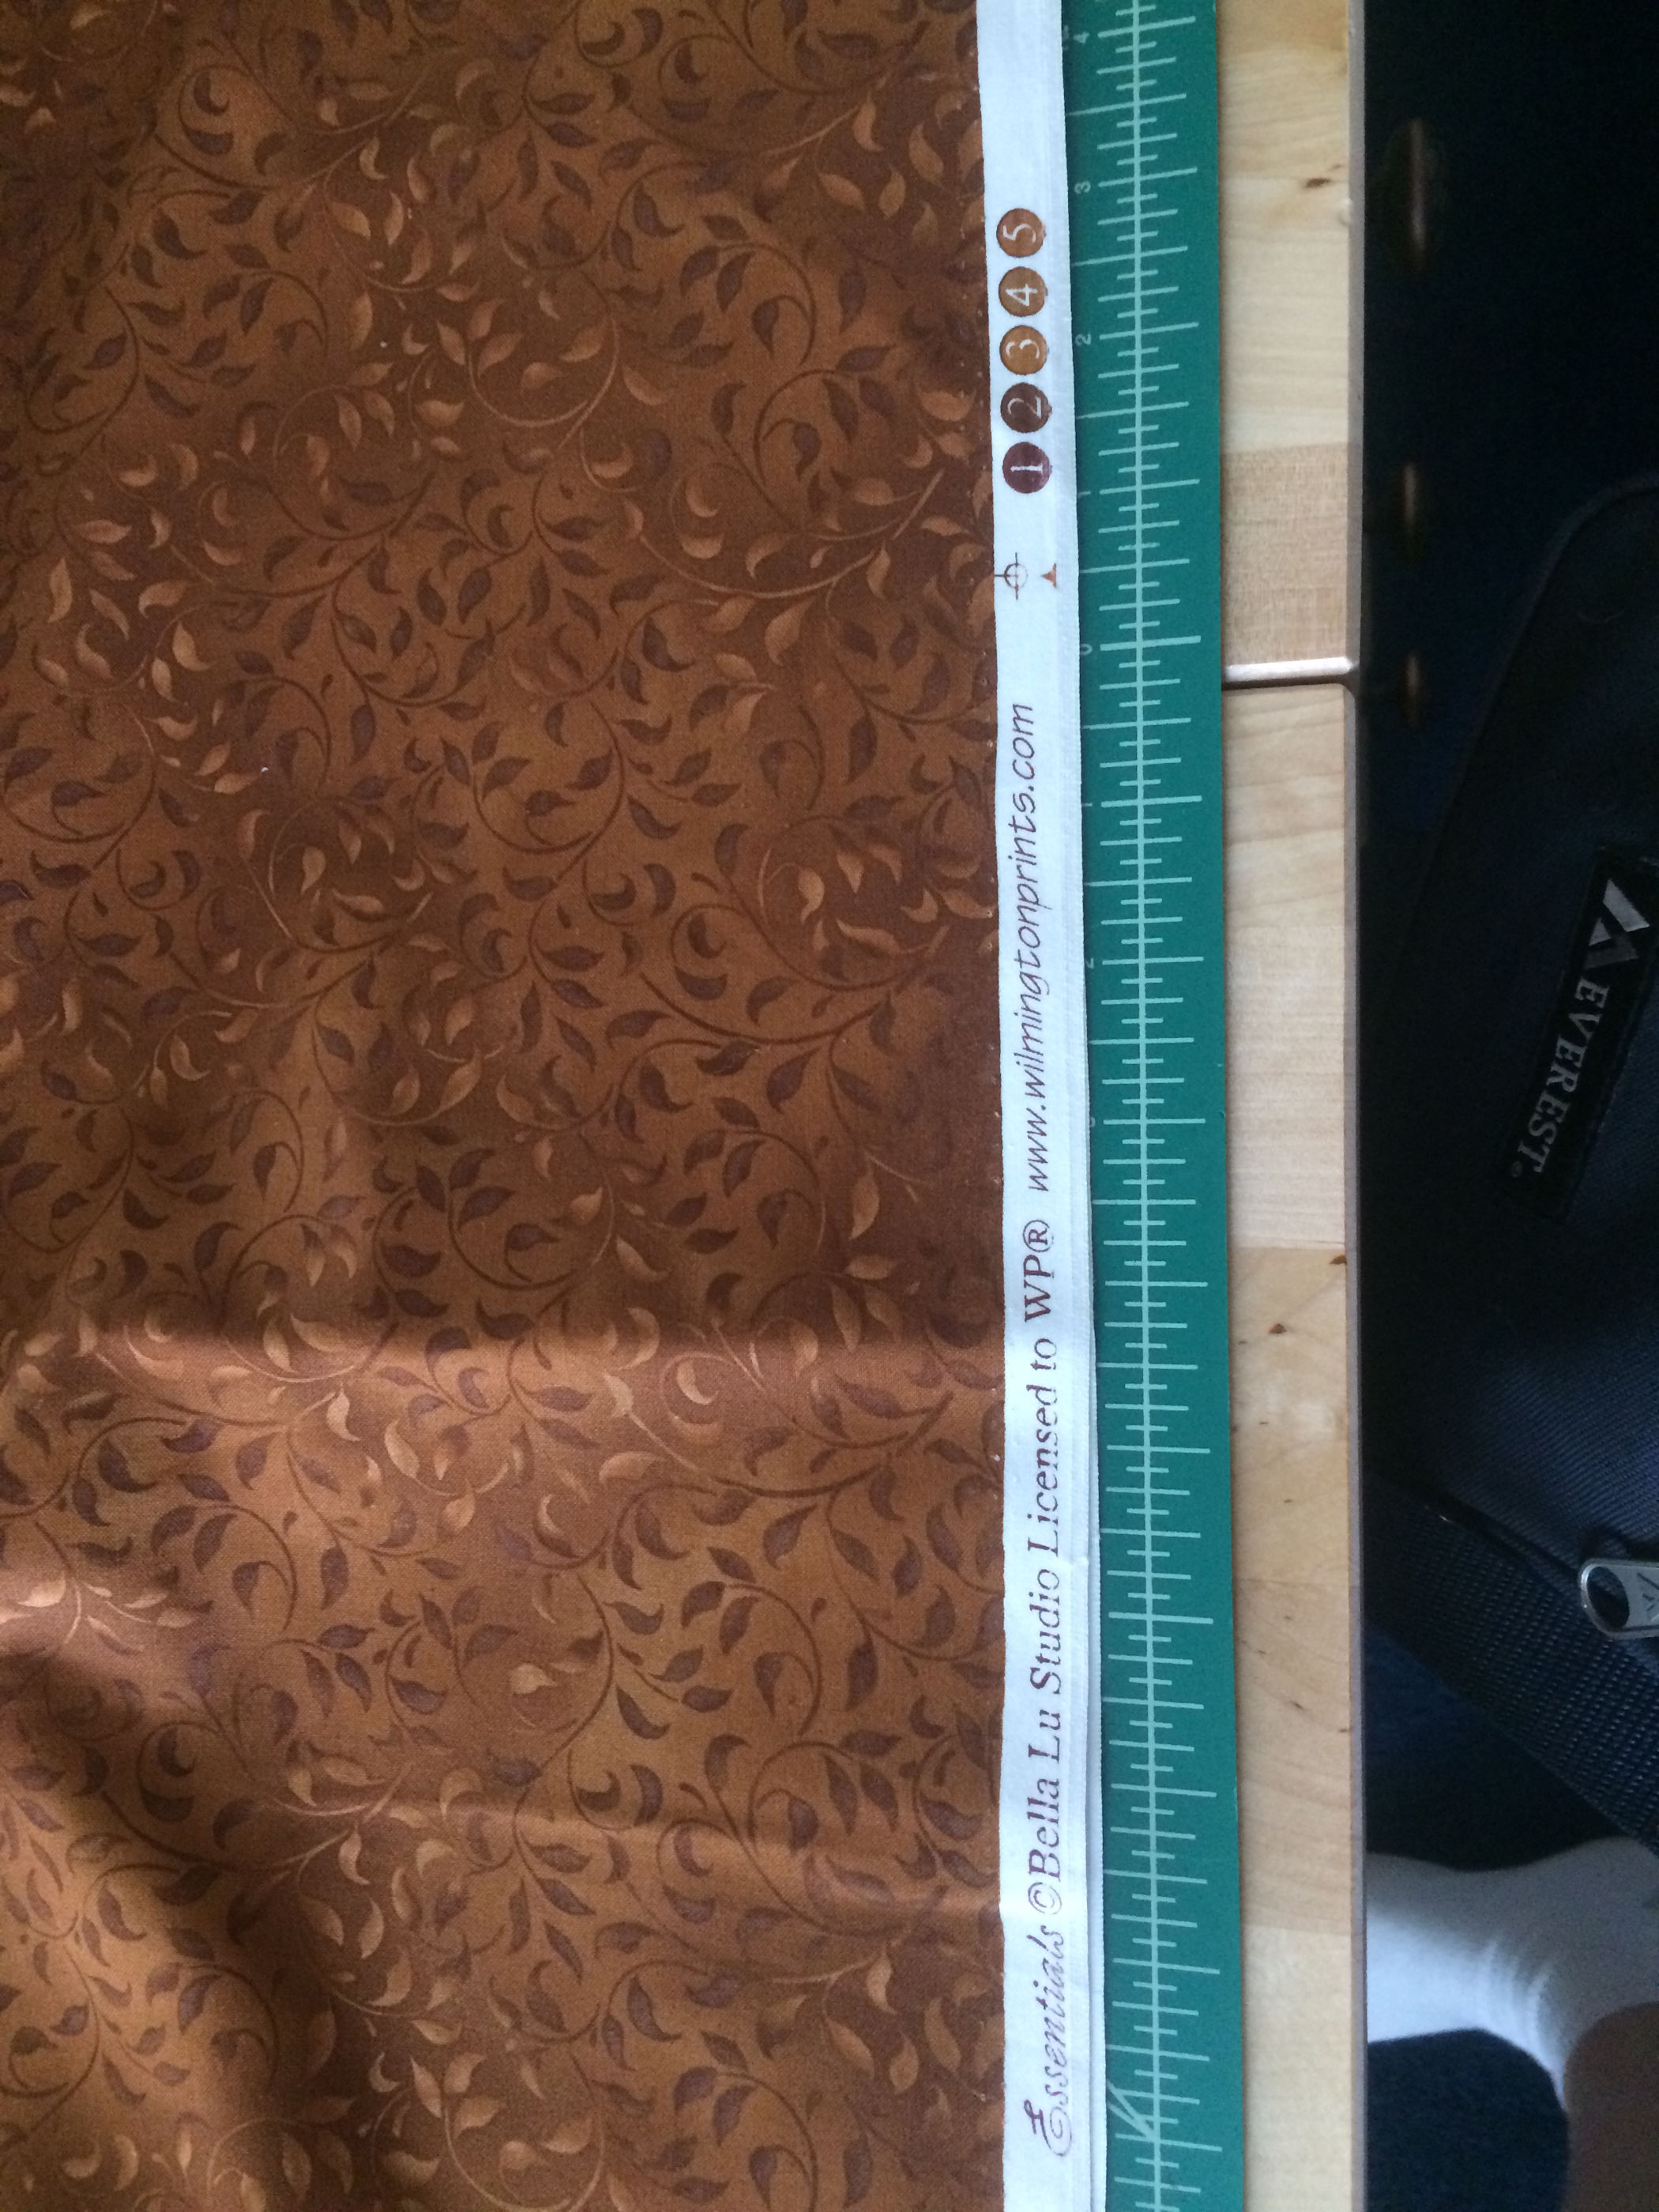
Take into account when determining the useful width of the fabric that you do not include the two selvage edges. This is because one selvage edge normally has printing (name of the design, manufacturer, etc.) and the other selvage edge has tiny holes within it (used by the manufacturer as the yardage was fed through the weaving and printing machines).

Preparing fabric:
These are two tutorials from Leah Day where she discusses preparing fabric. I do not starch my fabric as stiff as she does, but her discussions contain lots of info.
https://leahday.com/pages/how-to-prewash-fabric
https://leahday.com/pages/how-to-starch-and-square-fabric
Ripping, 100% cotton fabric: In the above tutorial videos Leah Day mentions ripping fabric, this is how I square my fabric once I bring it home. When you purchase fabric, the clerk will either cut or rip the length of yardage from a bolt. I cringed and it also makes me mad when the clerk cuts the yardage from the bolt. Let’s say I purchase a yard and the clerk measures a yard and cuts that from the bolt. The useful area of that yardage will probably not be 36-inches by width of the fabric.
In the below video the lady is squaring up the cross grain edges of her fabric by ripping. She is ripping a 108-inch width fabric but this applies to any width of 100% cotton fabric. Notice this is 100% cotton. I do not believe most polyester blend fabric can be ripped, you will need to use scissors.
https://www.bing.com/videos/search?q=tutorial+ripping+fabric&view=detail&mid=E463A4A2114391440E86E463A4A2114391440E86&FORM=VIRE
Cutting the various pieces for the pillow: If I am cutting fabric for a 13-pillow with 1-inch seam allowances, I should cut pieces like the backing and lining at 15-inch square but you may notice that I actually cut a 16-inch square. This is because I like to have extra fabric for fingertip holds and in case a layer moves (very, very) slightly as I machine stitch. If you visually can see that a layer shifted take the time to remove all stitching threads, pin or hand baste the layers and restitch.
Example: On a bordered top piece for a 13-pillow I will first add the border around the worked design to make the top piece be about 16-inches square then when completely sewn (corners and top stitching) I check that the bordered top is laying flat and then cut the piece to be 15-inch square using a clear ruler to mark the bordered top piece at 15-inch square (with the worked design centered) and rotary cutting it. Next if I am adding a lining fabric behind that bordered top piece I start with 16-inch square lining fabric, baste sew those layers and again use a clear ruler to measure out the 15-inch square (with the worked design centered) and rotary cut extra lining fabric off around the bordered piece edges.
| Quilting back side fabric of pillows:
Summer of 2018 I began learning how to quilt by watching tutorials. Within a few weeks of starting to learn, I decided to quilt a grid over the back sides of my next pillows. For quilting gridlines, Leah Day offers several beginners tutorials such as https://leahday.com/pages/machine-quilt-gridlines-walking-foot To learn more complex (diamonds, curves) grid stitching I purchased Christina Cameli’s Quilting Grid video from Craftsy.com (which often has sales on their class videos). In these videos you may hear the words domestic machines and long arms. Domestic machines are like my Singer, where the stitching head remains stationary. The long arm machines are where the sewing head is guided by your hands or a computer across the surface (layered fabric, leather, etc.) being stitched. All my comments regarding stitching fabric on my blog pages are referring to using a domestic sewing machine. |
Pressure feet:

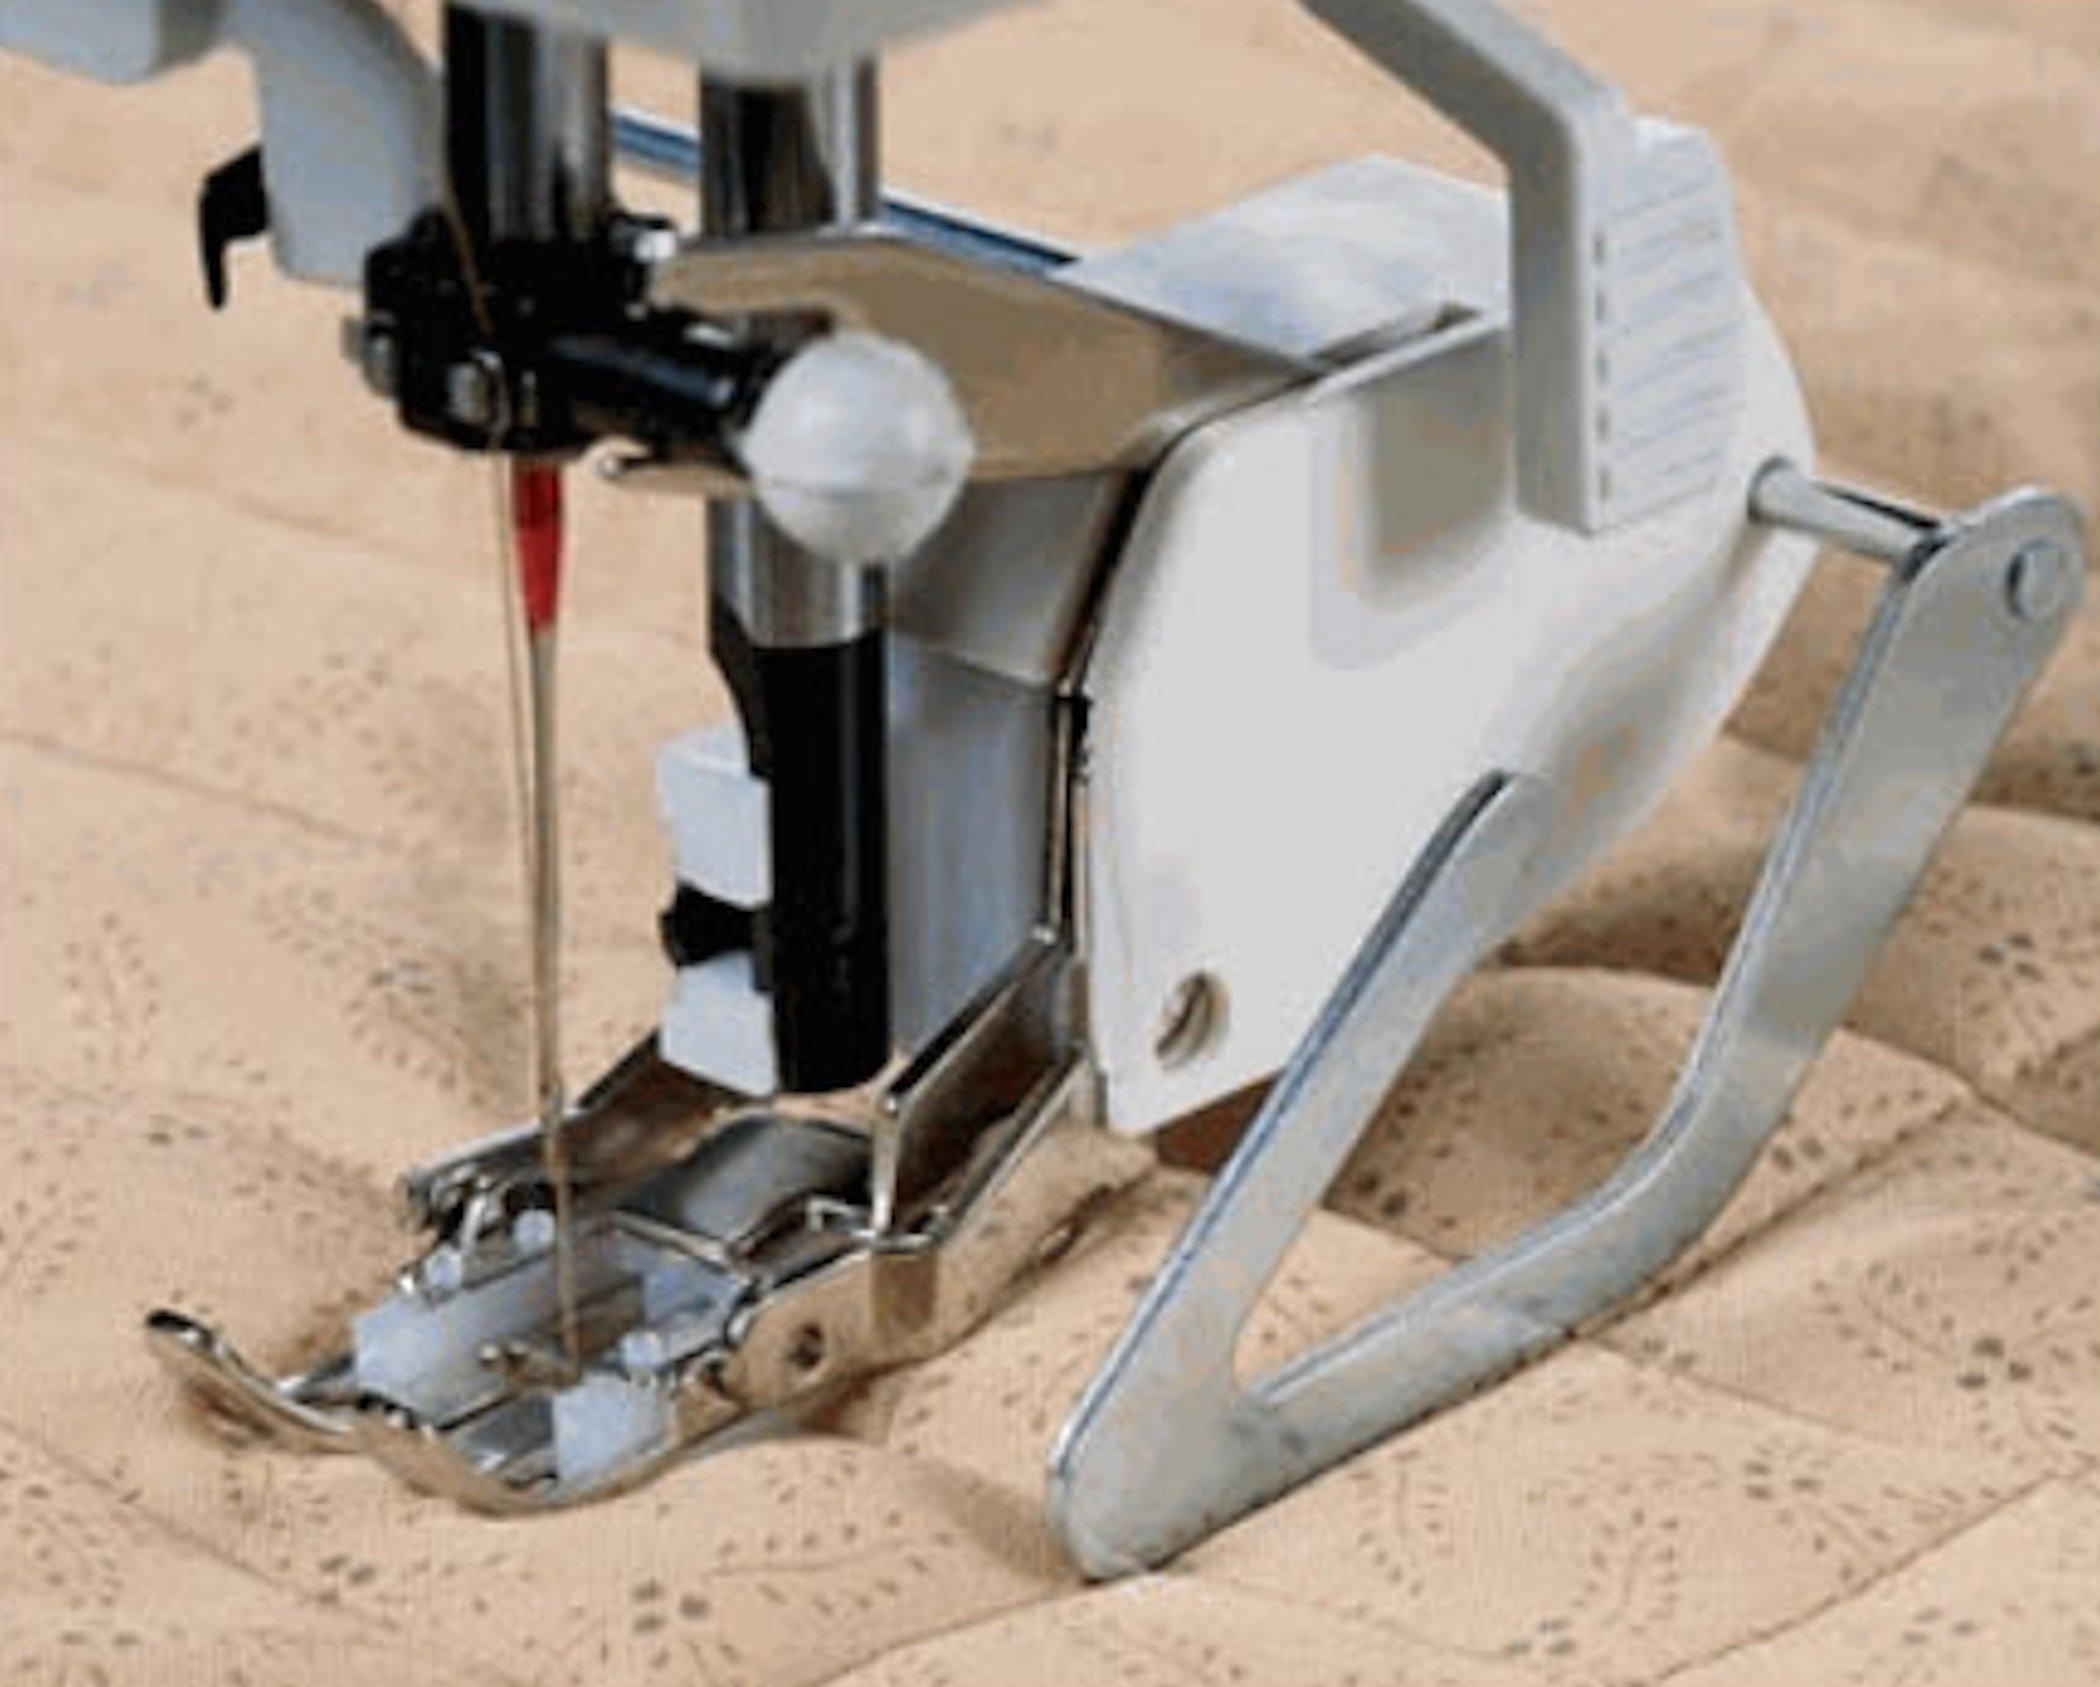
Mainly I used a zipper foot or standard flat pressure foot unless I decide to a quilt a grid across a sandwich (layers) of fabric then I add using the below walking pressure foot with a rod guide. The walking foot is an odd looking pressure foot but (1) I can use a rod guide with it and (2) it has feed dogs that work in sync with the machine’s lower feed dogs.
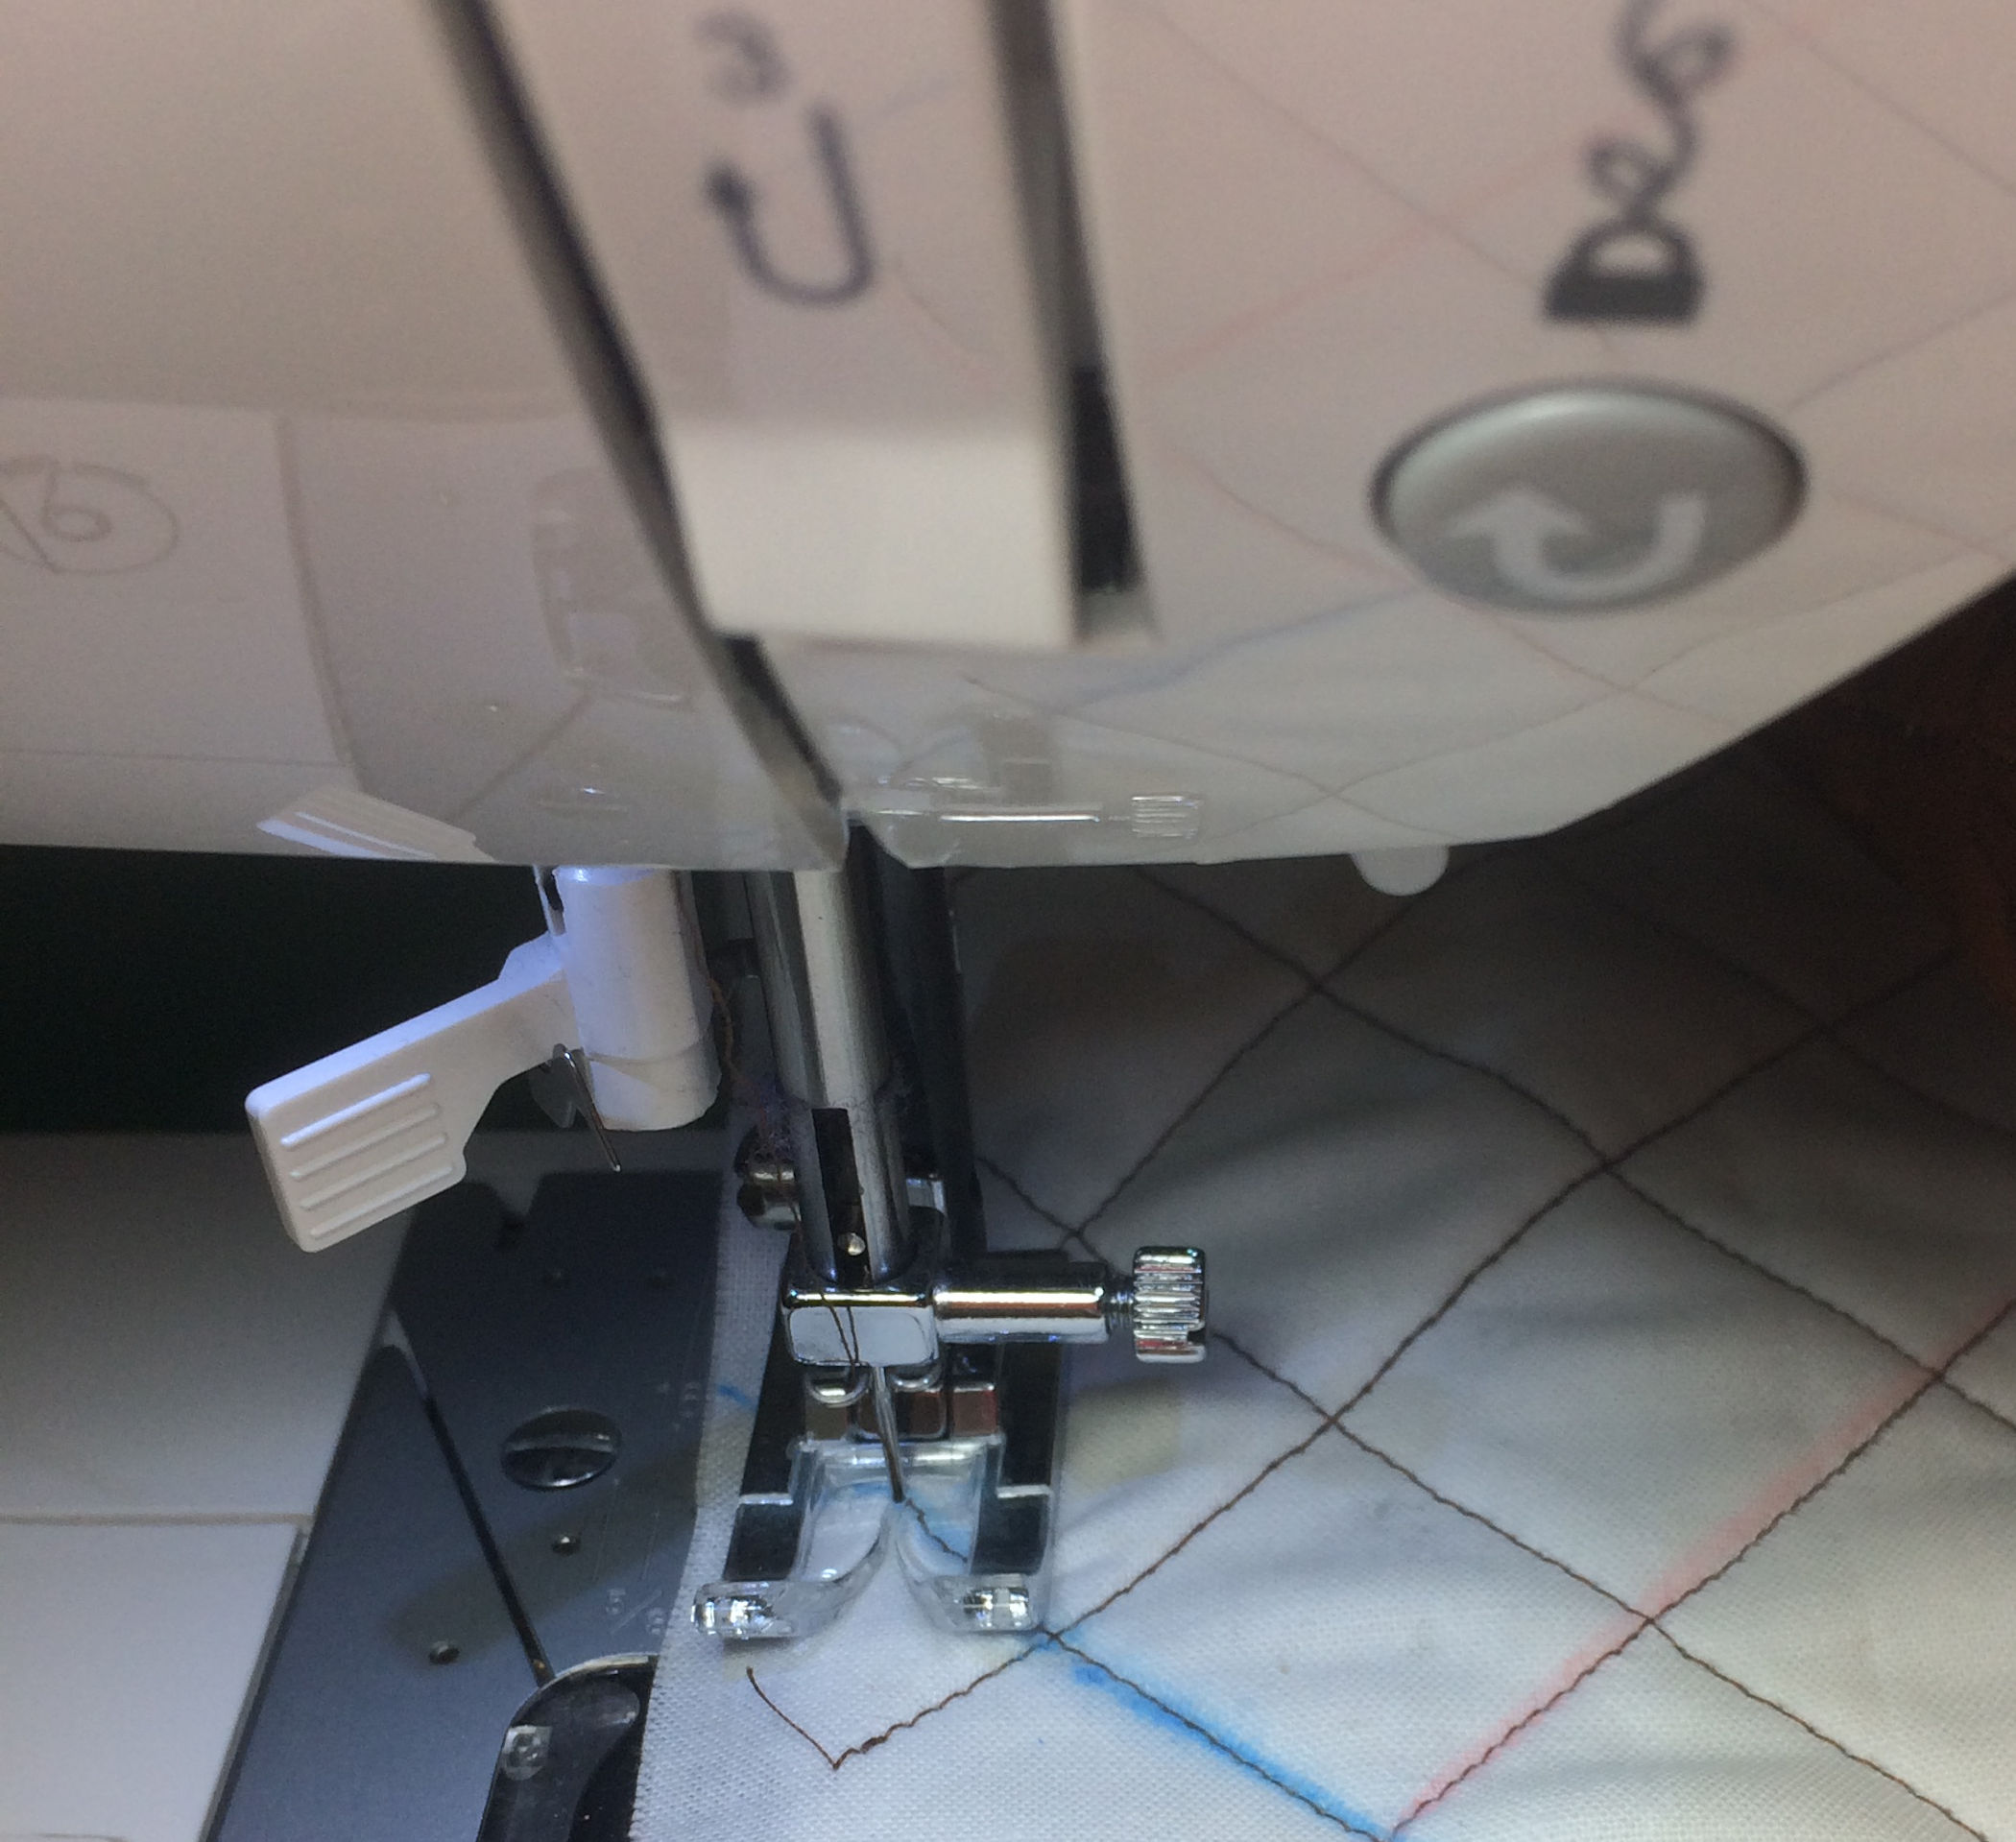
Why use a walking foot: With standard pressure feet like the first two shown in these photos, as you sew a sandwich (at least two layers of fabric) they move through “pulled” by the machine’s lower feed dogs and your standard pressure foot rests atop of the fabric(s). Unless you baste or well-pin the layered fabric(s) the top fabric will not travel in sync with the bottom fabric.
With the walking foot the bottom of the walking foot has feed dogs and works in sync with the machine’s lower feed dogs. So working together they move the layered fabrics through for stitching.
If you quilt or use knit and silk fabrics in your machine sewn projects you probably already have a walking foot. I purchased my walking foot from www.singeronline.com. In the comment section of the order form I entered that I needed a walking foot with rod guide for a Singer Confidence 7640Q. That walking foot and rod guide costme just under $25.00 (free shipping). I saw them cheaper on Amazon.com but I wanted to be able to specific that the walking foot was for a Singer 7640q.
A Singer walking foot came with my Singer machine when I purchased the machine, but even when I got more experienced with sewing with a walking foot, it did not work in sync with the machine’s lower feed dogs. I tried using it several times. That first walking foot did not come with a rod guide. The rod guide I purchased for it kept moving when I sewed. So last time I tried that “first” walking foot, I said enough and it went into the trash.
When first using the walking pressure foot I made fabric sandwiches out of scrap fabric, did several try-outs and viewed web articles and youtube videos such as this one:
https://leahday.com/pages/machine-quilt-gridlines-walking-foot (near last two minutes of this video Leah discusses bringing bobbin thread to the top).
So why did I mentioned bringing the bobbin thread to the top? This makes sure that your bobbin thread does not jam up underneath as you stitch. Do the first stitch then use the top sewing thread to pull the bobbin thread up through the fabric. Hold bobbin and top thread aside as you begin the stitching line. When finish stitching a line go back to that first stitch, take thetop and bobbin threads to the backside of the sandwich and tie them off. If stitching cotton thread, the tie off should hold. If polyester thread, the tied knot may become undone due to polyester thread being slippery.
Color Fastness:
There is a lot of pressing with a hot iron when making a pillow. If you are not sure of the color fastness of your worked design or the printed fabrics, do not use stream in your iron, or spray starch or iron between any damp towels.
Several projects ago I spray starched a finished Hardanger piece only to see halo rings developed around overdyed stitching threads. Piece was ruined. It was my fault for not checking before spraying moisture onto the worked piece.