
This blog page got so long for downloading when viewed that I decided to break sections of this page into their own blog pages:
Create the piping: Create your own piping
Sewing the piping onto front fabric: Sewing the piping onto the front fabric
|
At this point the piping is sewn onto the front piece. Adding back fabric: Using the zipper pressure foot. Place the back fabric onto the front of the pillow so that (as you can see in the photo) the good side of your back fabric will be facing the good side of your worked piece. Stitching the back fabric on is worked rather blindly. With the layers, back and front with piping sewn in place, use fingertips to feel the sew line of the piping to the front fabric and pushed the piping slightly inward so that the sewing machine’s needle does not snag it. The neon green arrows on the photo point to where you will be machine sewing. Remember, you want to be sewing the back fabric quite snug along the outside edge of the piping. For this, I worked (machine sewing) slowly. Keep a watch to make sure that the back fabric is not skewing and make sure that you are stitching close to but not into the bulge of the piping. Be sure along one side to leave several inches (5-6 inches) un-sewn in order to pull the pillow outside out and for stuffing the pillow with filling. With regards to the back fabric skewing, I think it would be a good idea to hand sew (every few inches) the back fabric to the front. But so far, I have not gotten into a pickle with skipping that step. 100% cotton fabric seems to have a nice grip (friction) to it. If I was to create a pillow with polyester blend or silk fabric I would think the hand basting of back fabric to front piece would be a good idea. Recall that one side of the pillow is where you crossed-over and sewed the piping ends. I suggest to do the open, un-sewn area of the backing fabric’s seam on one of the other three sides of the pillow and a few inches away from any corner. |
 It is through this open area that I stick my (take jewelry off first) hand in, grab a corner and begin to pull the pillow to be right side out. Take your time pulling the pillow to be right side out. When the pillow is all the way turned out do a check of your corners and other machine sewn areas. |
 For a sharp edge pillow I like to use loose filling, which I rip/pull into 2-3 inch fluffy balls and push them into the pillow’s inside. One reason I like using the loose filling is that I do not have to try and find a formed pillow of the correct size and second, I can make the pillow’s stuffing as soft or dense as I like. Adding the filling I first push filling into the corners, then along the sides and finally into the center. Hand sewing closes up this access opening along the seam. I find a sharp, ironed creased along the stitch line on the back fabric helps me as I hand sew the access opening close. |
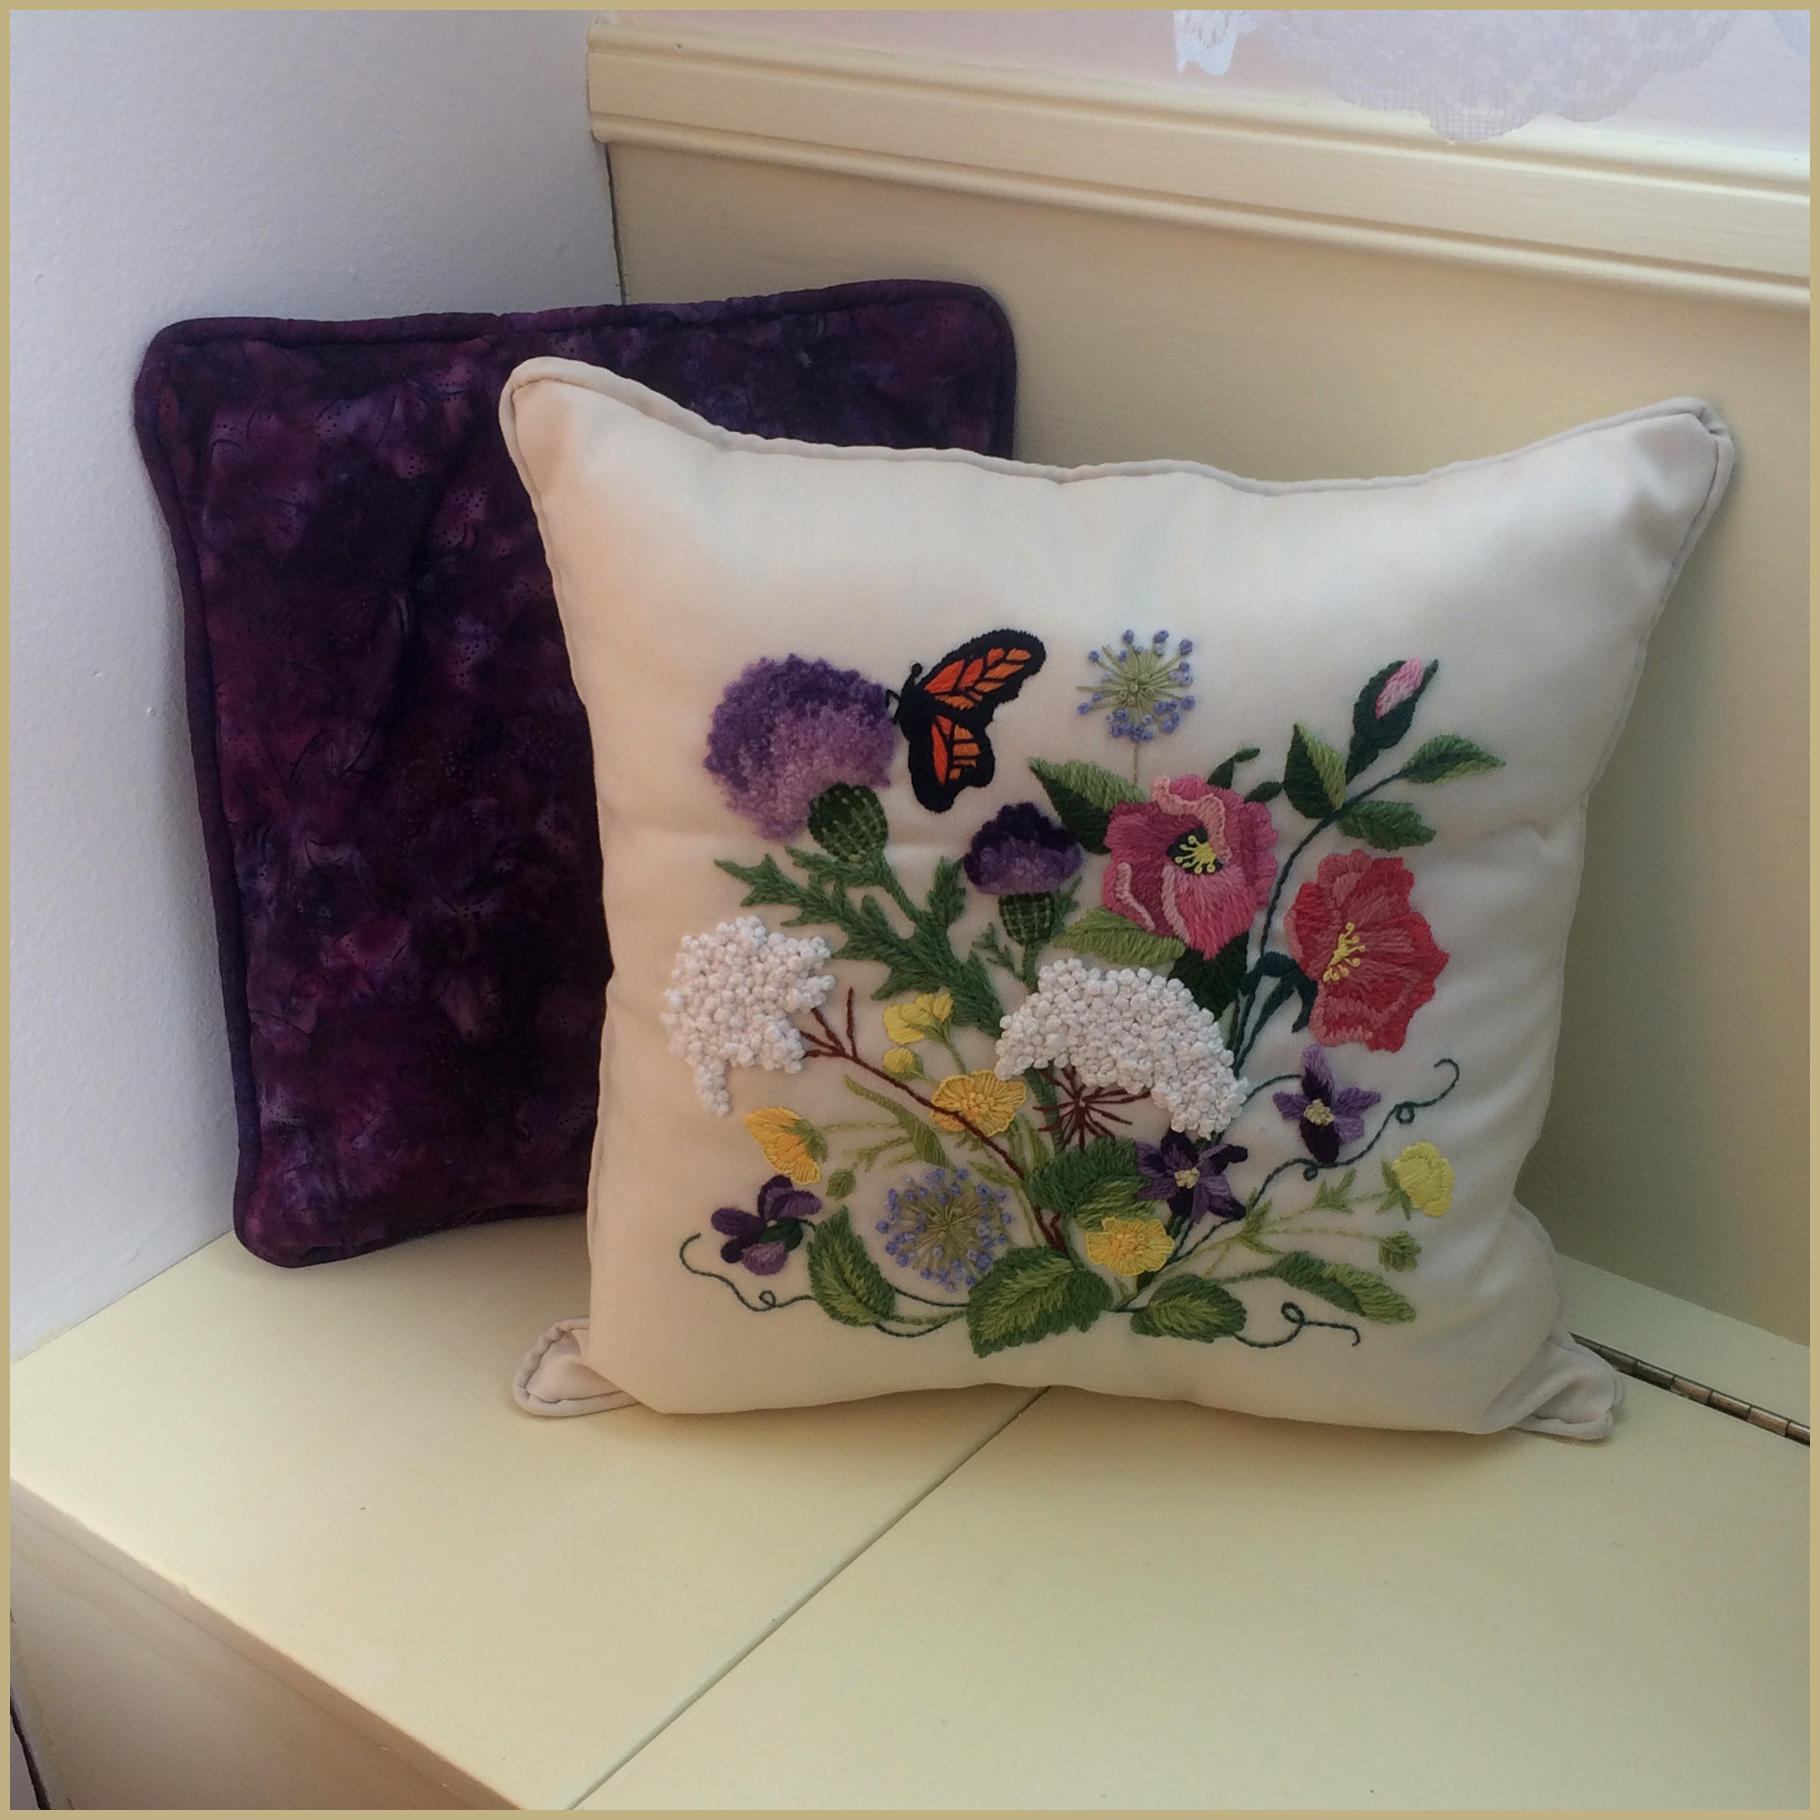
Some of my pillows: Designer for the Fall Leaf pillow is Elsa Williams. This kit was produced in the 1980’s and is one of my eBay finds. 10 x 13 design printed on Belgium linen which I embroidered and finished as a 12-inch square pillow. Behind pillow is the backing fabric for the Waves of Early Fall pillow. |
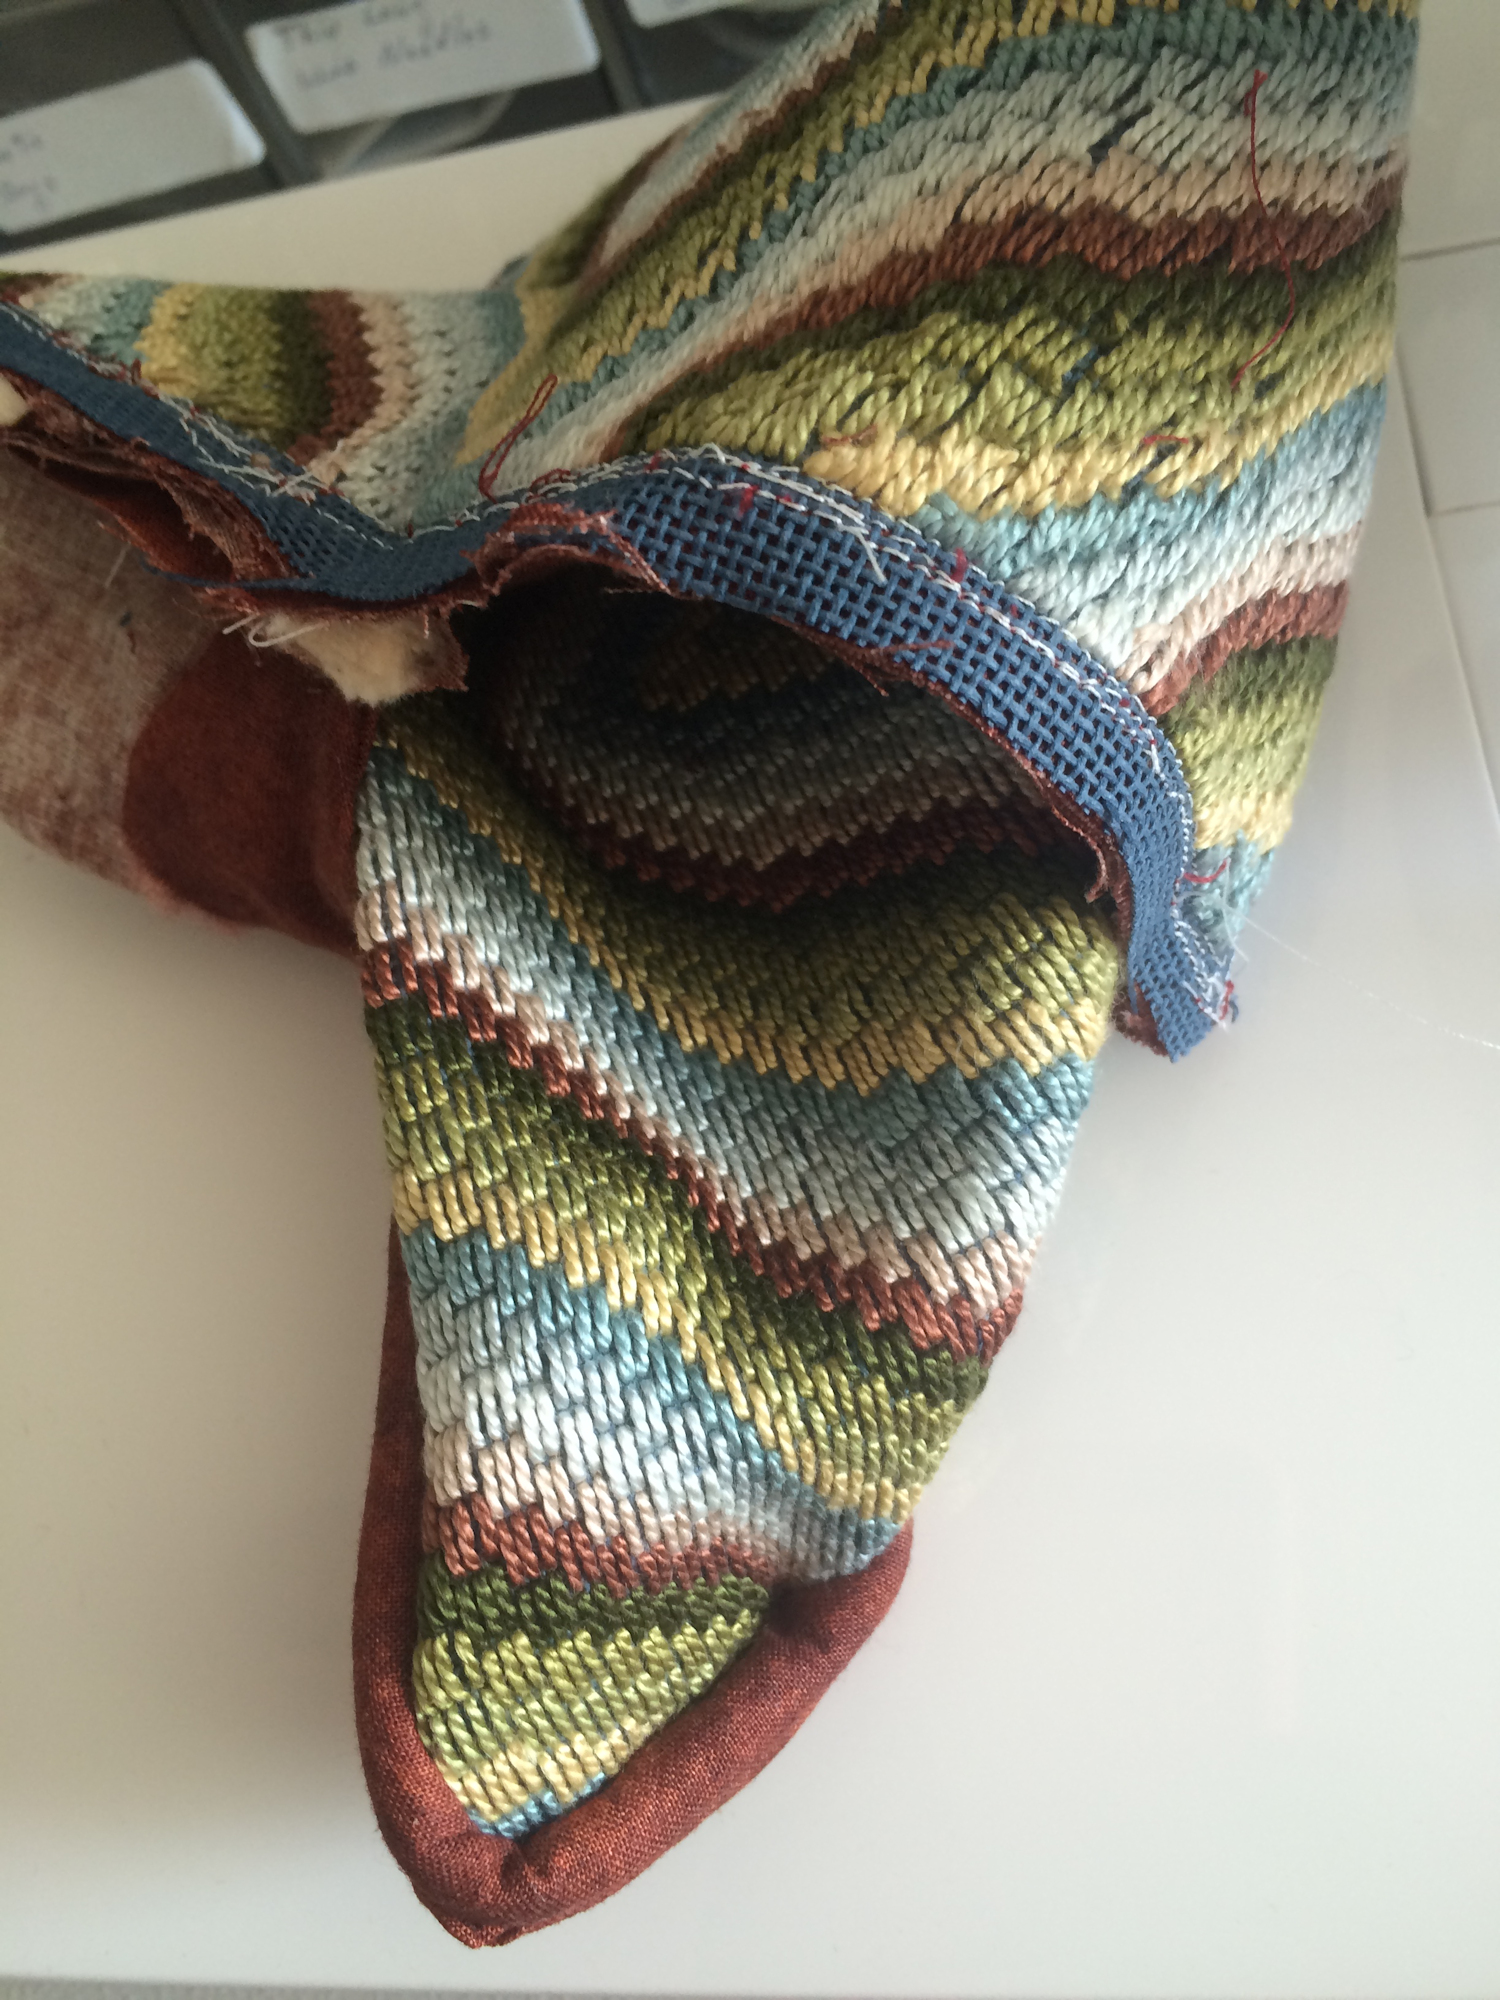
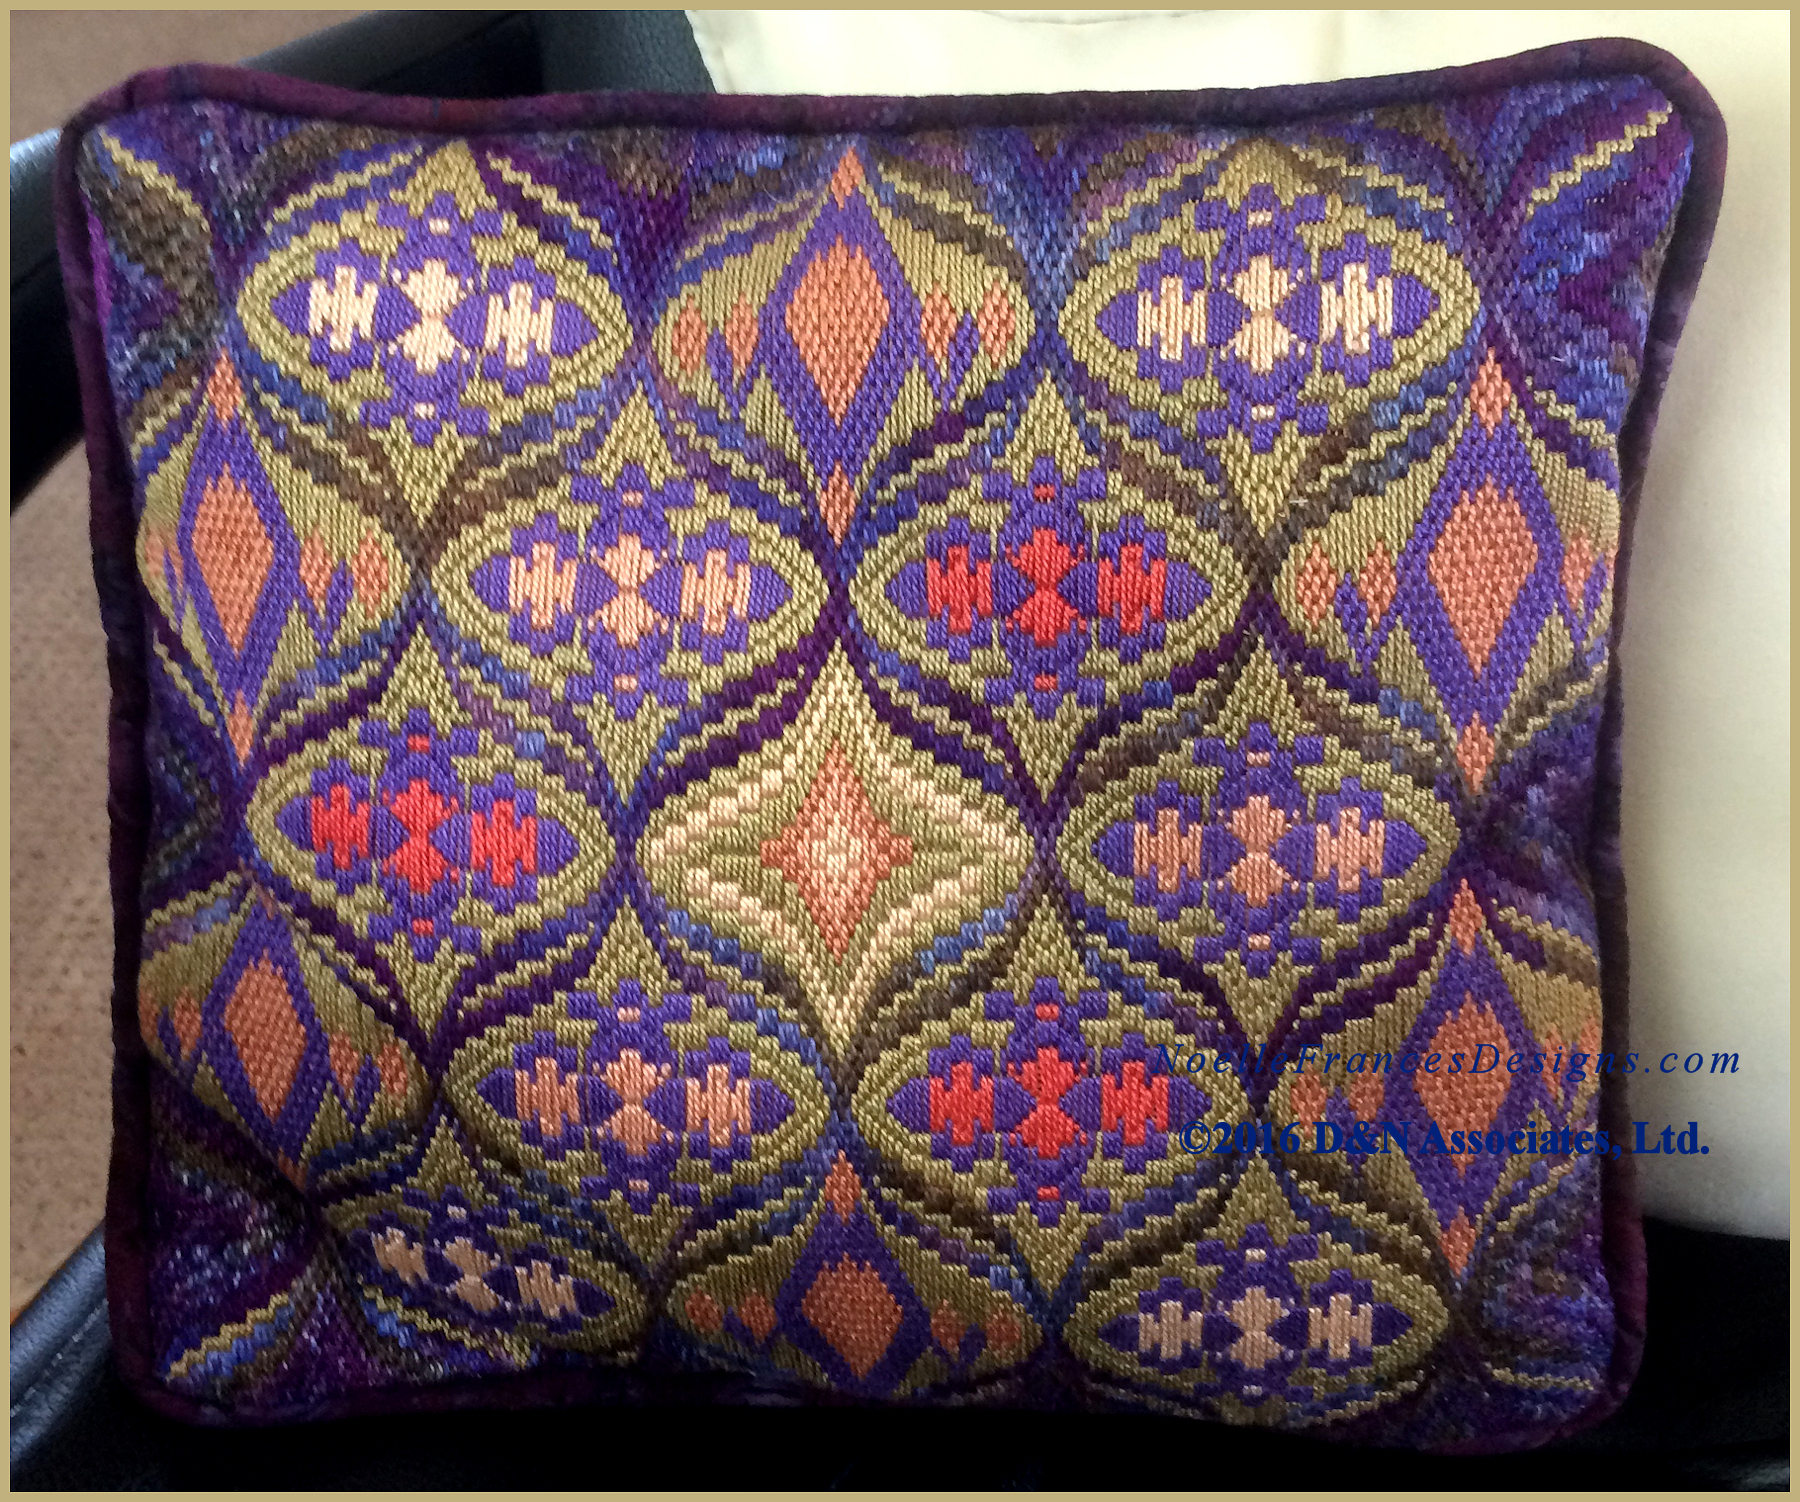
 Waves of Early Fall is a Bargello counted needlework embroidery that I designed. Pillow size is 9-inch by 9.5-inch square. My full color booklet Waves of Early Fall, 40-plus pages in length, is offered in e-booklet format and printed as a 8- by 10-inch paper bound booklet. Click this link for more information on the Waves of Early Fall design. Behind pillow is the backing fabric for the Fall Leaf crewel pillow. |
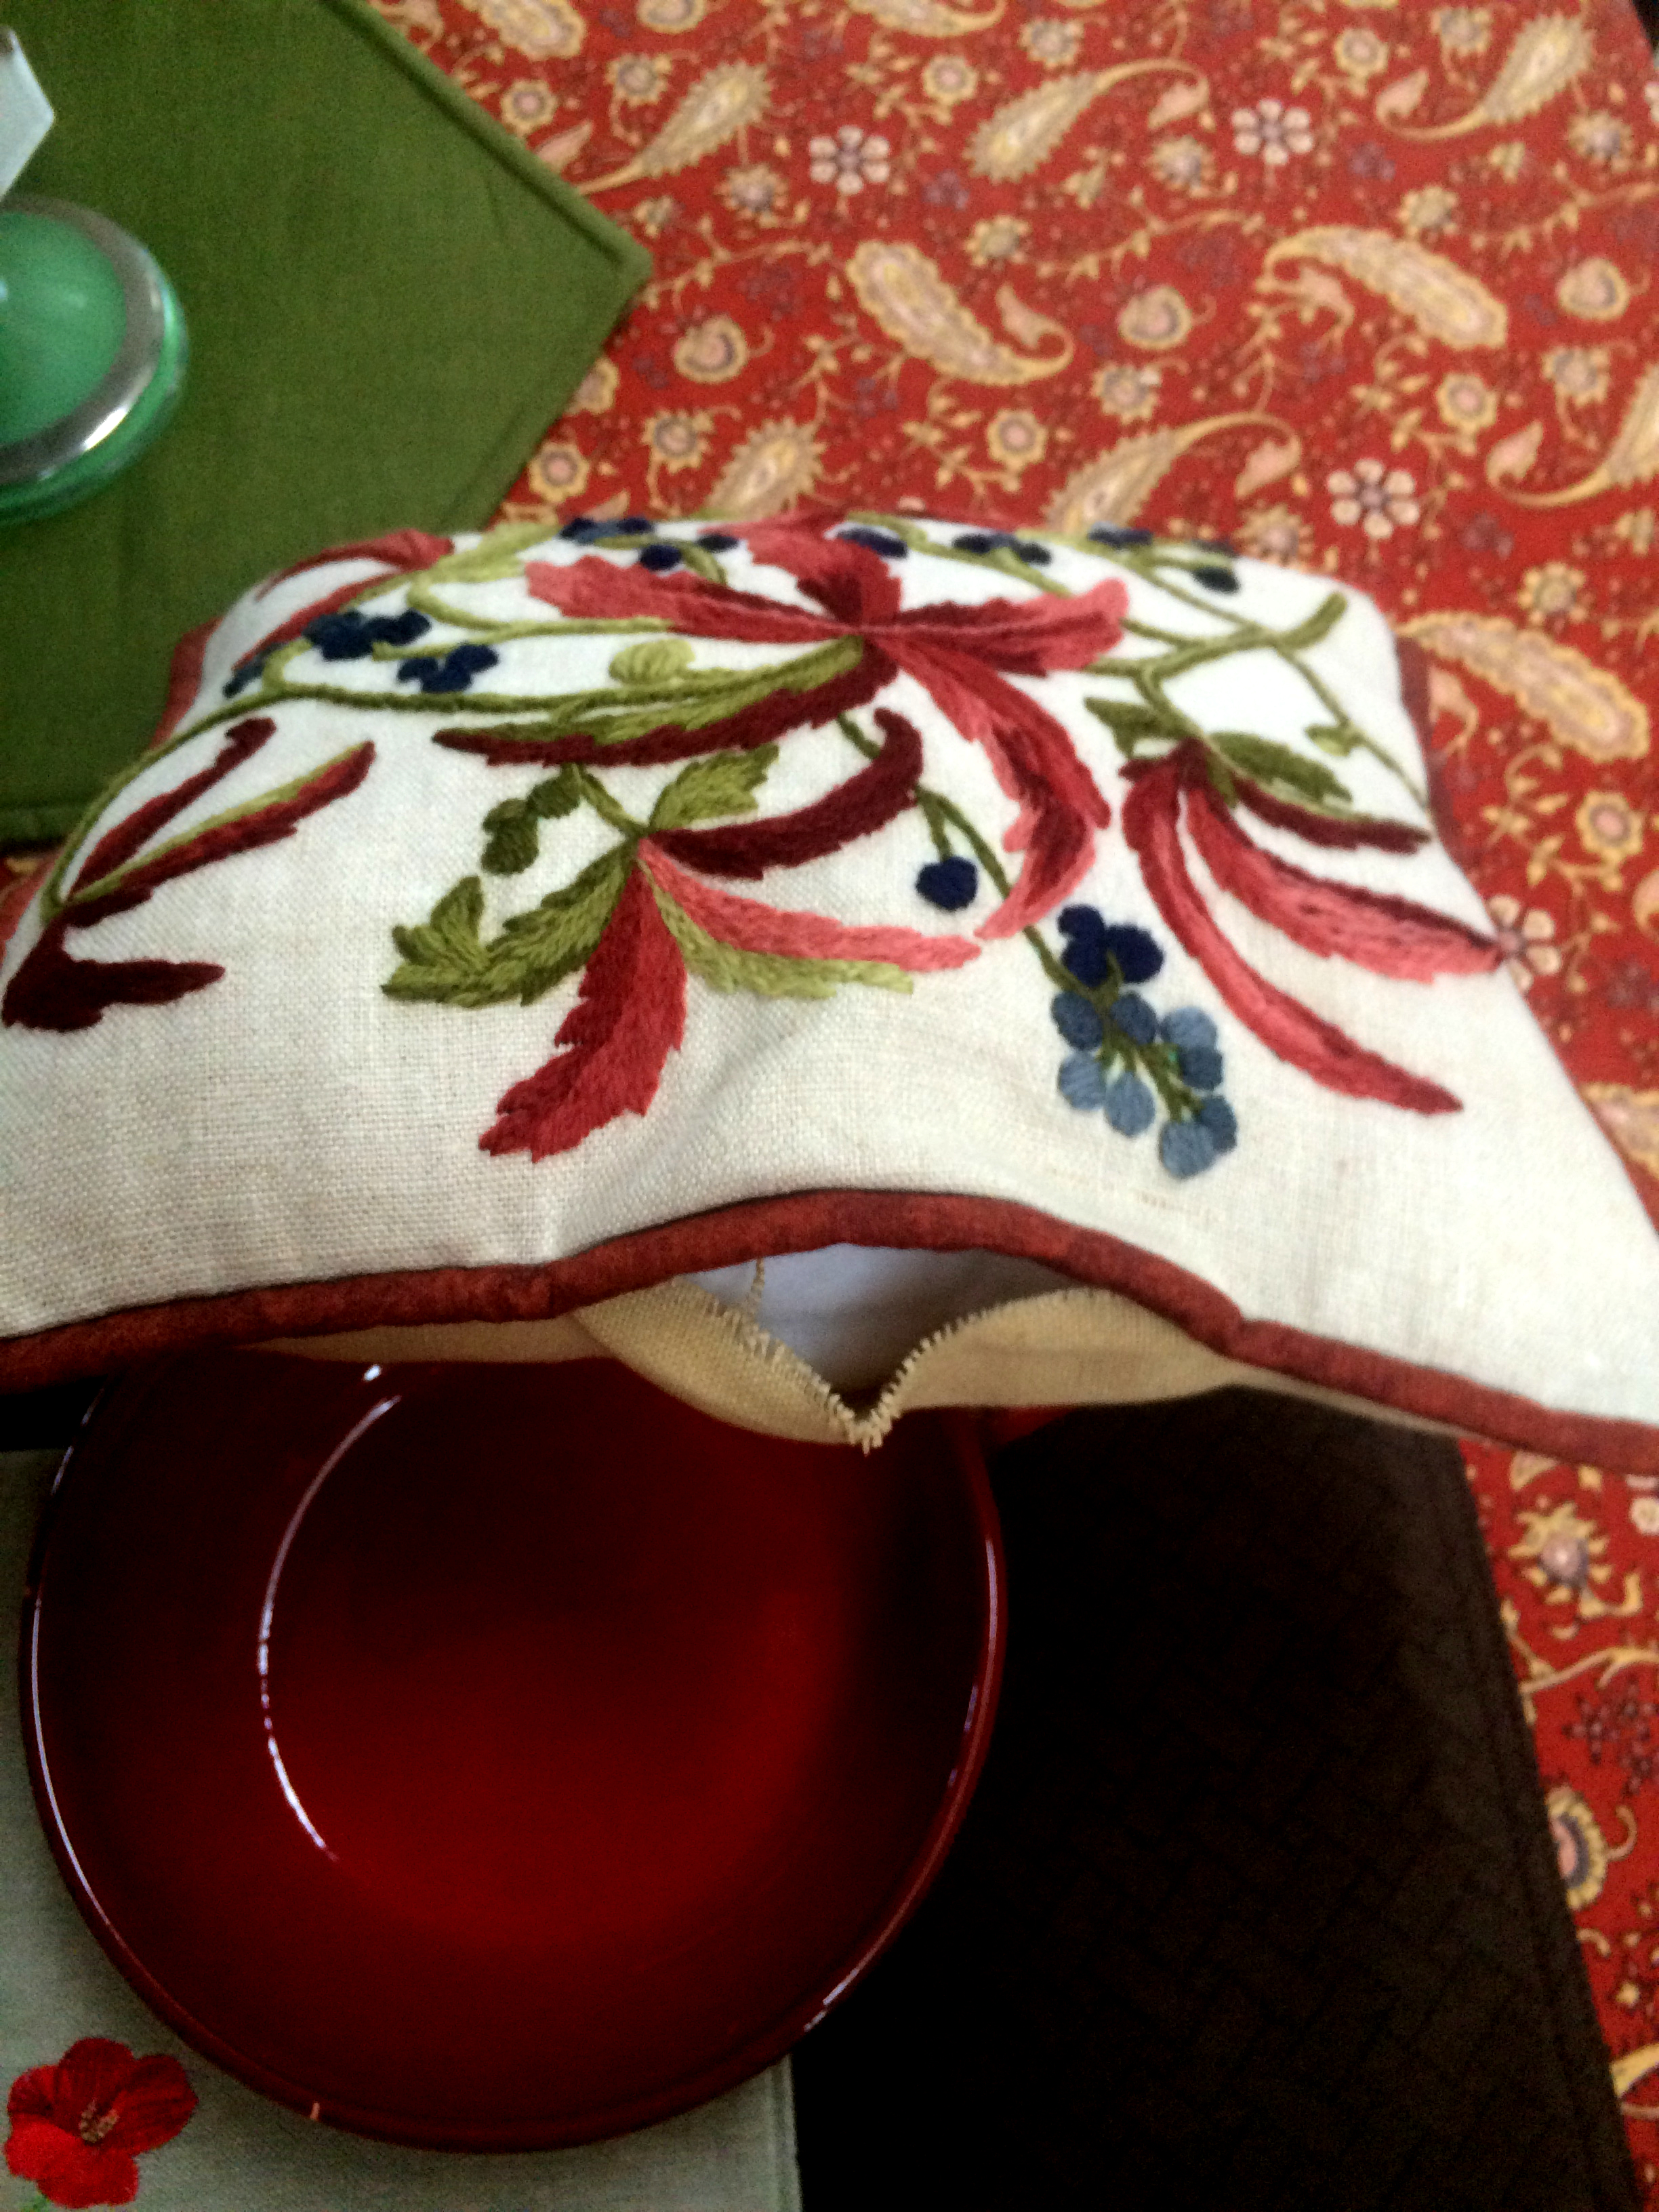
 Designer for Nantucket Wildflowers is Erica Wilson. This kit was produced in 1982. Purchased 2014 on eBay as a full kit. Design worked area is 10 x 10 inch, pillow size approximately 13-inch square. This kit happened to come with a pillow form that I inserted but I feel makes the pillow look overstuffed. After I took this photo, I eventually took the pillow form out and restuffed with loose filling for a better result. Behind pillow is the backing fabric for the Entwined Pomegranates pillow. |
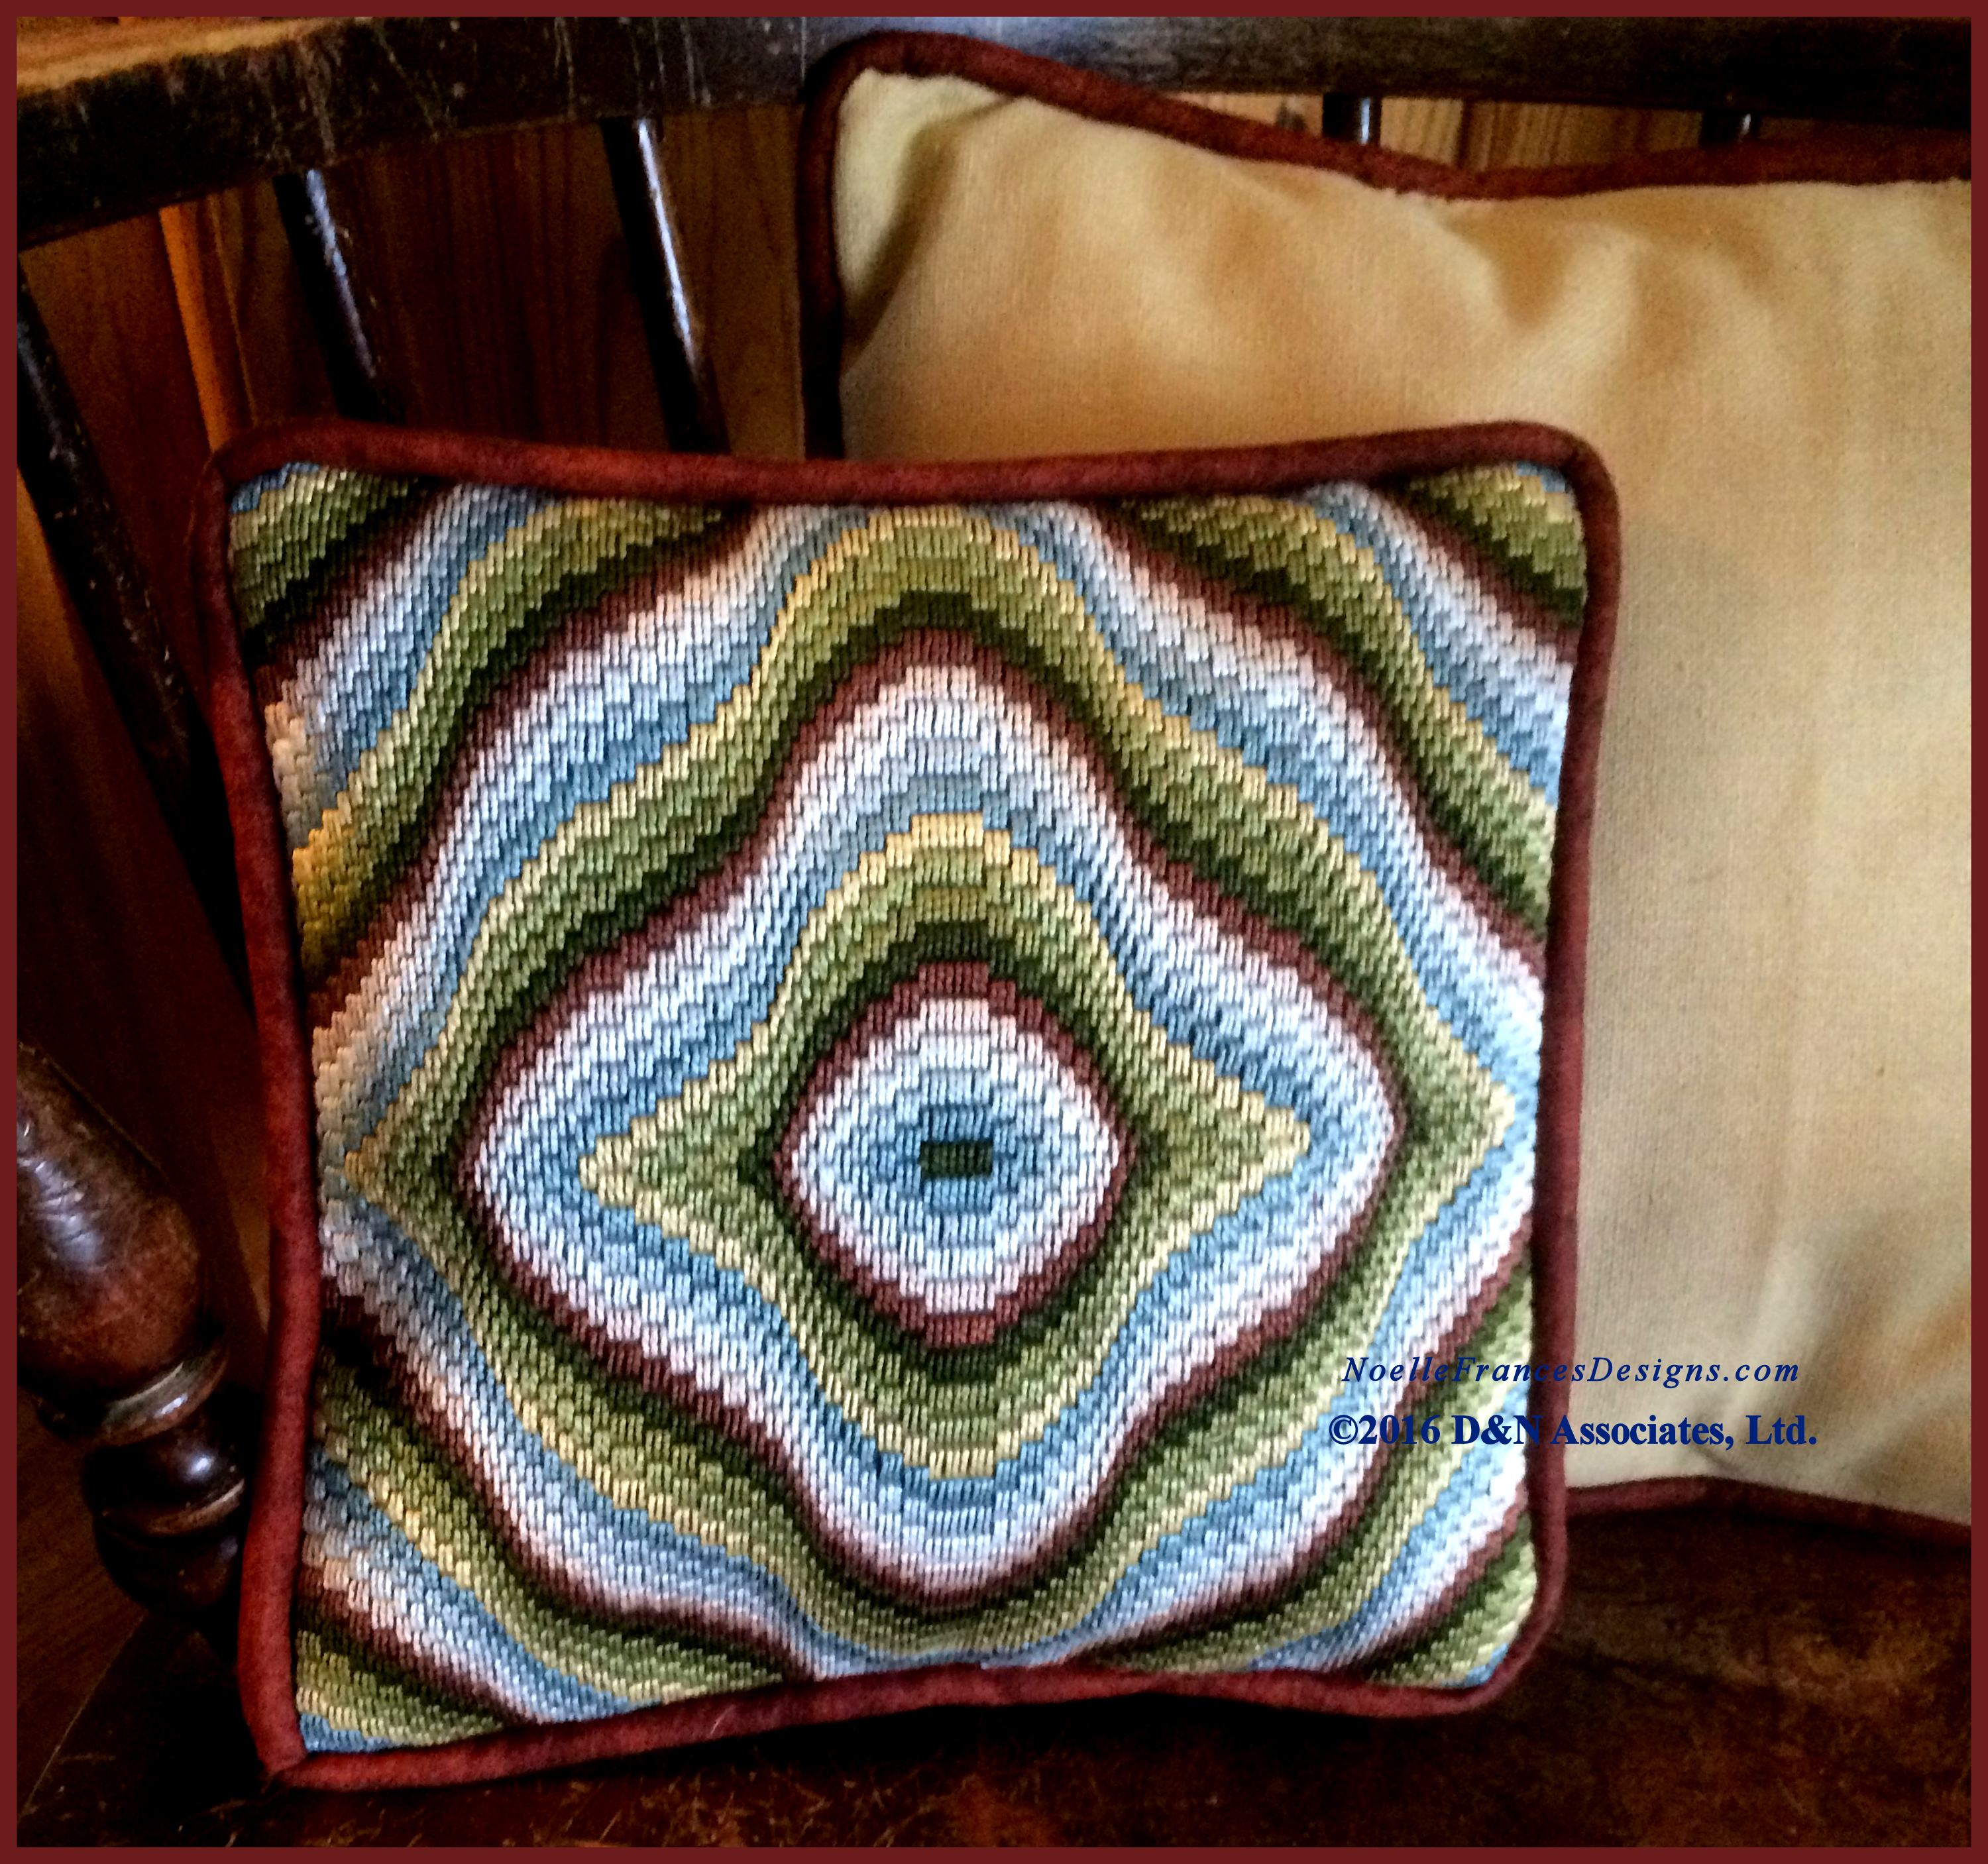
 Entwined Pomegranates is a Bargello counted needlework embroidery that I designed. Worked area is 13 by 11.75 inch. Pillow size is 13 by 11.75 inch when worked on 18-count. My full color booklet Entwined Pomegranates, 40-plus pages in length, is offered in e-booklet format and printed as a 8- by 10-inch paper bound booklet. Click this link for more information on the Entwined Pomegranates design. Behind pillow is the backing fabric for the Nantucket Wildflowers pillow. |