
Below discussion is about embroidery fabric, specially Hardanger. This discussion is not about clothing and quilting fabric. These are two tutorials from Leah Day where she discusses preparing 100% cotton fabric for quilting. I do not starch my fabric as stiff as she does, but her discussions contain lots of info.
https://leahday.com/pages/how-to-prewash-fabric
https://leahday.com/pages/how-to-starch-and-square-fabric
I found purchasing fabric and thread for embroidery projects a bit baffling when I first moved from kits to putting together my own choice of fabric and threads. First, I need to know what count mean as in how many fabric holes there are per inch for a fabric and as my eyes aged what size the fabric hole actually is. I love working samplers on 40 count linen, but have found I need to wear two pairs of strong glasses to get the needle into the correct fabric hole!
Below I am going to discuss:
- what size are those fabric holes!
- how many fabric holes per inch
- problems with fabric
- what size fabric piece to purchase
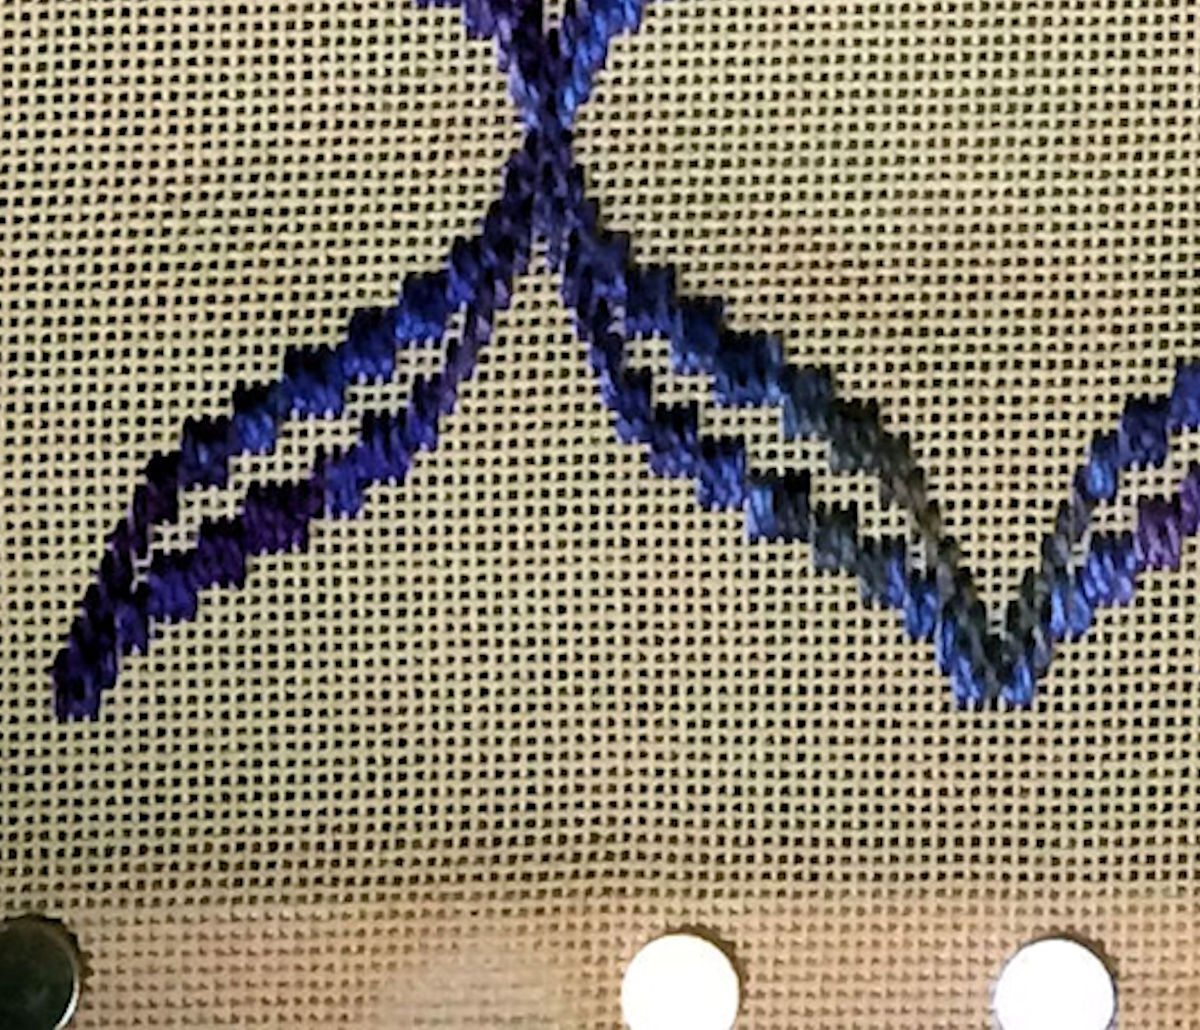
 What size are those fabric holes!I decided to do this topic first as it is the quickest one to cover and might be something you don’t have to worry about. For decades I purchased hardanger fabric without any thought to the fabric hole size. But my eyesight worsen and I found myself getting extremely frustrated working on my favorite hardanger fabric, which happens to be the almond green fabric shown in this photo. The warp and weft threads of this all-cotton Almond Green fabric are both two strands, whereas the rayon cotton blended Fine (Christmas Red) Ariosa is one strand. If you enlarge the photo you can see the smaller hole in the Almond Green fabric when compare to the Fine Ariosa fabric. Yet they are both 22 count.
|
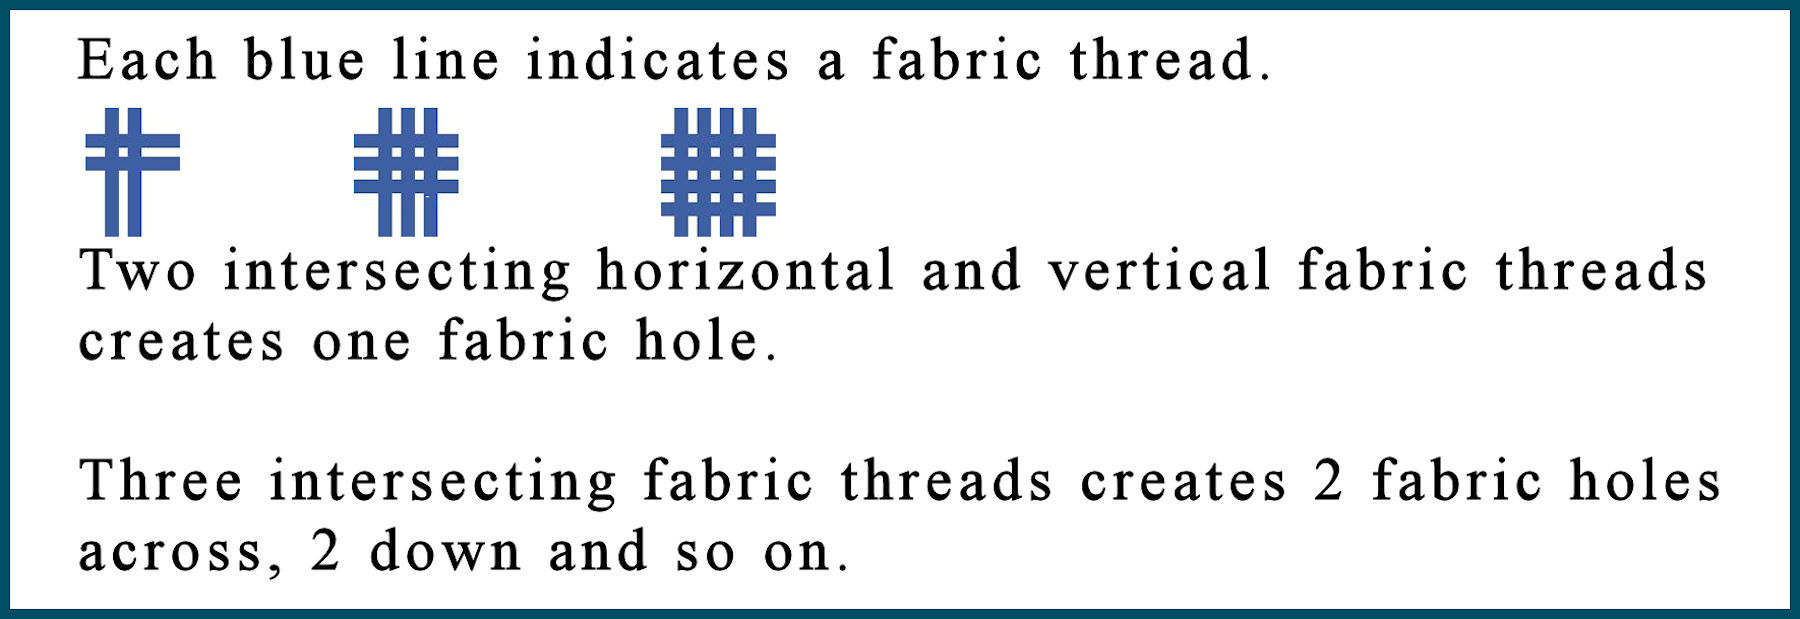 How many fabric holes per inch:I did this little chart to show how to determine fabric count. I have seen the definition of fabric count stated as the number of warp and weft fabric threads per inch. What that indicated to me was when a fabric is sold as, let’s say 24 count, it implied there would be 24 warp and 24 weft threads per inch and thus 23 fabric holes per inch. What I have learned over the years is that it doesn’t hold true. The square inch fabric thread count within the same piece is often different depending where you take the count per inch on the fabric. Hardanger fabric is an evenweave fabric in that there should be the same number of vertical and horizontal fabric threads per inch but fabric thread is sometimes thinner, other times thicker within the overall fabric piece. This is a normal occurrence with cotton and other fabric threads. Plus often you have, within a square inch, n numbers of horizontal fabric threads and n (+- 1) fabric threads vertically. Such as 22 horizontal and 21 or 22 vertical. My point is, if you are working on a 230 by 230 count design, it would be nice to think that the worked design would be 10 inch square if stitched on 24 count fabric. But I have found it might actually turns out to be a worked design from 9 to 11-inch along the length and width. Thus you really don’t know the fabric’s actual fabric hole count per inch until you have the fabric in hand and can mark several square inch areas and count the fabric holes. Even if you purchase a kit you can run into this problem. I received a cross stitch kit that included the fabric and a fancy wood frame. It was a Christmas tree design with a border. When finished I happily ironed the finished piece and went to place it into the frame to rudely learned the worked design was too large by about half inch all the way around! So even an 18 count Aida fabric may not be 17 horizontal and 17 vertical fabric holes per square inch. |
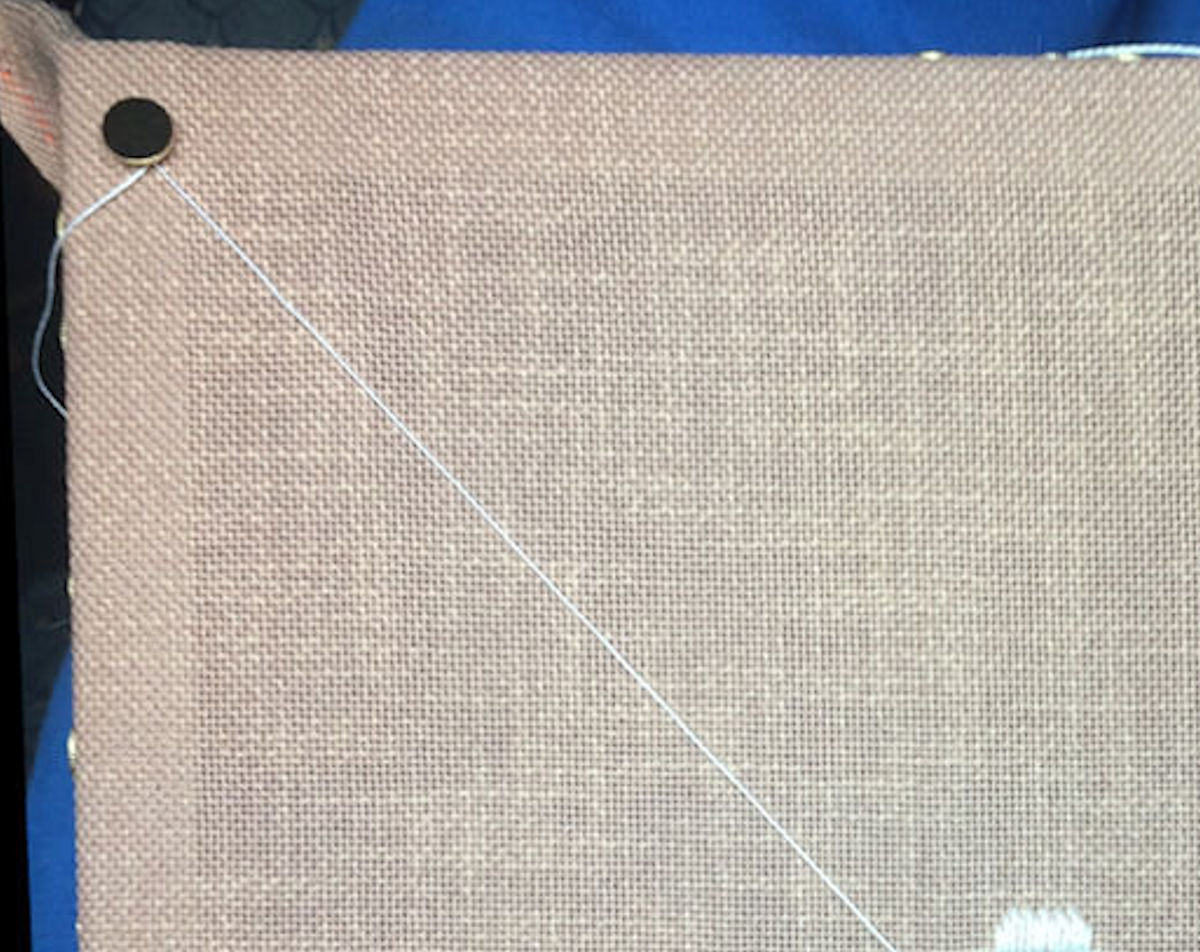
 Problems with fabric: Always check the fabric when you receive it. Mars within the fabric: Squareness of your purchased fabric: The mocha color fabric in the above photo was purchased as a 18 by 27-inch pre-cut piece of Vienna fabric (22 count). Green highlighted line on the photo is where I pulled a fabric thread out to check the edge’s straightness. Examining this above photo (remember to click the photo to enlarge it) you can see that on the extreme right side that there are 4-5 fabric holes below the green highlighted line and towards the left side of the photo you have 8-9 fabric holes below the green highlighted line. That might not seem like much (the veering from straight cut edge) over 4-5 inches but over a longer length like 27-inches, or a table top runner of say 55-inches in length, you can be running into a problem if you had started on the left side and found out you were running out of fabric as you worked towards the right.  Another check for squareness that I try to make myself do (I am normally quite impatient to get to the stitching) is hand stitch a rectangle (using a running stitch) the same fabric hole count as the design I am about to stitch.I do this running stitch rectangle in the area on the fabric where I plan to stitch the design. Then I use a metal carpenter’s square to check the squareness of the running stitch rectangle. If I find that the fabric is overly skewed I move on to another fabric piece. |
What size fabric to purchaseYou need to calculate design size and unused fabric around the worked design such taking into account: are you doing a turned hem, using a hoop or stretcher bars as you work, are you framing your finished piece or a pillow and need extra fabric around the worked design? Design size: the design count divided by fabric hole per inch count of the fabric. A design count such as 209 by 241 is the number of fabric holes you need to work the design. A 22 count fabric should have 21 fabric holes per inch but will probably be plus or minus 1-2 fabric holes per inch. So when I am purchasing fabric I always assume the worse: that a 22 count fabric could actually be 19 fabric holes per inch, a 24 count fabric might have as few as 21 fabric holes per inch.
So far we have a design size of 11 by 13-inches -and a piece of fabric 15 by 18-inches. That gives us 2 to 5-inches of unused fabric outside of the design area. Working in hand, with a hoop or frame:
 Even though I normally work a buttonhole edge and trim excess fabric off from around the worked design, to me a 14 by 17-inches work area is cutting it close for a 15 by 18-inch piece of pre-cut fabric. I rather purchase a larger piece of fabric, which as I normally purchase pre-cut would be about 18 by 29-inches. The large size piece of fabric would be more expensive but would give me peace of mind. If you need advice determining what size fabric to purchase, check the contact information of the store you are purchasing from for an email address or call them for help in. You will need to tell them the count size of your design, how much space you need around the design as you stitch and what fabric hole count you want the fabric to be. |
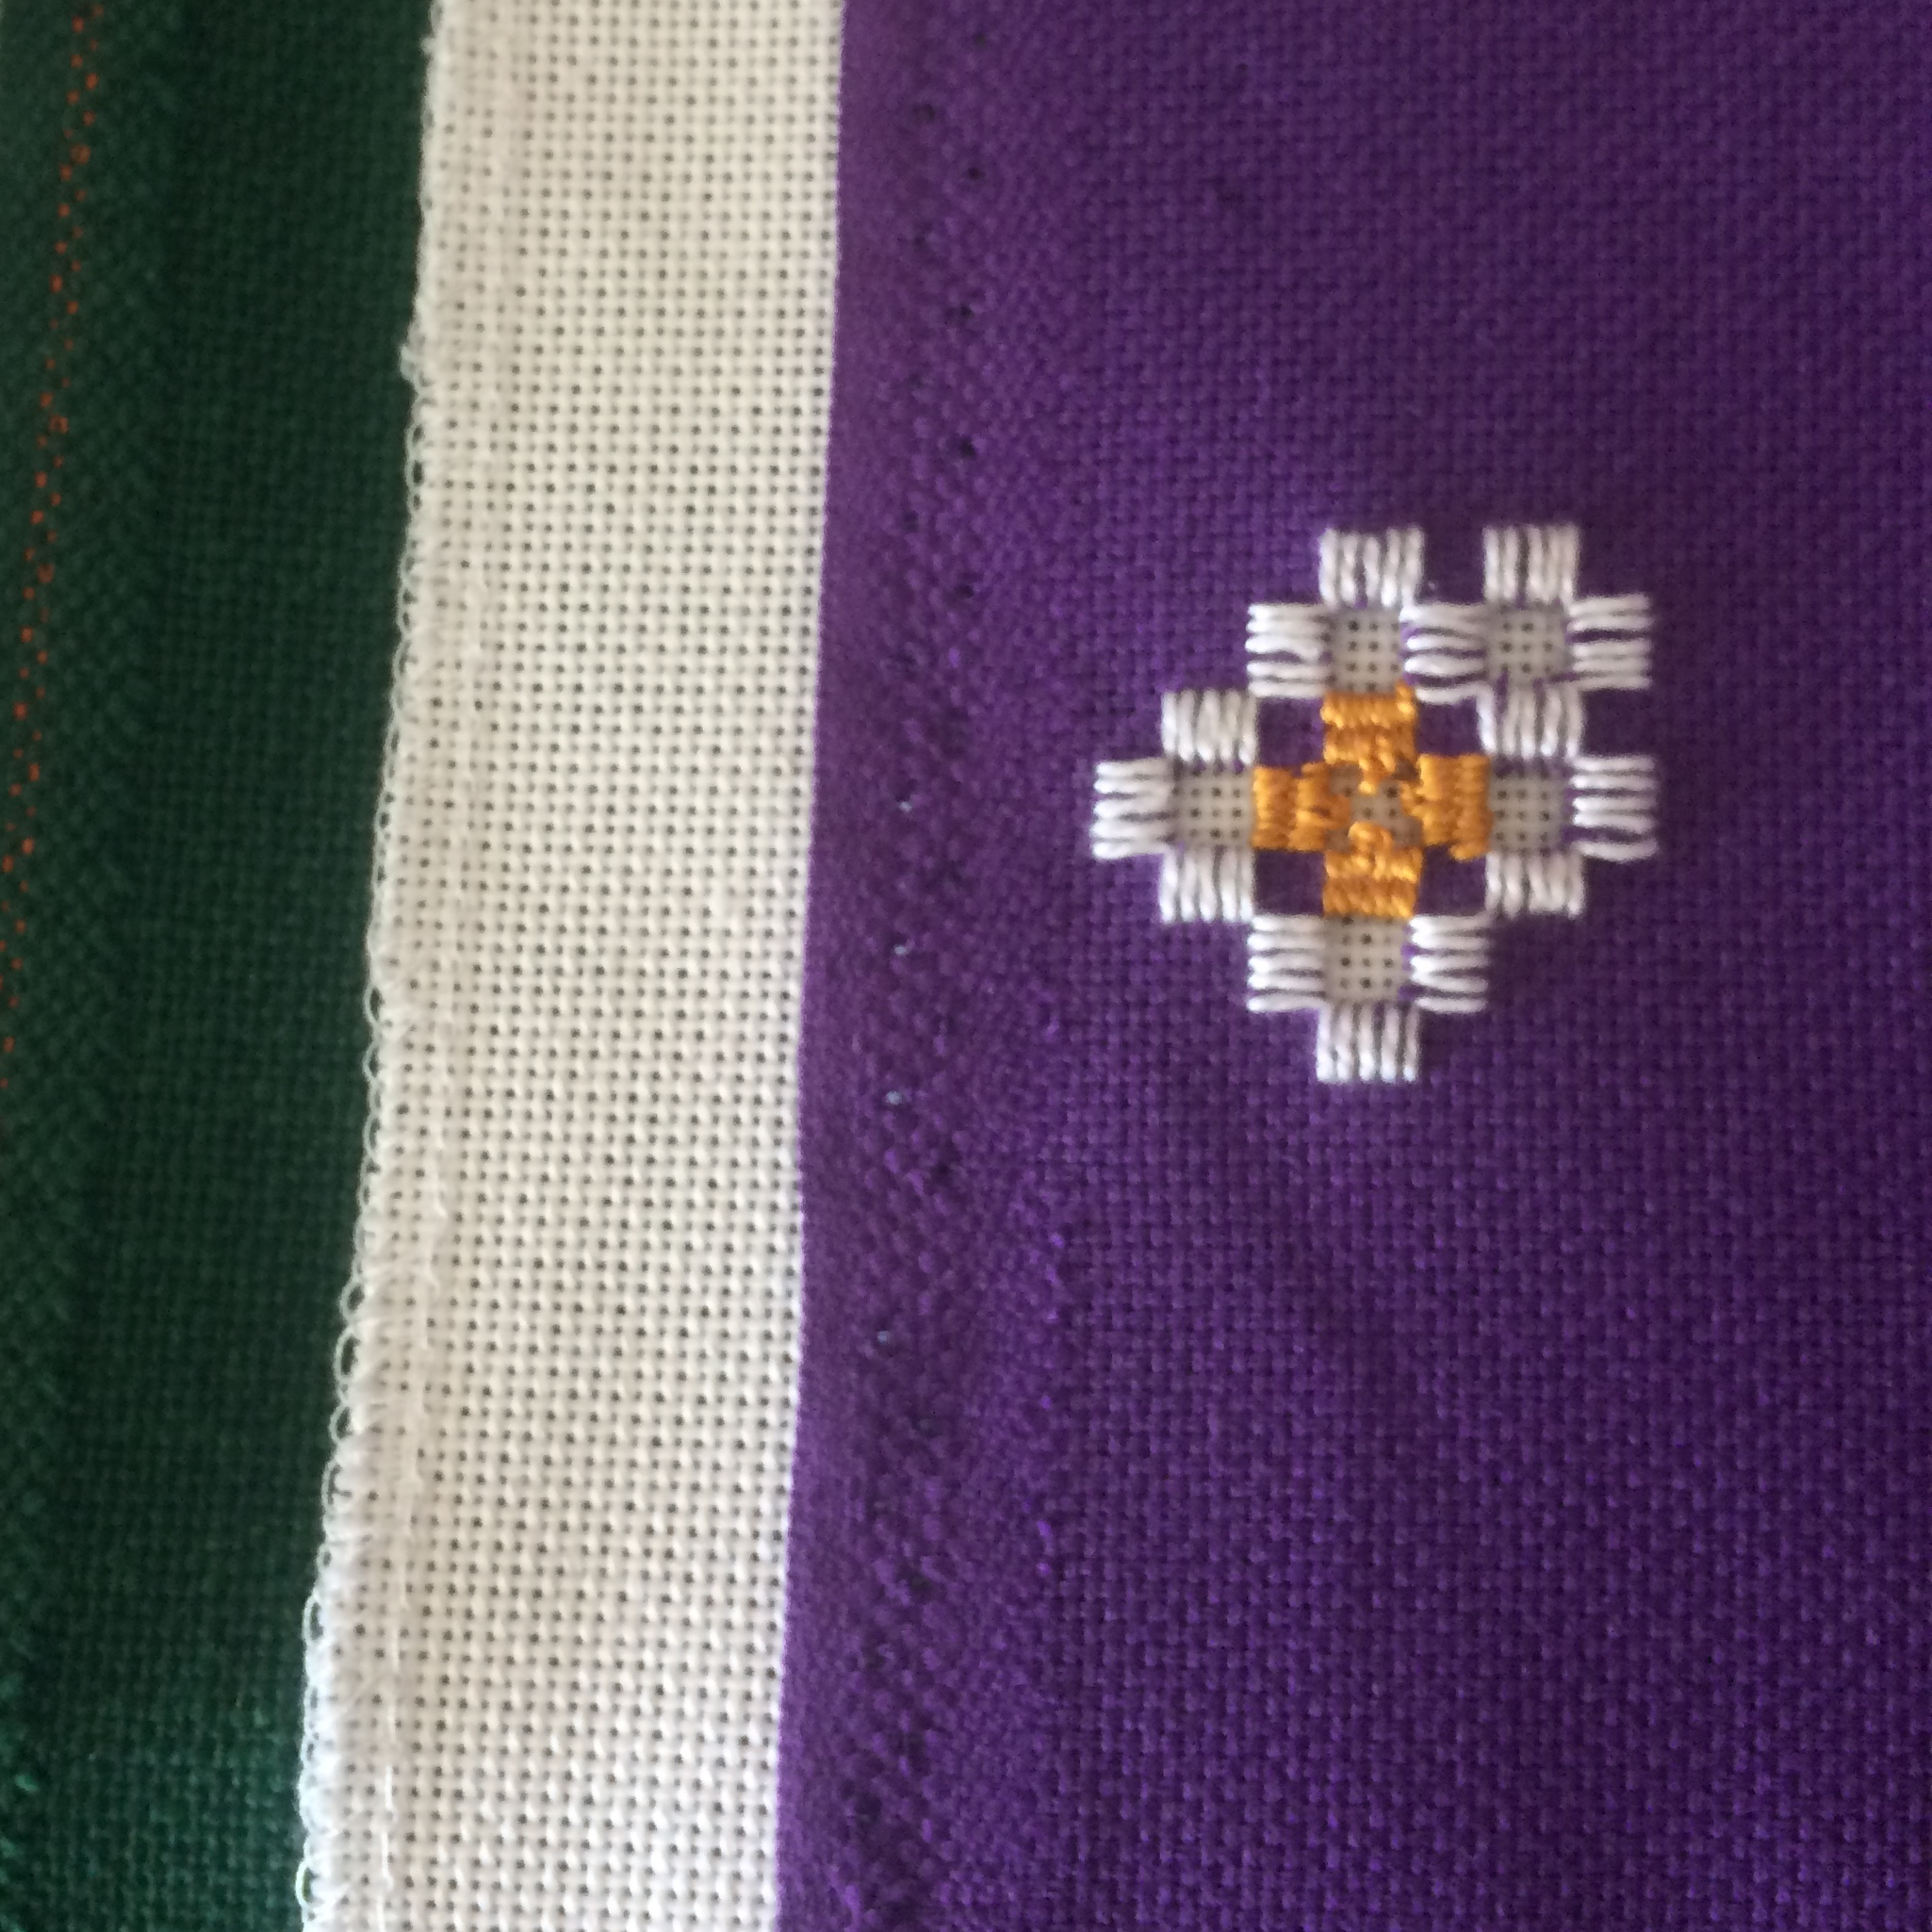 Left photo shows a small selection of available Hardanger fabric. The green fabric is: 22 count Fine Ariosa, color Forest Green, 63% cotton, 37% rayon, Zweigart The white fabric is: 20 count Lugana, color White, 52% cotton, 48% viscose, Zweigart The purple fabric is: 22 count (I always seen it just called Hardanger weave), color Lilac, 100% cotton, Wichelt Imports
|

A Few Last Thoughts:
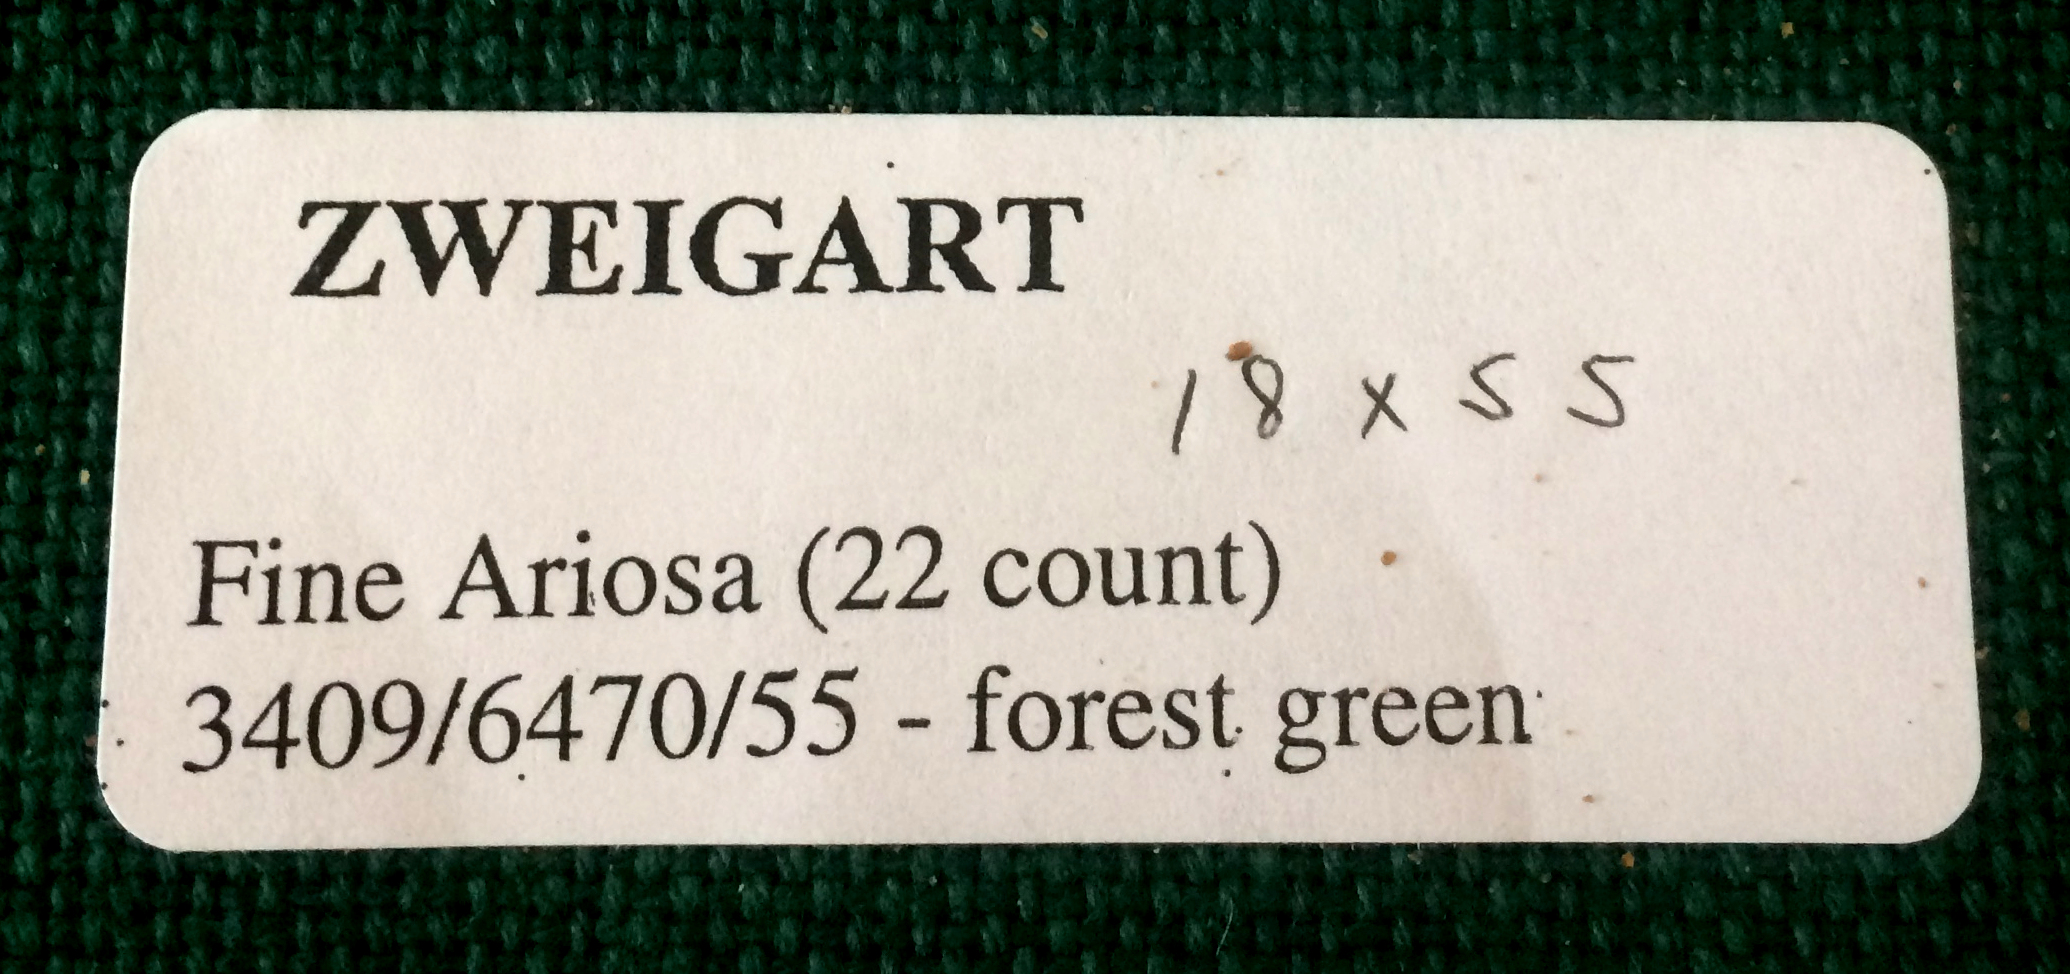 The first thought is about storing fabric and keeping id info with it:I often purchase fabric (during a good sale) years before I get to actually work on the project. So I take the time to write the fabric info (count, color, manufacturer, etc.) on a label and adhere to the fabric. When I get down to a small, leftover piece of the fabric I then use a running stitch to stitch the id label onto the fabric. This way I have built up a set of sample labelled fabrics that I can look over when I get ready to put together a new project and need to decide what fabric to purchase. Second thought is: A write-up blurb on the Edmunds wood stretcher bars that I use stated: “Manufactured from soft pine with eased edges, they eliminate the need to block your work. Simply combine any two sizes to form the exact size frame for your project. The stretcher bars eliminate movement and keep your work taut and clean. Sold by the pair – two pair make a frame.” Well, that’s not quite all true. They do not always eliminate the need to block your work. That depends on if you:
Whether working in hand, within a hoop or a frame, if you are a bit too tight as you stitch you can pull your worked piece askew. It is not an easy task to ensure you aren’t skewing or puckering the fabric as you work, but no matter which style embroidery you enjoy, you will be putting a lot of effort into your project. So keep mental notes to check your stitching tension, that the fabric isn’t being pulled aside as you work, and that your hands are clean as you work. I completely ruined my first needlepoint project by thinking that with it being on a scroll frame it would turn out nice and square. It didn’t. The over tightness of my stitching pulled the overall finished piece out of shape, something I didn’t realized until I was way into stitching the 18 by 20-inch design.
|
A few more thoughts since I first wrote the above blog page:
1) I received two pairs of 8-inch Evertite stretcher bars and the T-tool as a Christmas gift from my sister. The Evertite stretcher bars are wood and use a T-tool or Allen wrench to loosen/tighten the screw/bolt system at each corner of a tacked on embroidery project. I have since purchased 2 pairs of 10-inch and 2-pairs of 16-inch. I like them for projects that I want super taut, as in drum tight throughout the stitching of long/short, crewel or cross-stitch projects. I find each pair to be expensive (in 2018 a pair of 8-inch Evertite was $16.50 and Edmunds was $2.90). Because tacks leave holes in the wood stretcher bars, I doubt if the Evertite will last through any more projects than the Edmunds.
Throughout my blog pages with photos of Hardanger and Bargello worked designs, I used Edmunds stretcher bars 3/4 inch thick by 8 to 26-inches in length (depending of the projects length).
2) You might have noticed in my WIP photos on my blog pages, where you can view the unused outer fabric, that I work a lot closer than my suggested 2 to 3-inches of unused fabric along each side. I have found I only need about an inch of unused fabric between the bar frame and the outer edge of the worked design. When I untack my finished project that gives me 1.5 to 2 inches of unused fabric all the way around. Plenty for me to hold onto as I make a pillow or place the worked piece into a mat and frame. BUT if you are going to take your worked piece to a framer or pillow maker I would give them 3 inches of unused fabric outside of the worked design area.
So when you first begin counted embroidery, I think it is a good idea to have the three inches of unused fabric until you determine your preference of unused fabric width.
3) Closeups of a few fabrics:
I worked my Caribbean design on Zweigart 24 count Congress cloth. This fabric is 100% cotton and has a lot of sizing (starch), so the fabric is stiff enough that I only tack it on the top side of the stretcher bar frame.
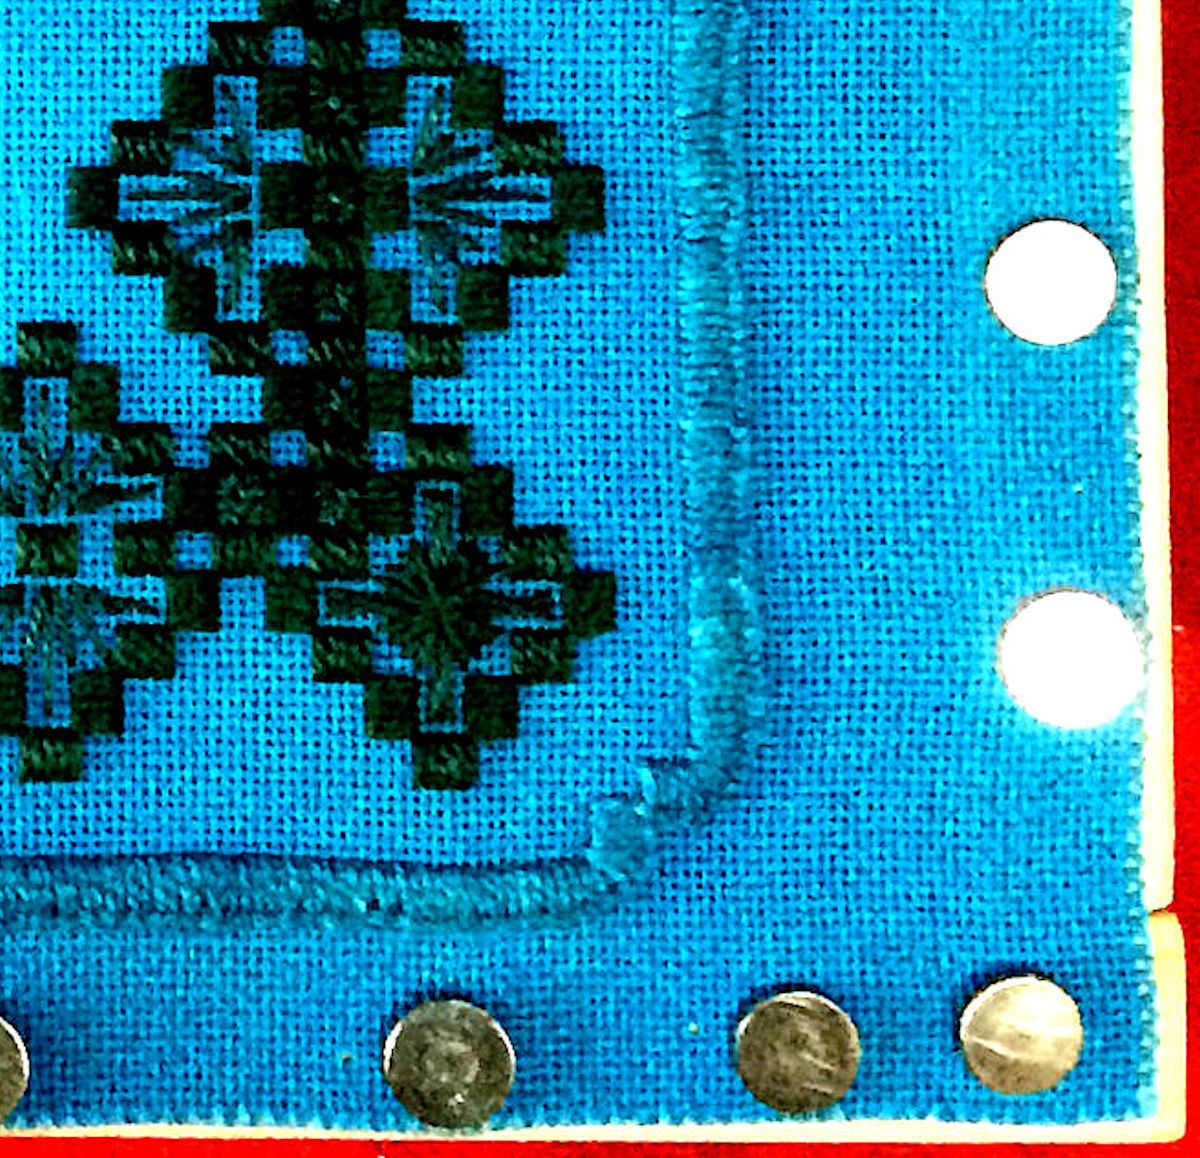
I worked Snowy White Mocha on Zweigart 22 count, Vienna (62% cotton, 38% rayon). This is a soft fabric. In order to keep it taut while I stitched, I folded the fabric over the edge of the stretcher bars and tacked along the sides. A tack placed on top at each corner gave me a place to wrap thread from one corner to the other, forming an X. Middle center of the X is where began to stitch.
Entwined Pomegranates is worked on 18 count mono canvas, Zweigart. It is 100% cotton with a lot of sizing so I only tack along the top of the stretcher bars.