
A few comments:
- Length of your sewing machine stitch should be short and smooth, not the longer length for baste stitching.
- The raw edge of the piping sleeve points out toward the raw edge of your worked piece.
- You will be sewing such that the worked side of your design is facing you with the piping on top.
- Secure the begin and end of the piping piece so that it looks nice.
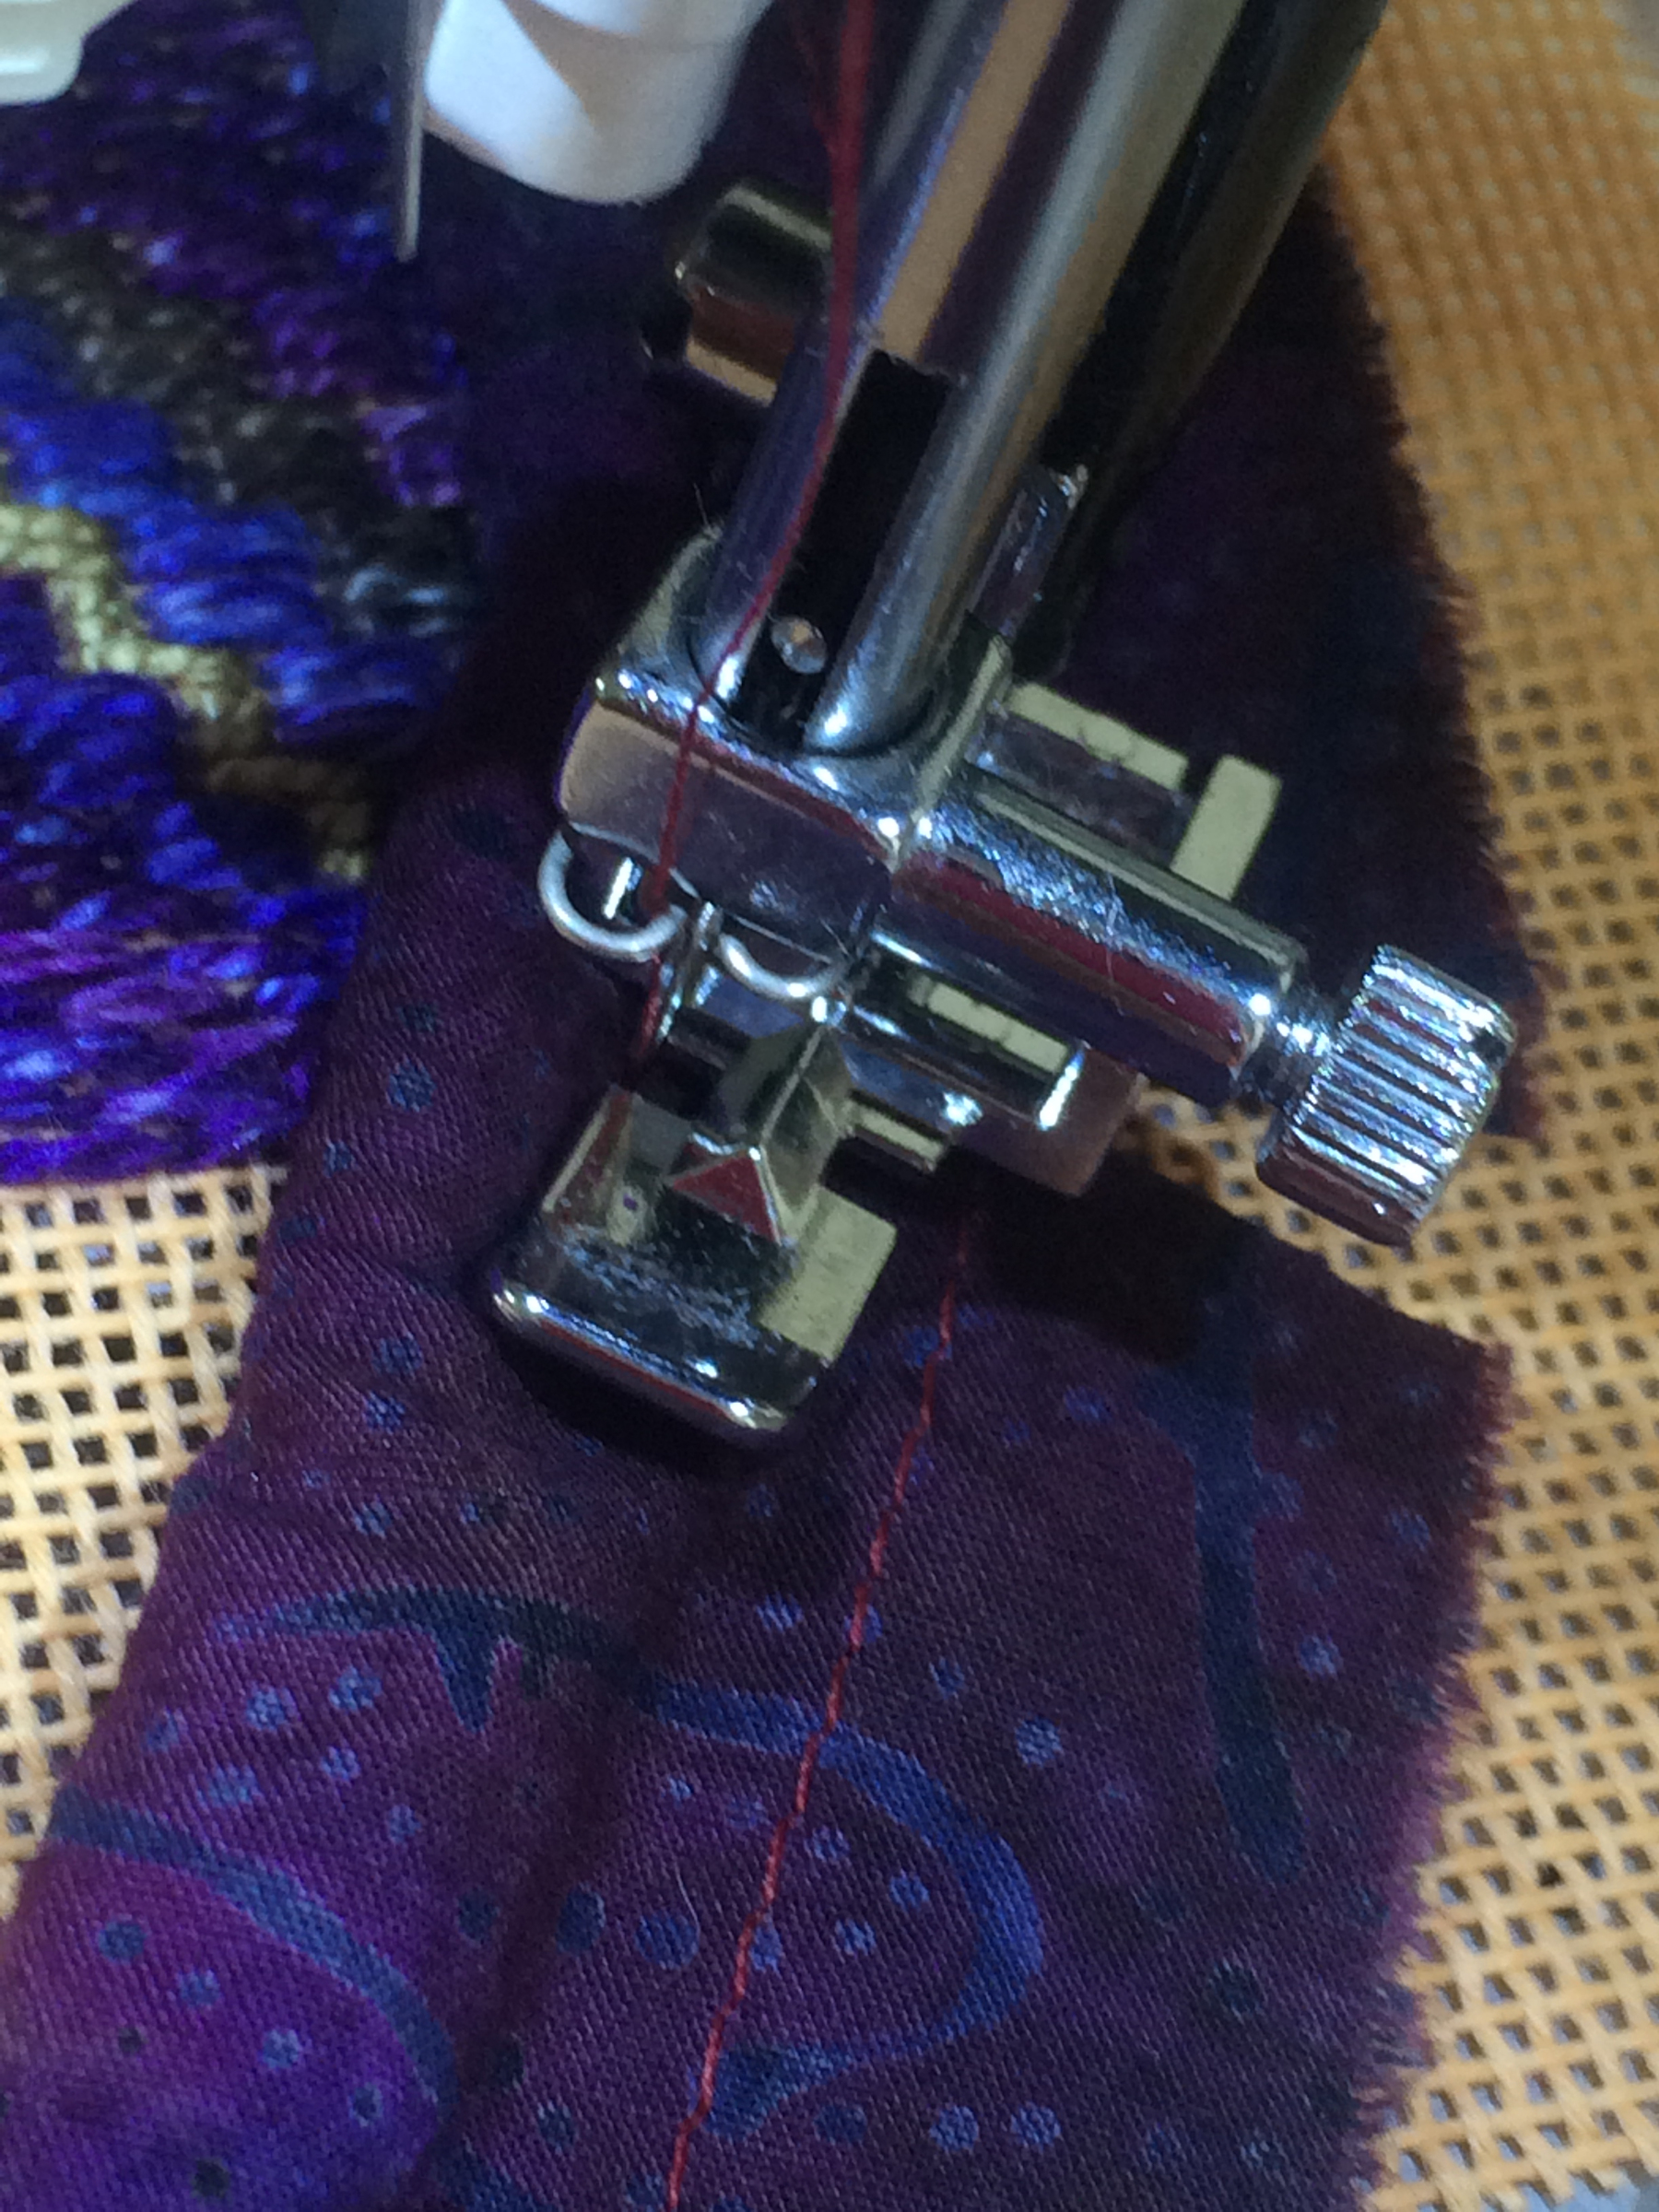
- Sew so that you stitch as close as possible to the cord inside the piping sleeve without the needle going into the cord. I found using the zipper pressure foot and having the needle position to be midway worked best for me at this stage.
- Keep your sewing stitches to be along the edge shape of the pillow you are creating.
For a larger view, click any of the below photos.
Securing the piping to the front fabric: Start the machine sewing about mid-way along a side of the worked design and a few inches in (from the start end of the piping). This loose start end of the piping will be used when securing the start and end tails of the piping in the below section Sewing the Two Ends of the Piping. In this photo you can see how I used my fingertip to (1) snug the piping to be right against the outer edge of the underneath worked area and (2) used my fingertip to ensure that the cord inside the piping was pushed to be right against the fold of the piping sleeve. How to determine where to sew for the pillow’s edge: For my Fall leaf pillow and the Nantucket pillow there were drawn dashed lines on the front piece (these were purchased crewel kits). As I sewed the piping onto the front piece I lifted the piping up every few inches to check that I was stitching along that guideline. For the Waves of Early Fall and the Entwined Pomegranates pillows (counted Bargello designs) I wanted the stitched line of the pillow’s edge to be right along the outside of the design’s worked area. The threads used for these worked designs were size 5 perle. The size 5 thread is thick enough that I could feel the edge of the worked area through the material (2 fabric layers) of the piping. |
 Stitching a corner: As I approached a corner, I found it best to do some angle snipping of the piping sleeve fabric so that it did not bunch as I sewed the corners. After a corner I normally took the pillow out from under the needle, snipped any long sewing machine threads and examined my progress so far. |
 I did squared corners for my first three pillows. For my fourth pillow I decided to do slanted corners. It was easier to machine sew the slanted corners, less fighting the piping sleeve fabric (to keep it from bunching over). |
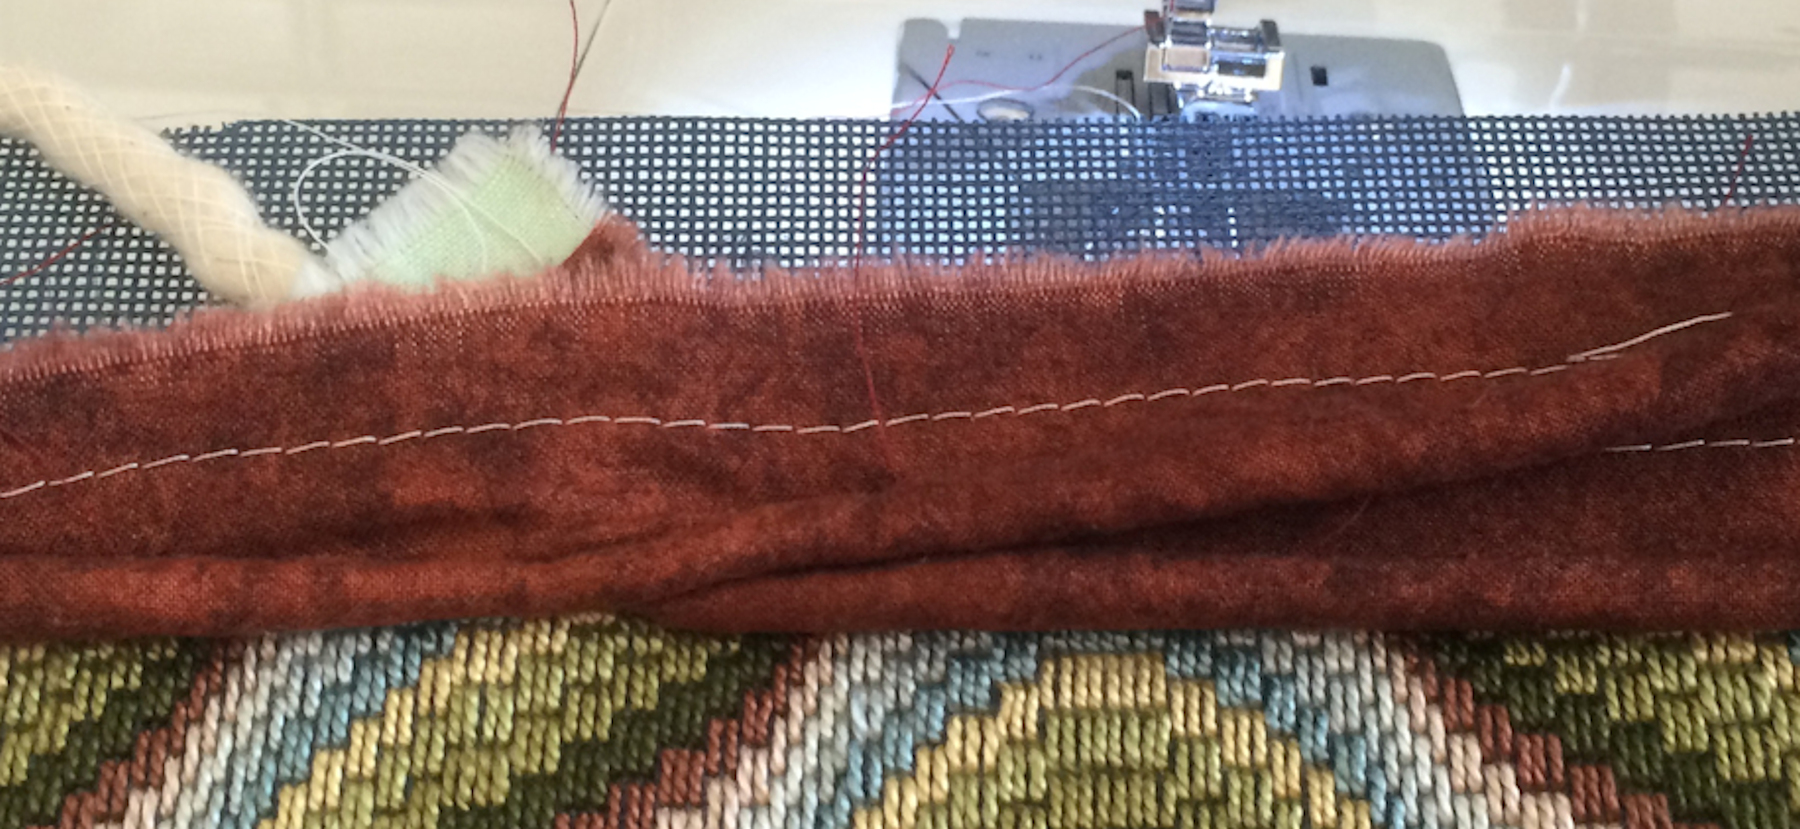
 Securing the start tail of the piping:When I began, up above, I started the machine sewing a few inches in from the start end of the piping. To secure the start tail of the piping: pull the start end of the piping out towards the raw edge as I have done in this photo and then sew along the “secure the piping to the front fabric” stitch line. You will be crossing over the sleeved cord of the piping. I found it was easier on me and the sewing machine to go backwards when first going over the sleeved piping to secure the start tail. |
 Sewing the end tail of the piping: This photo shows how I cross the end tail of the piping over the start tail. Go slowly, you don’t want to break your sewing machine needle as you go through the thickness of the cord. |
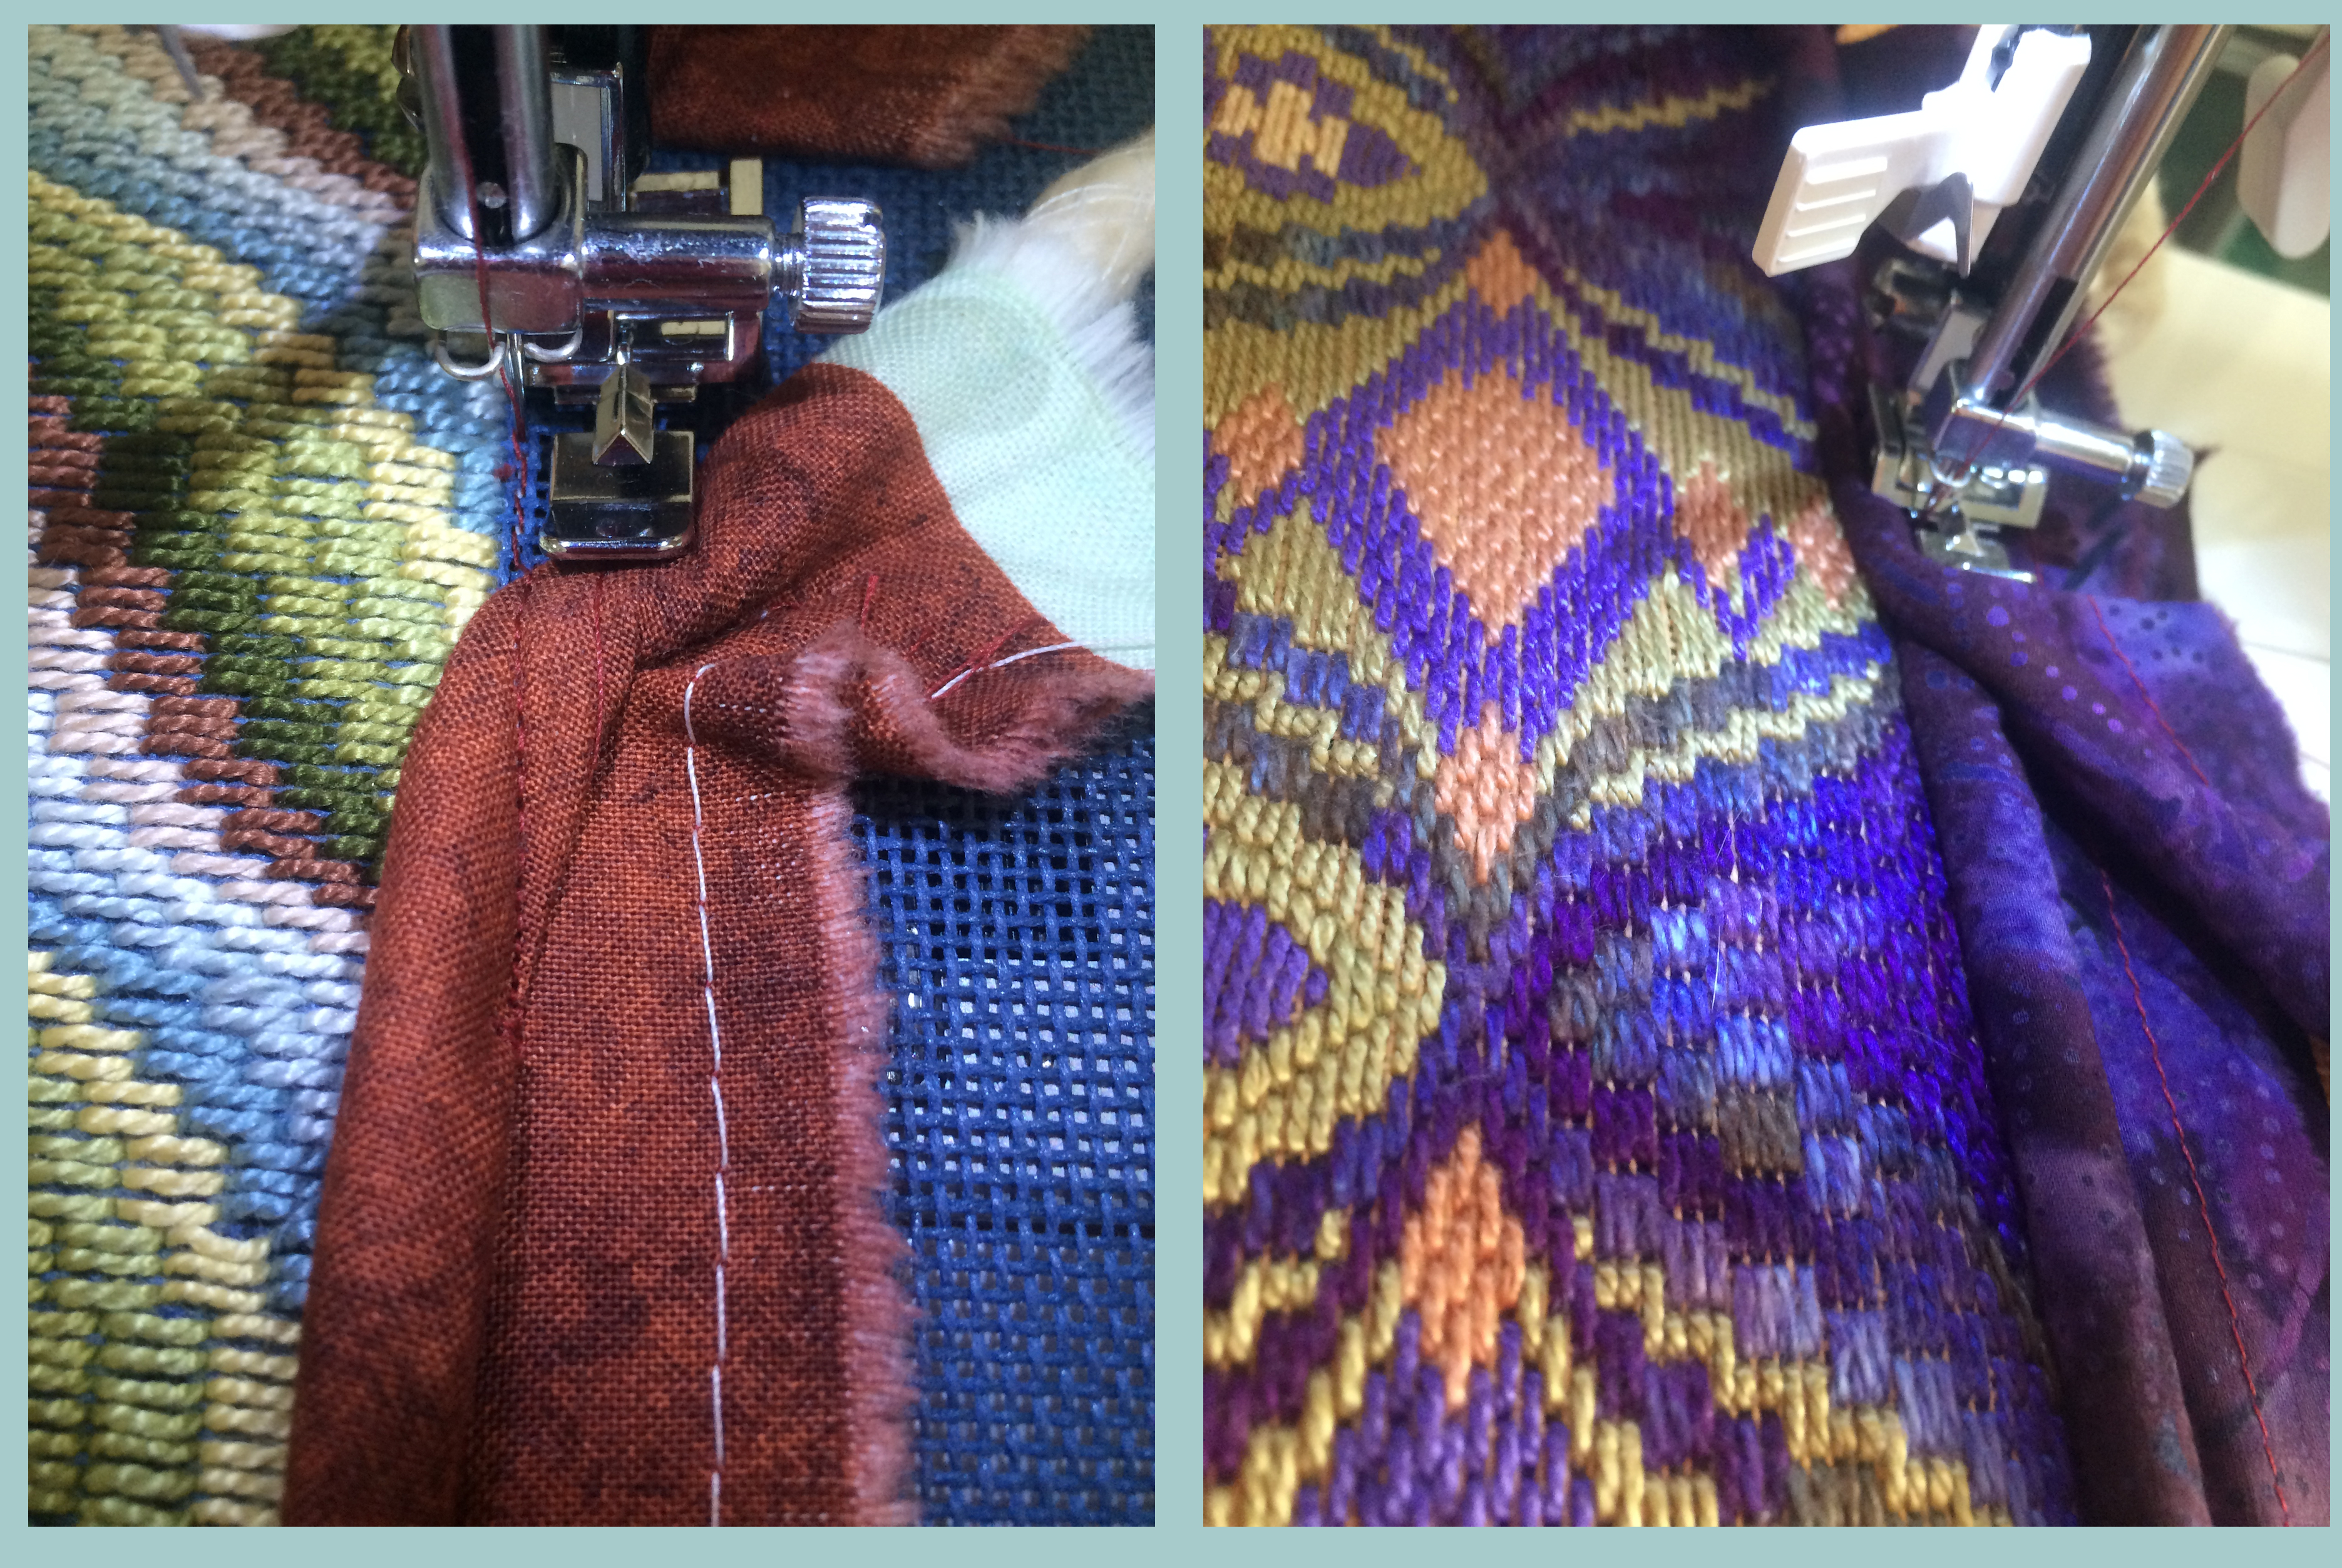 Left photo shows sewing across the slanted start tail of the piping. Right photo shows securing slanted tail end of the piping. |
Checking the machine sewing:
Once the piping is machine sewn all the way around onto the front fabric, closely examine to ensure that you stayed on the “line” that defines the shape of the pillow.
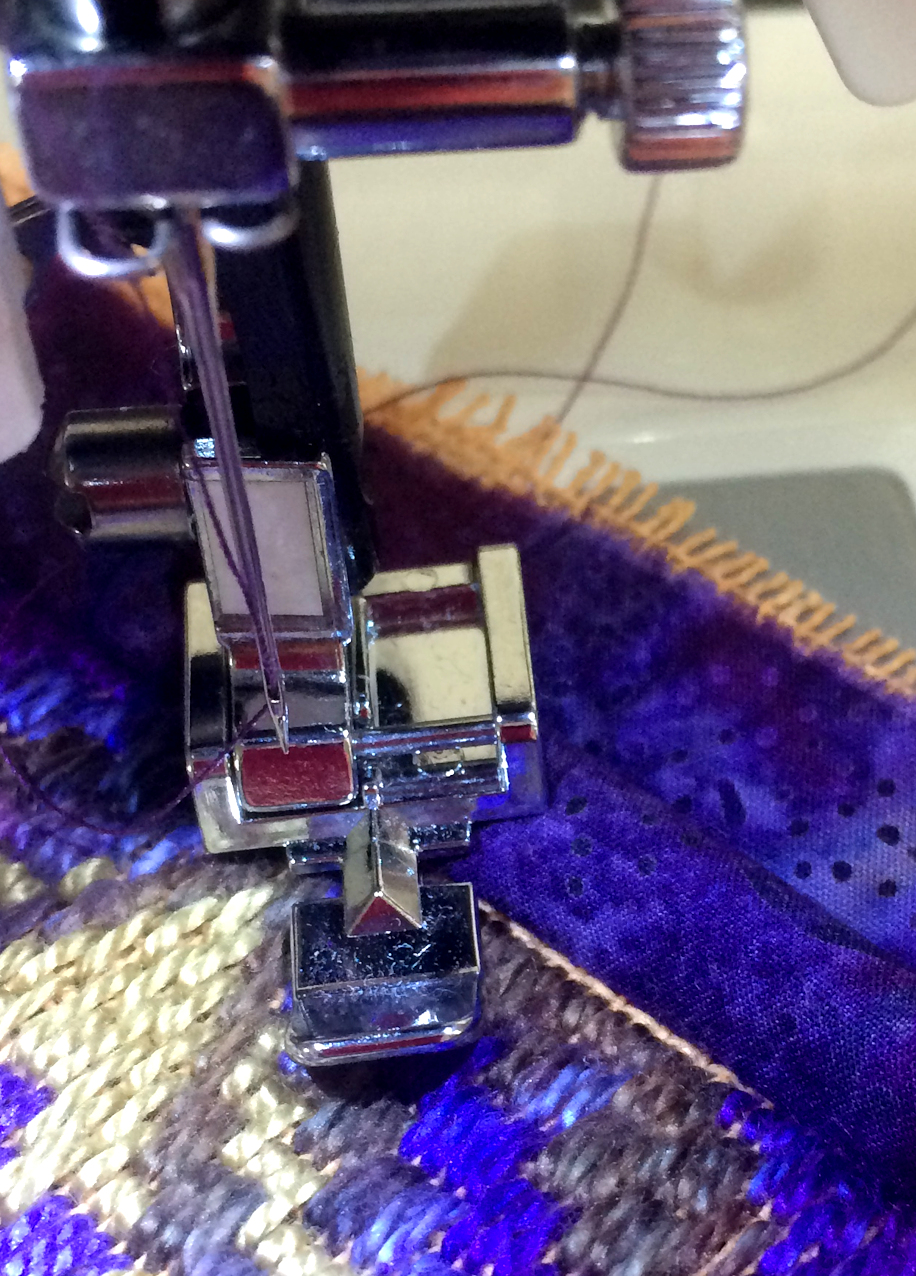
Using fingertips push the piping back to see if the stitching went into the worked area on the front piece (if so remove the machine sewn thread and try again) and check to ensure you haven’t move the sewing foot away from the guideline for the pillow shape.
In this photo I am using the pressure foot of the sewing machine to push the piping back so that I can take a photo and show you a place where I sewed away from the guideline and created a sliver where raw fabric of the front piece is peeking through. To correct this I just went back over that area, machine sewing as I fingertip pushed against the cord side of the piping sleeve to get the pressure foot snugger against the piping and hence was able to sew along the guideline (outer edge of the pillow shape).