This photo shows a purchased piping. I liked the solid purple color of this purchased piping for use with this pillow but decided to instead create a piping that matched the back fabric of the pillow.
Click to enlarge any of the presented photos.
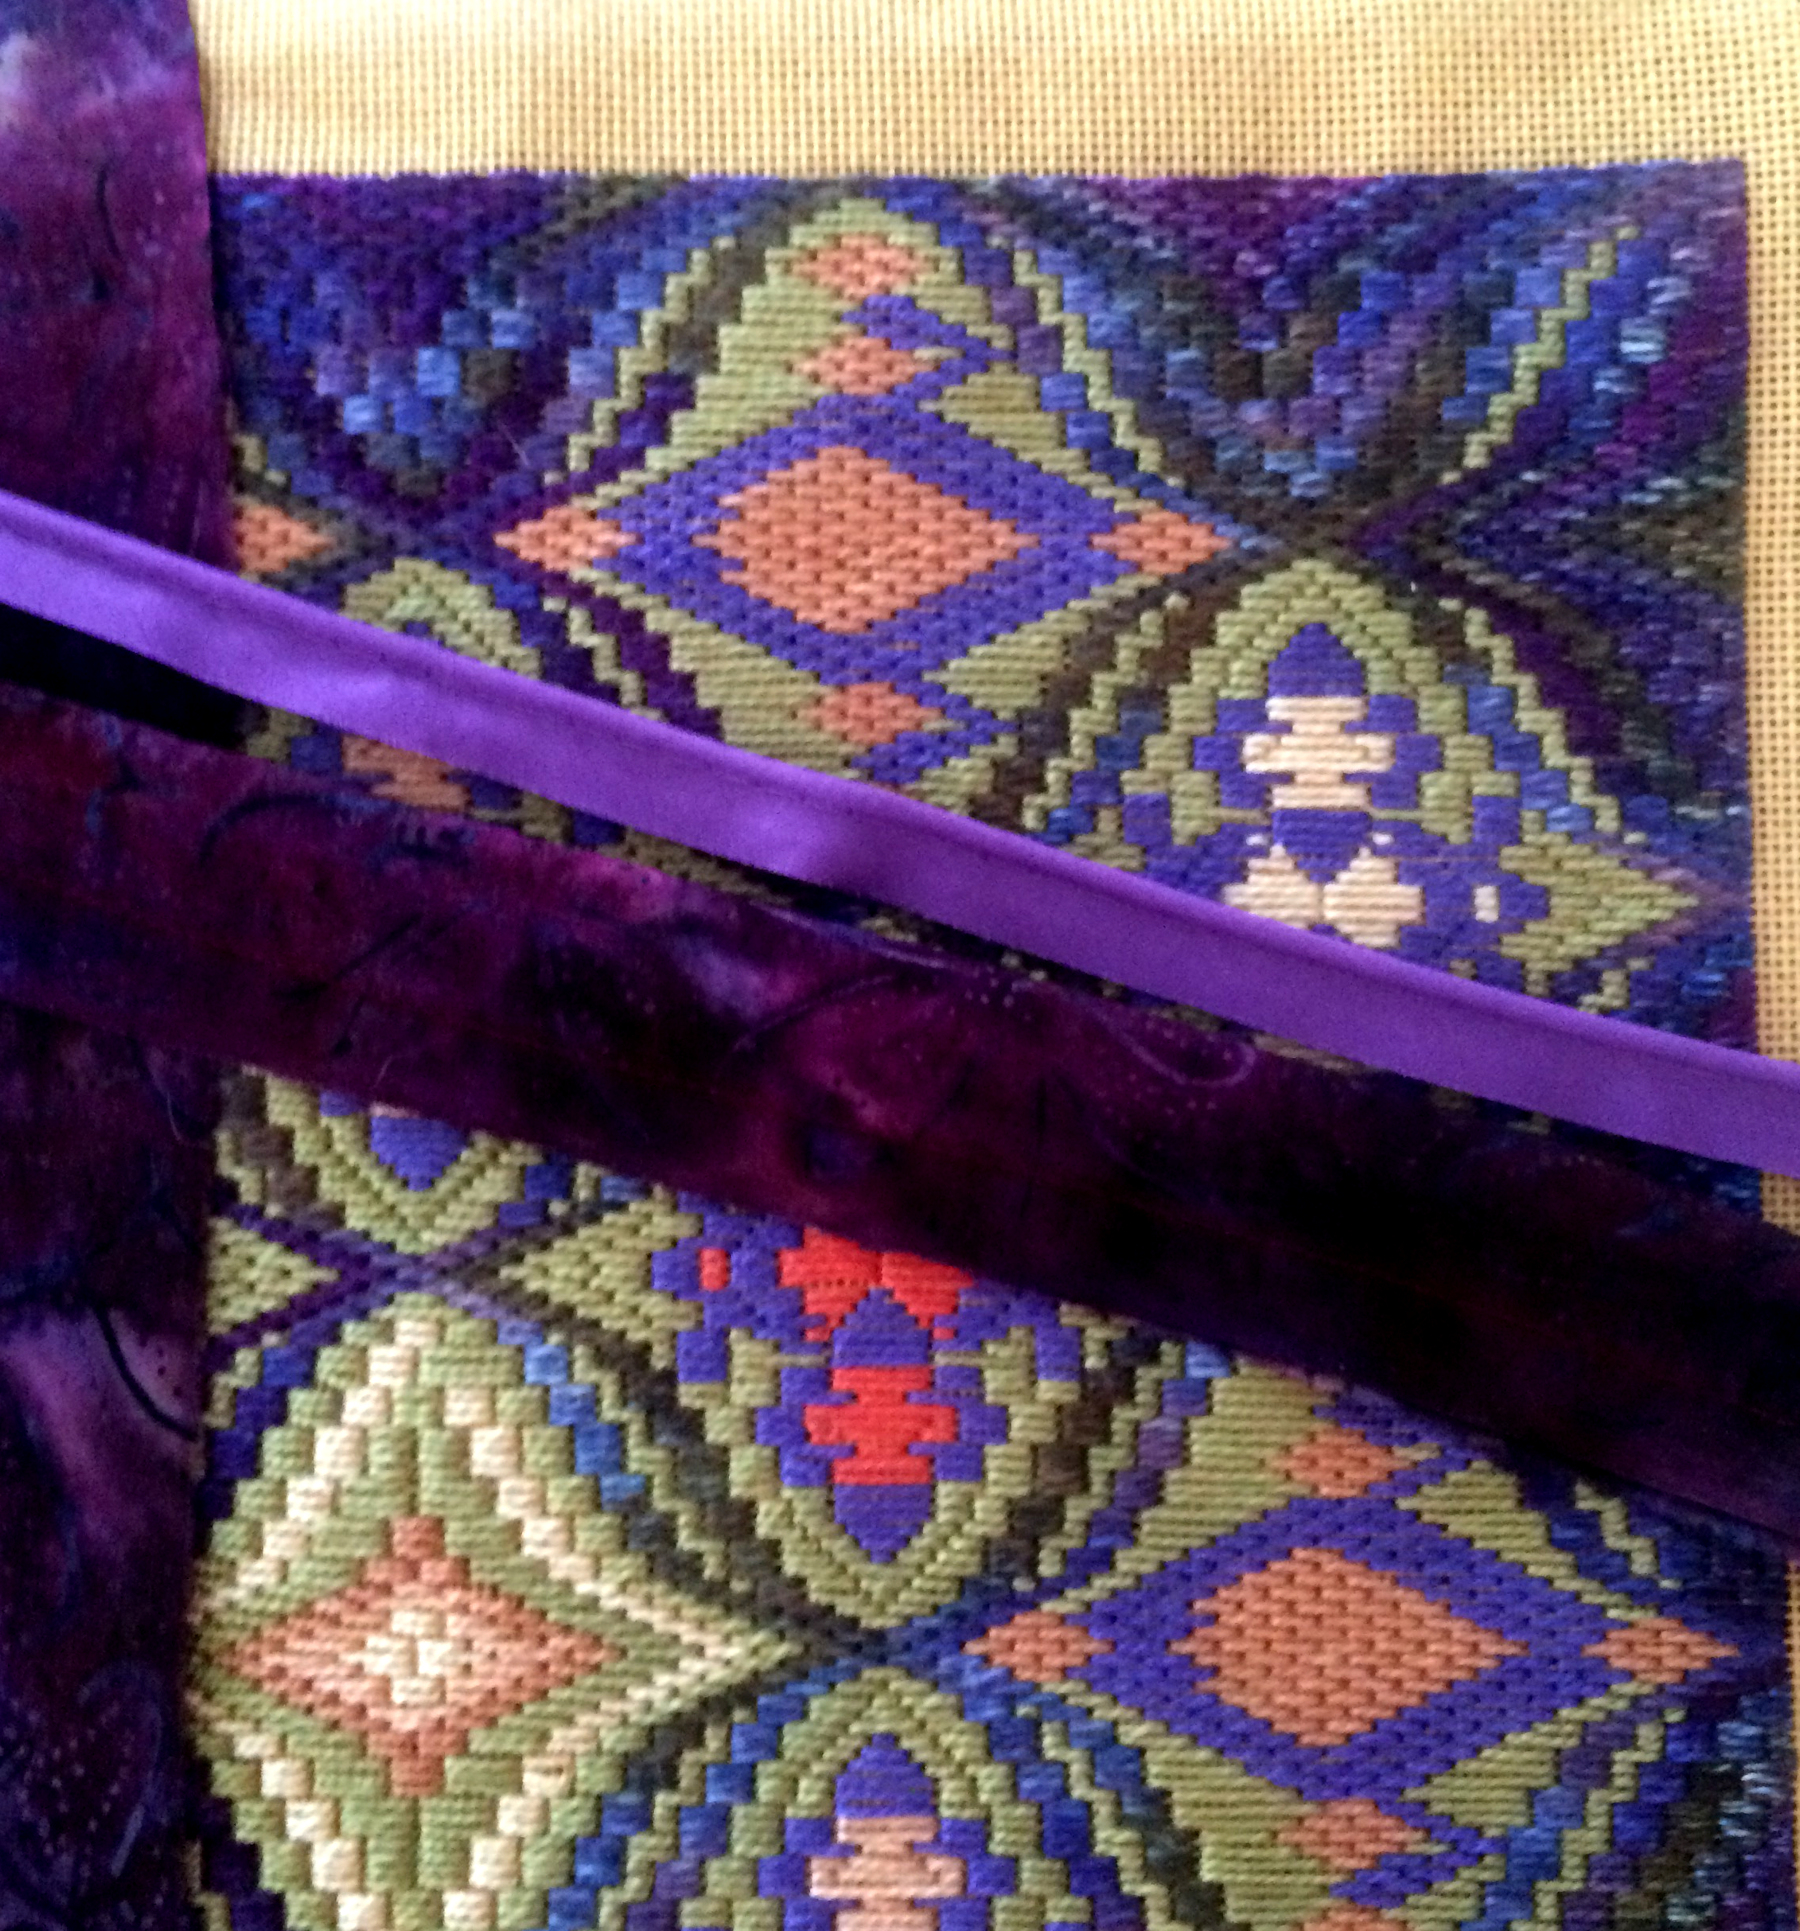
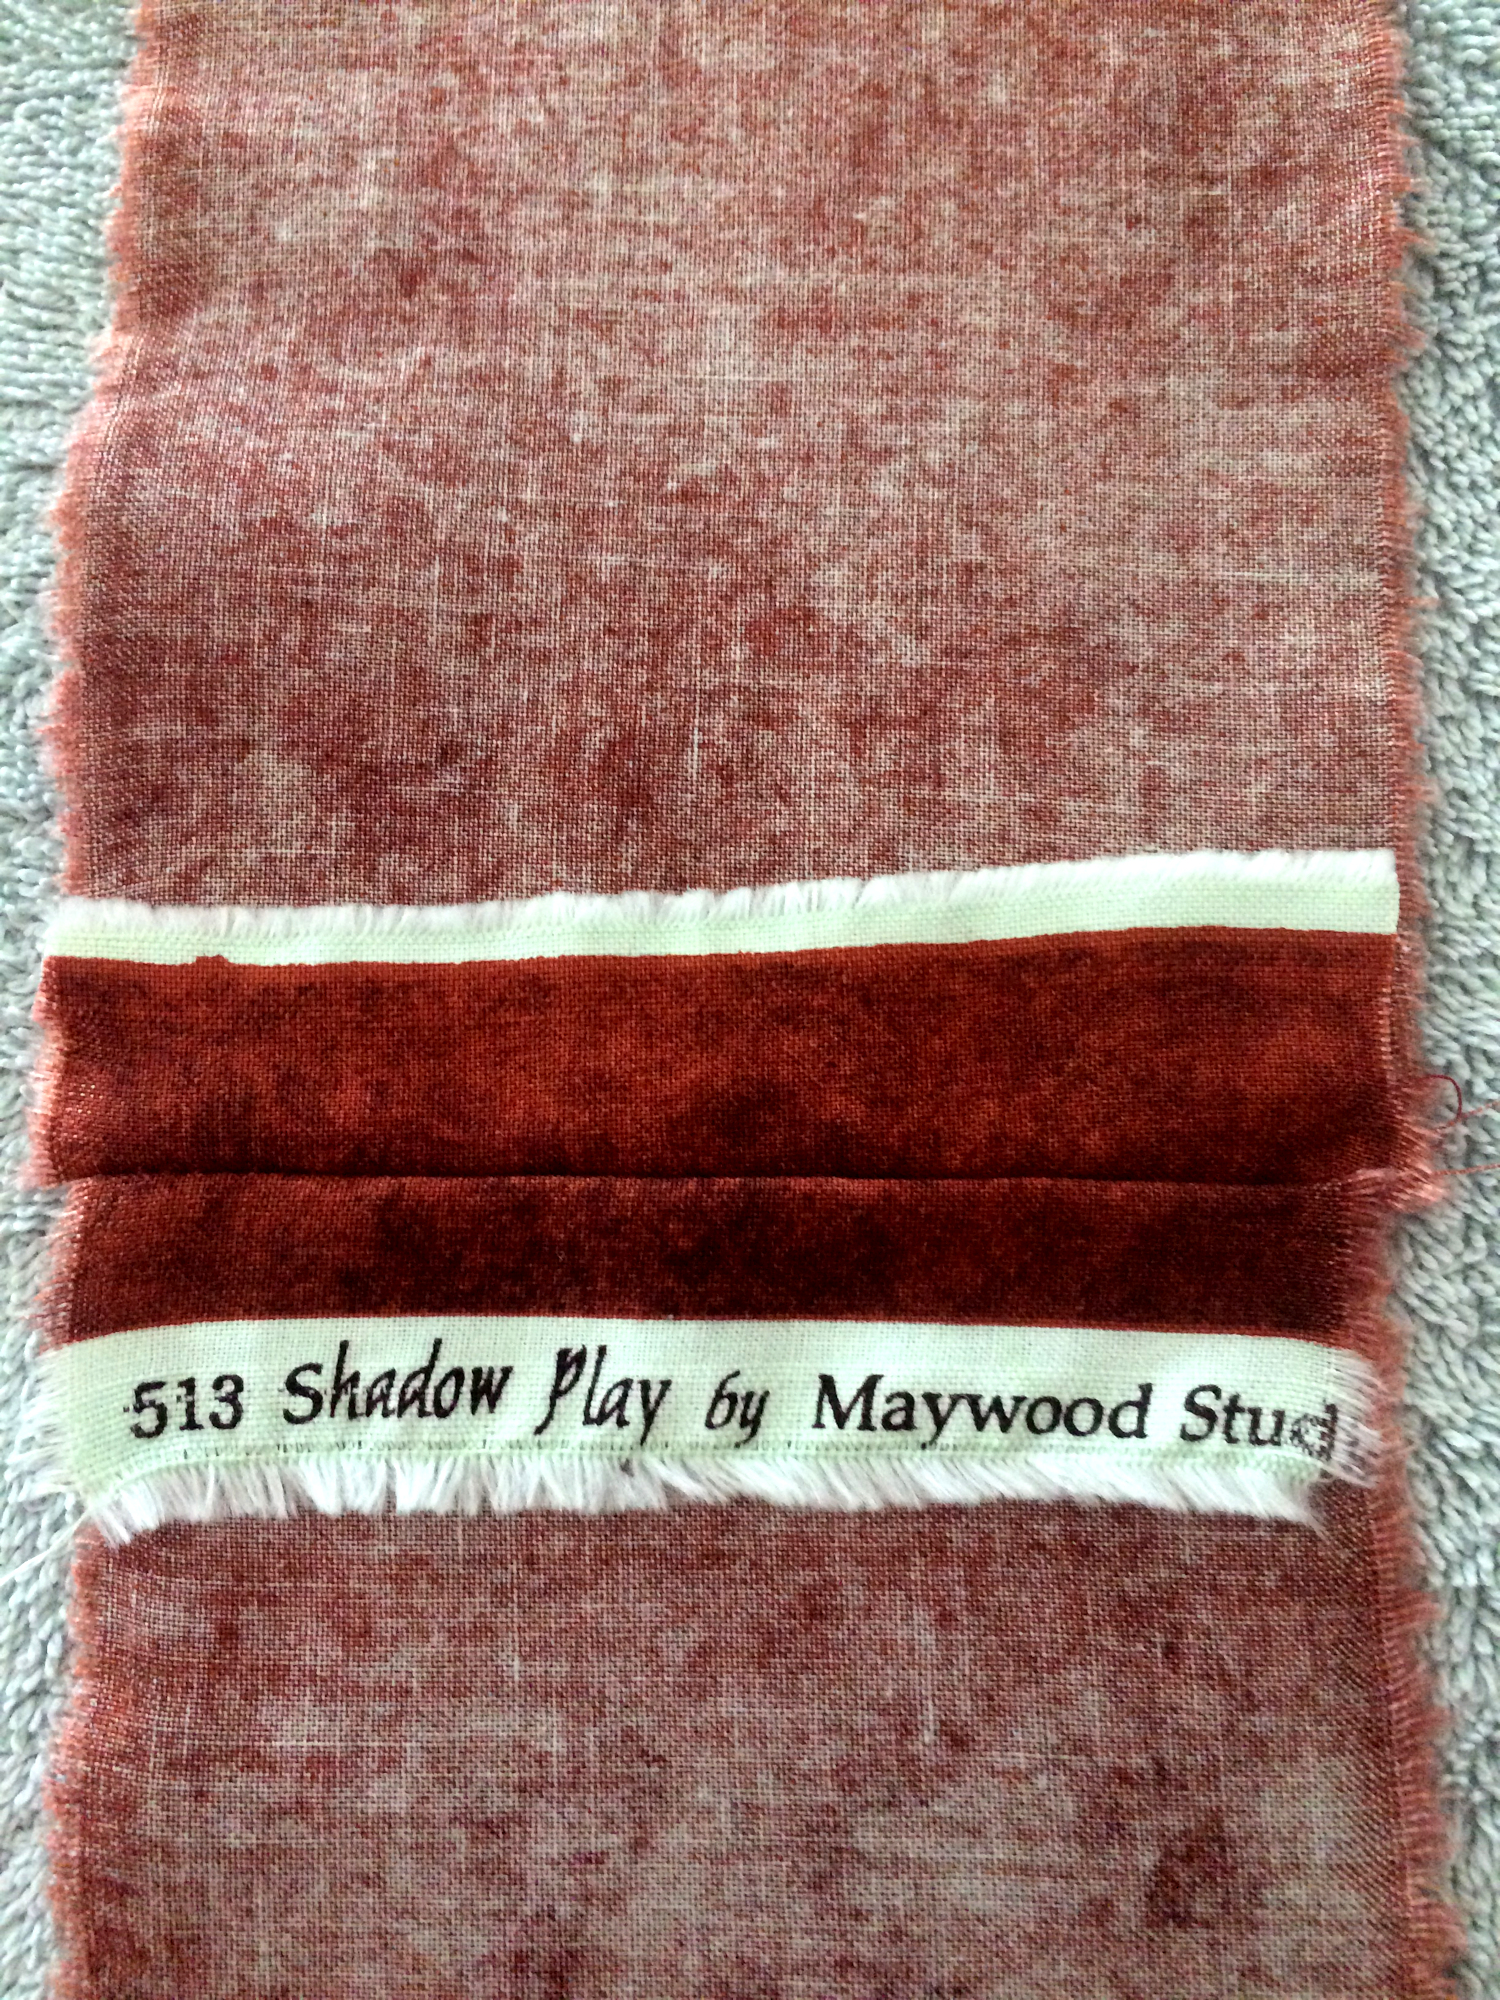
Pillows shown in the below photos are: Entwined Pomegranates (Bargello) and Waves of Early Fall (Bargello). Others are purchased vintage crewel kits.
You can view front and backs of these pillows at the bottom of this page.
Purchasing fabric for the piping: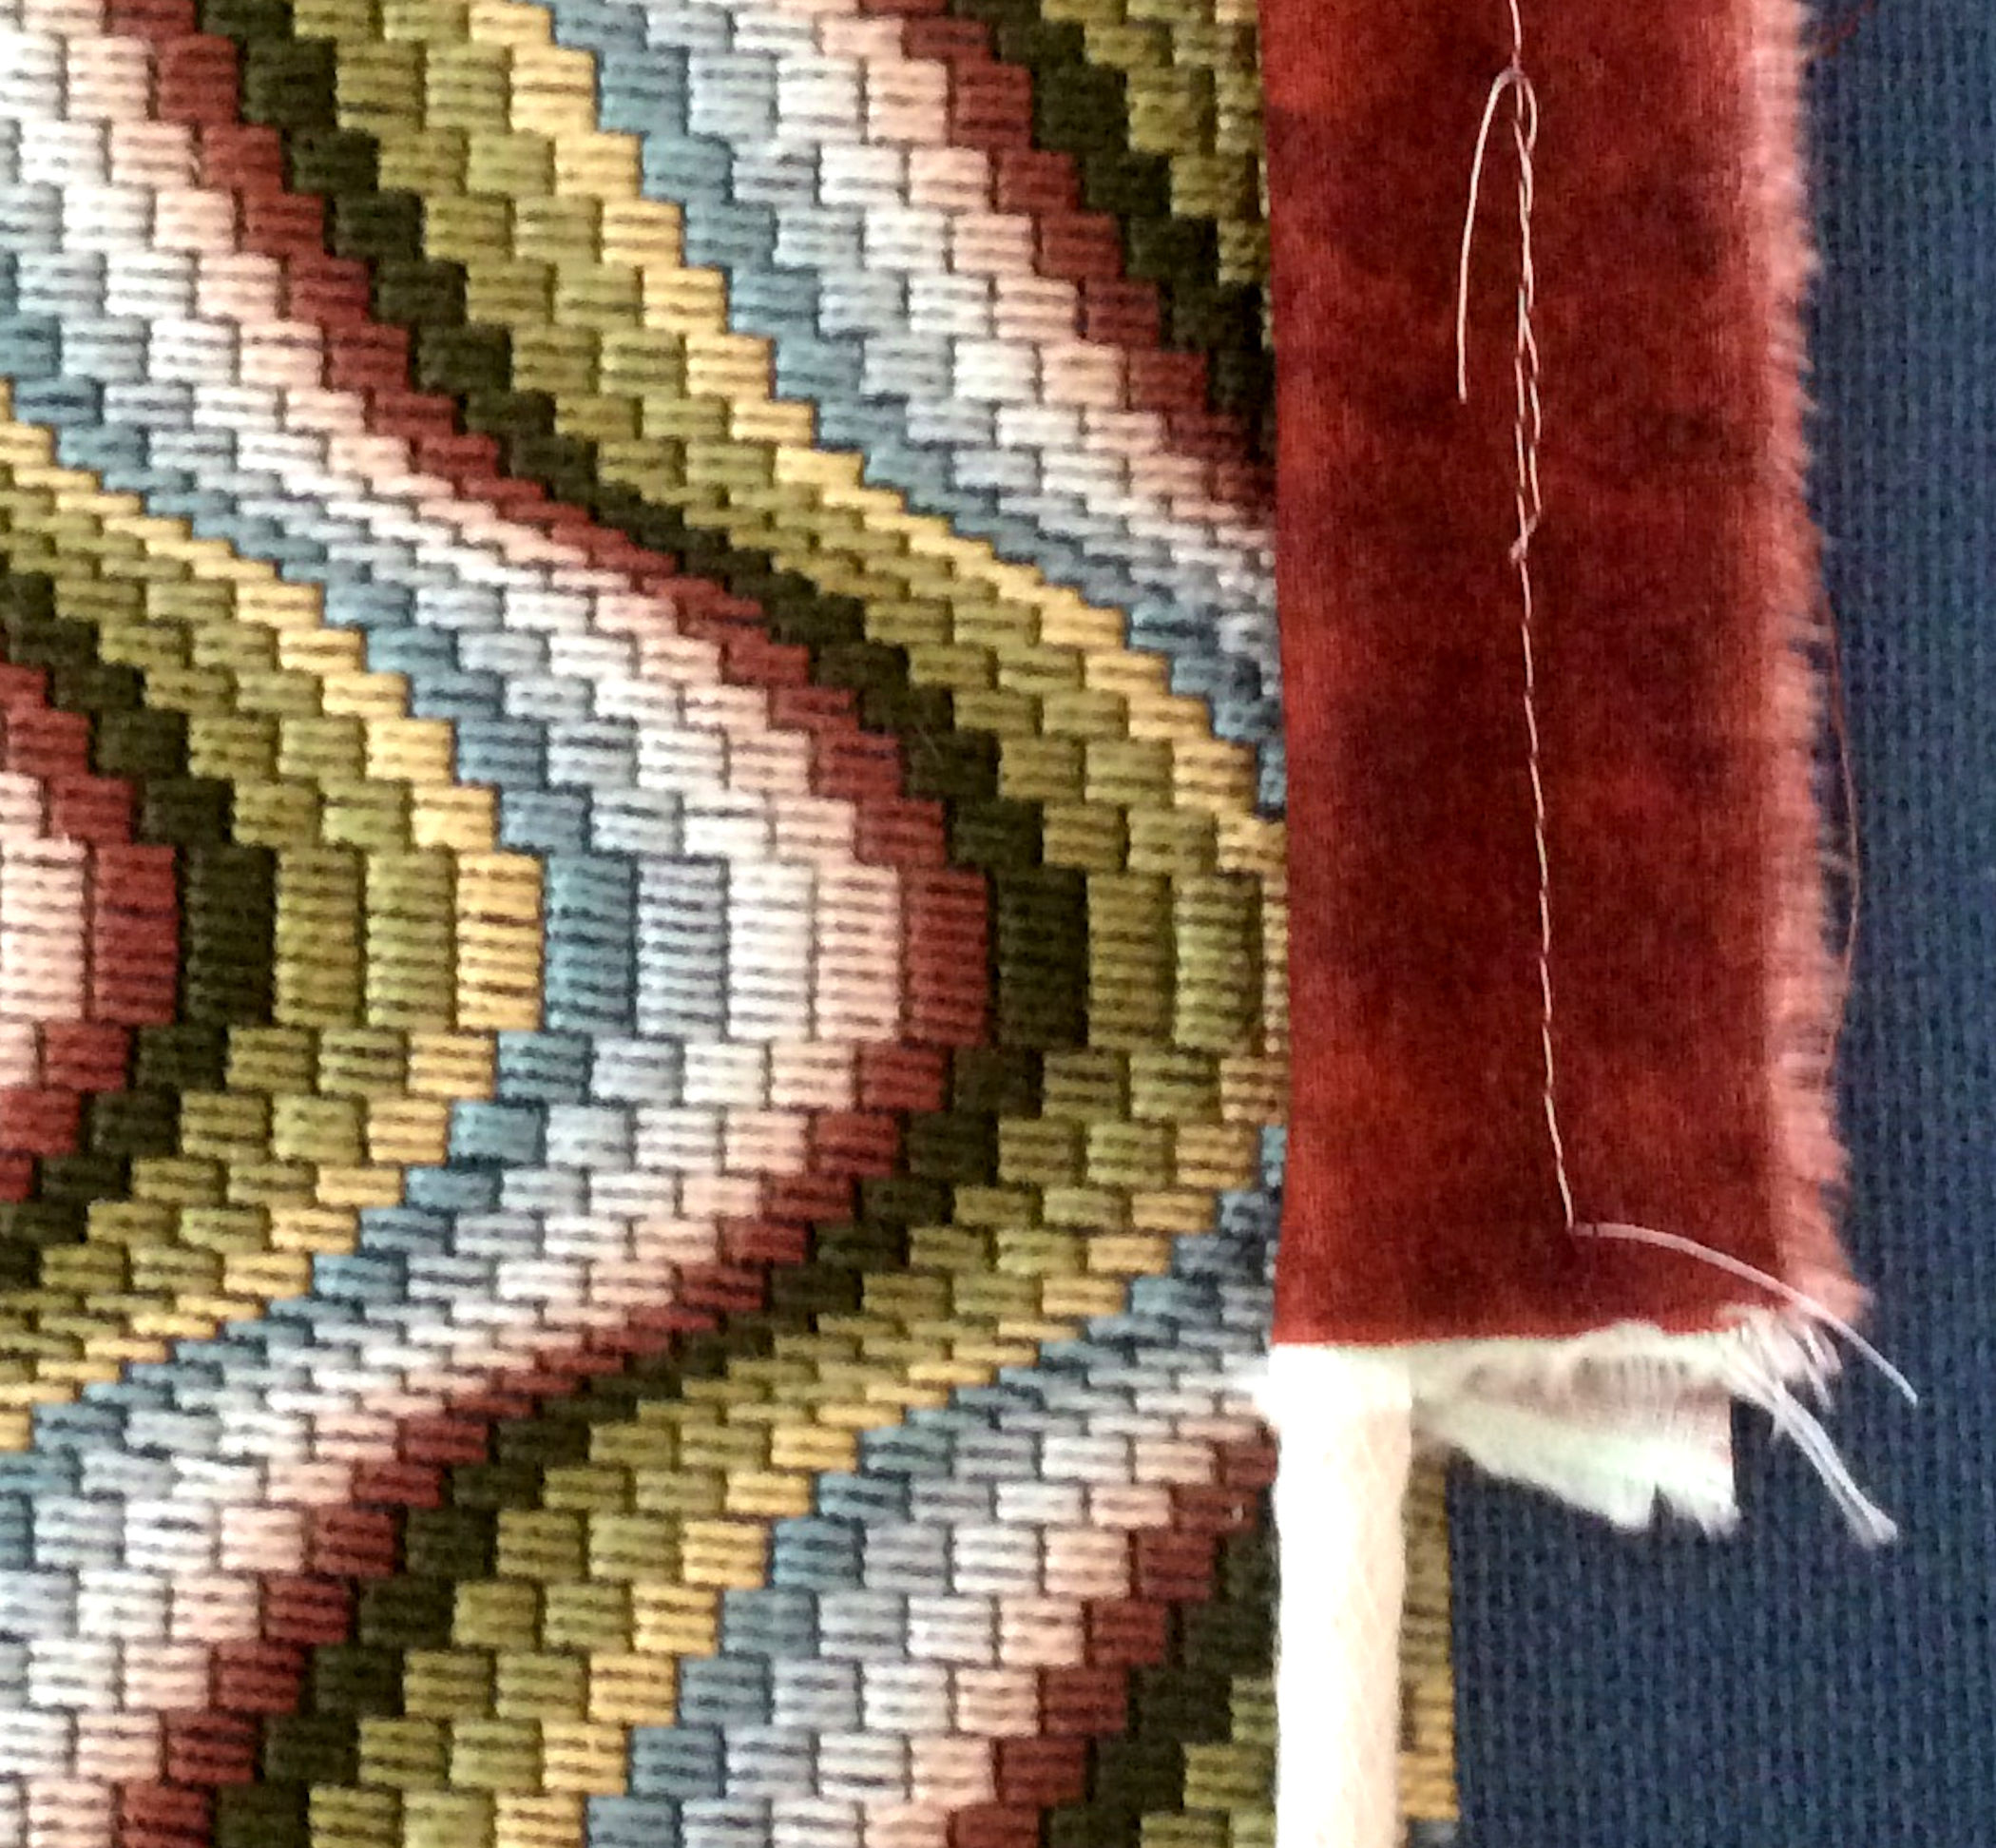 I used Wright’s 1/4-inch 100% cotton cording that I purchased (50-yard spool) on Amazon.com. Fabric: I cut my fabric for the piping sleeve to be 2.5-inches x length needed for the piping. Measure the outer edge of the pillow plus 18-inches. The extra 18-inches is for going around the pillow’s corners and for the cross-over of the start and end of the piping. A 12 by 13-inch pillow would need 2 times (12+13) = 50 inches plus 18-inches. 68-inch length of fabric. The fabric I am using is 44-inches wide. I cut two strips 2.5-inches x wof (width of fabric) sewn together that would be a length of 2.5-inches by 88-inches. But, selvage edges have printing along them and pin holes used by machines during the weaving and printing process. Thus I have two lengths of 2.5-inches by about 41-inches. Sewn together gives me a length of 82-inches. Plenty for the piping sleeve for this pillow. Iron the fabric after cutting, sew the two strips together to form the 2.5-inches by 82-inch length. Iron open the 2.5-inch sewn line. Fold in half lengthwise but do not iron along the sleeve’s folded edge. Pin the raw edges of the sleeve’s length and machine baste about 3/4-inch in from the raw edges. Insert cord through the sleeve.
|
Getting Ready:Cut off a length of the 1/4-inch cord (this is used as the core within the piping) that is several inches longer than you need. 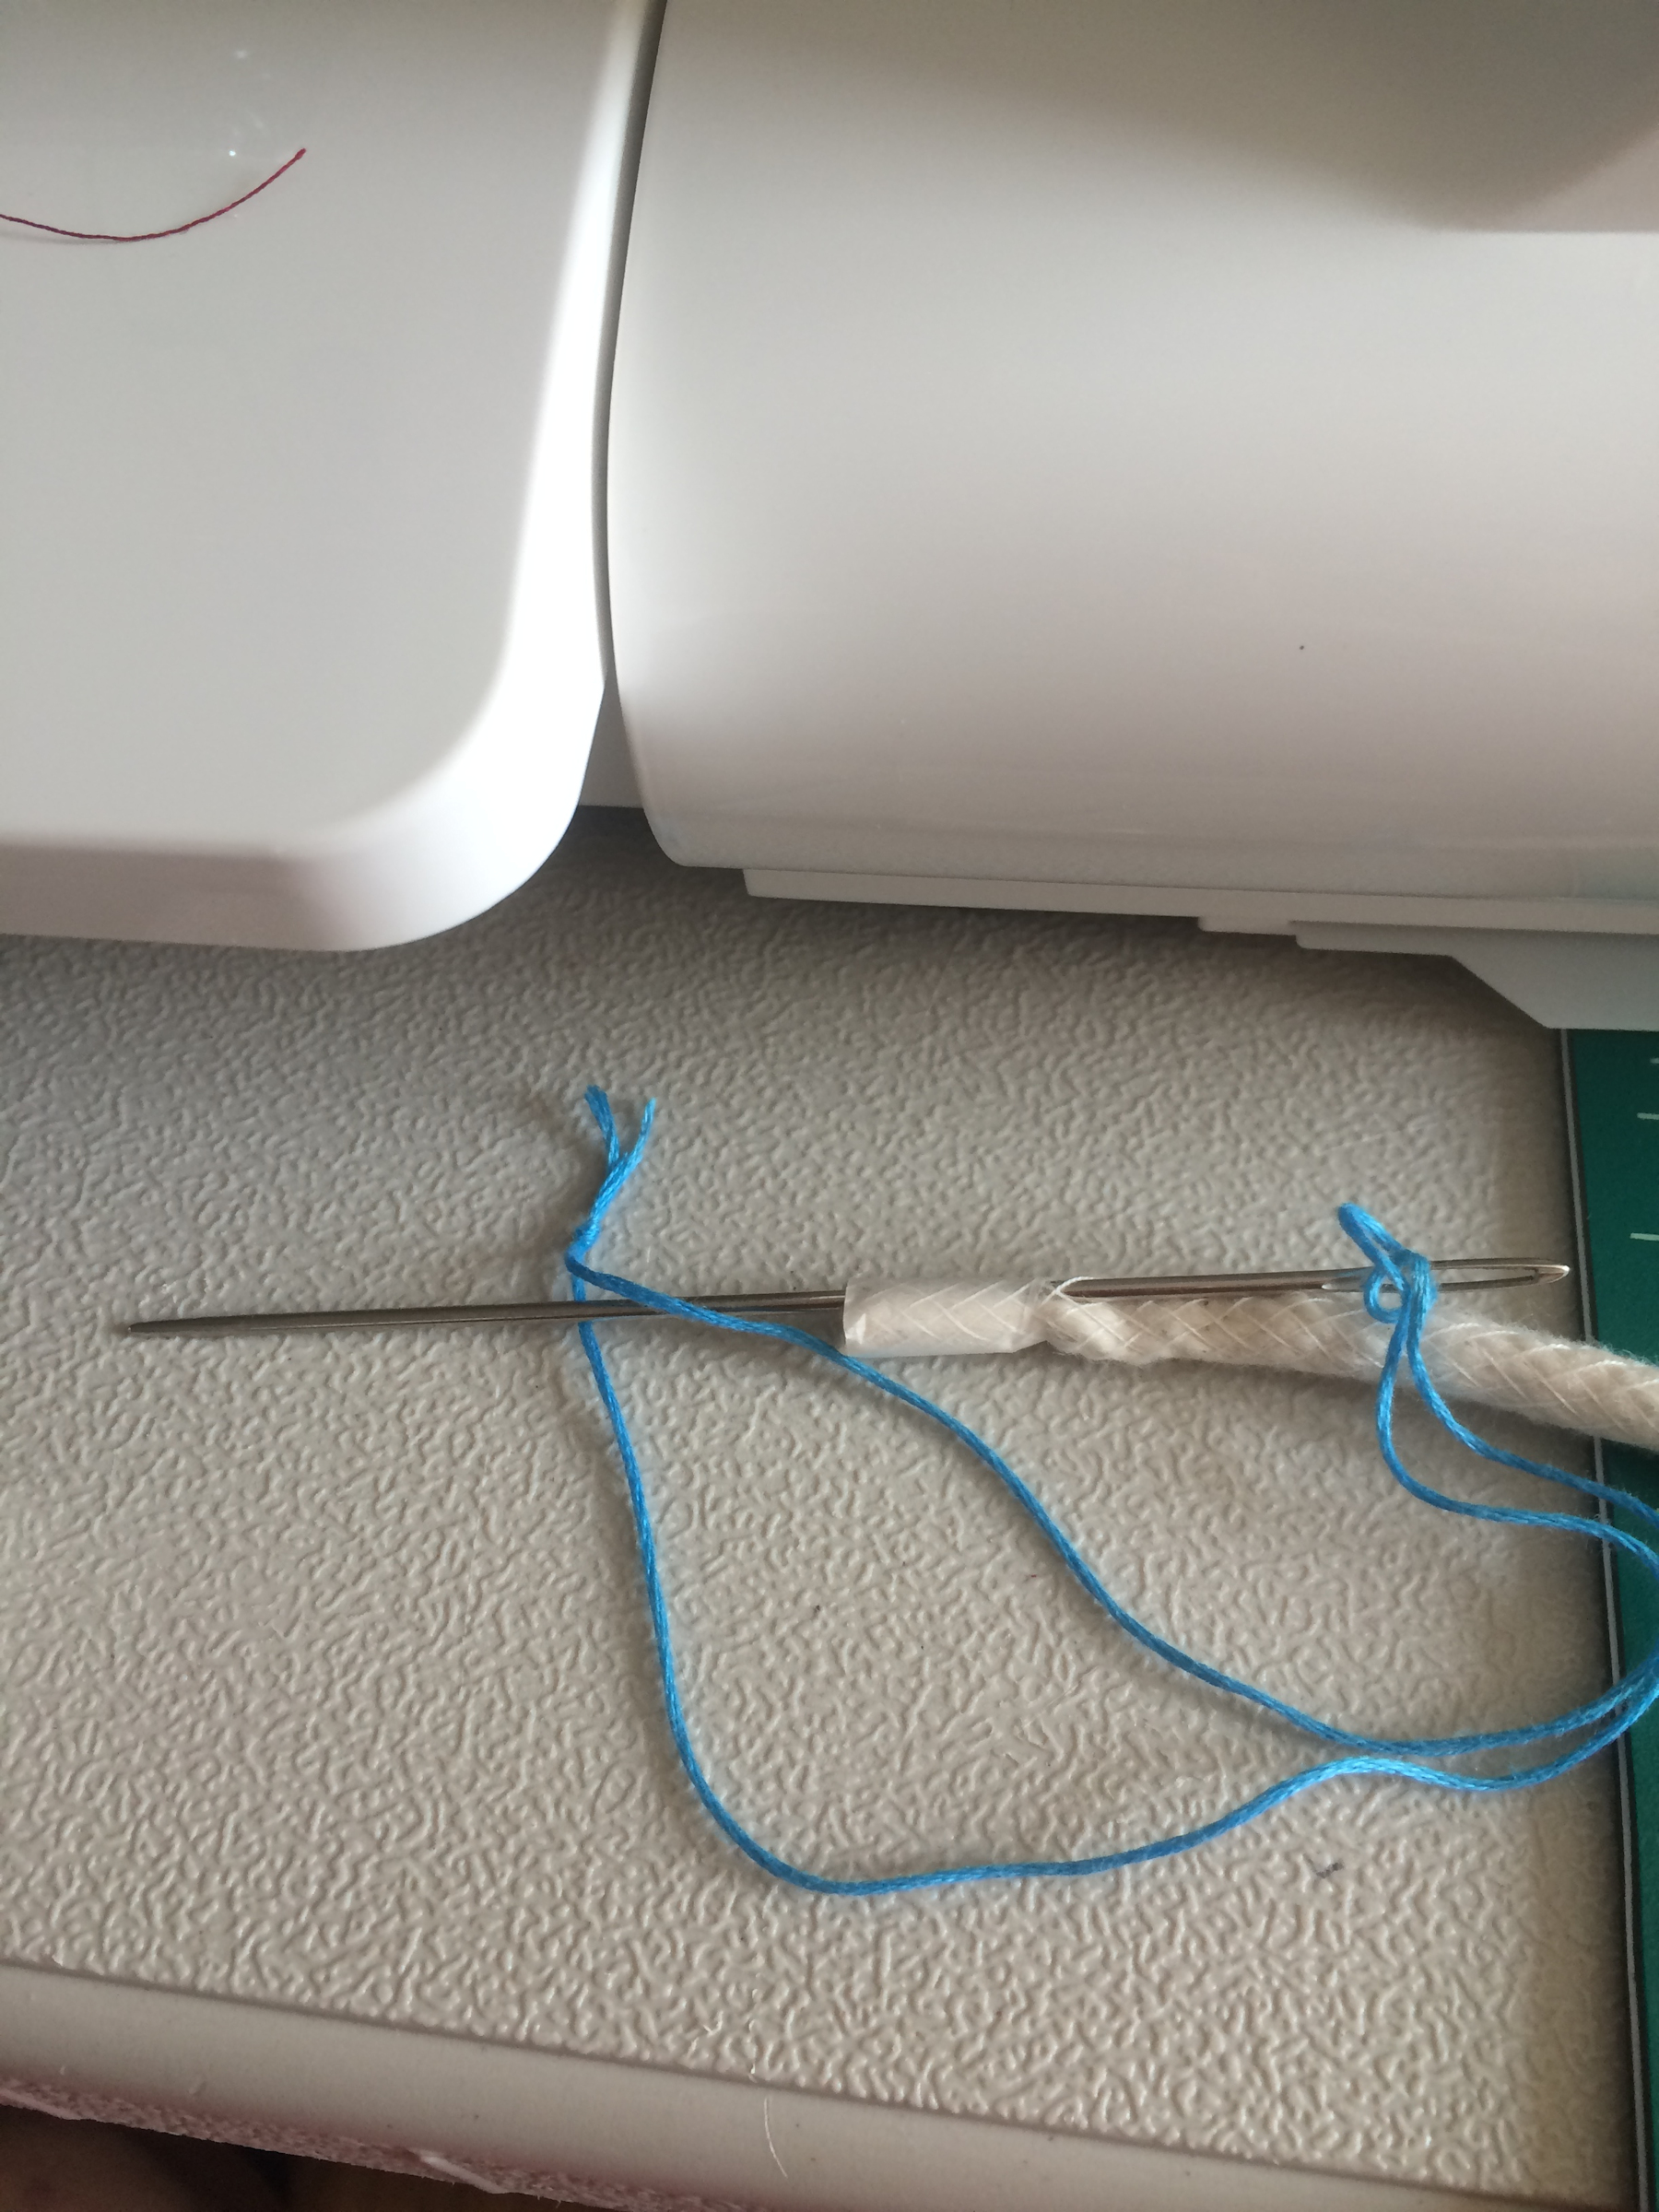 Thread long blunt ended darning needle with un-separated 6-strands of cotton floss. Knot end the floss to form a long loop. Wrapped a piece of sticky tape around the raw end of the cord. Stick the darner needle through the cord so that it enters behind the tape and comes out at the raw end of the cord. Make sure the tip of the darner needle goes through the loop of the cotton floss. Pull the darner needle through and snug the cotton floss near the taped end of the piping cord.
|
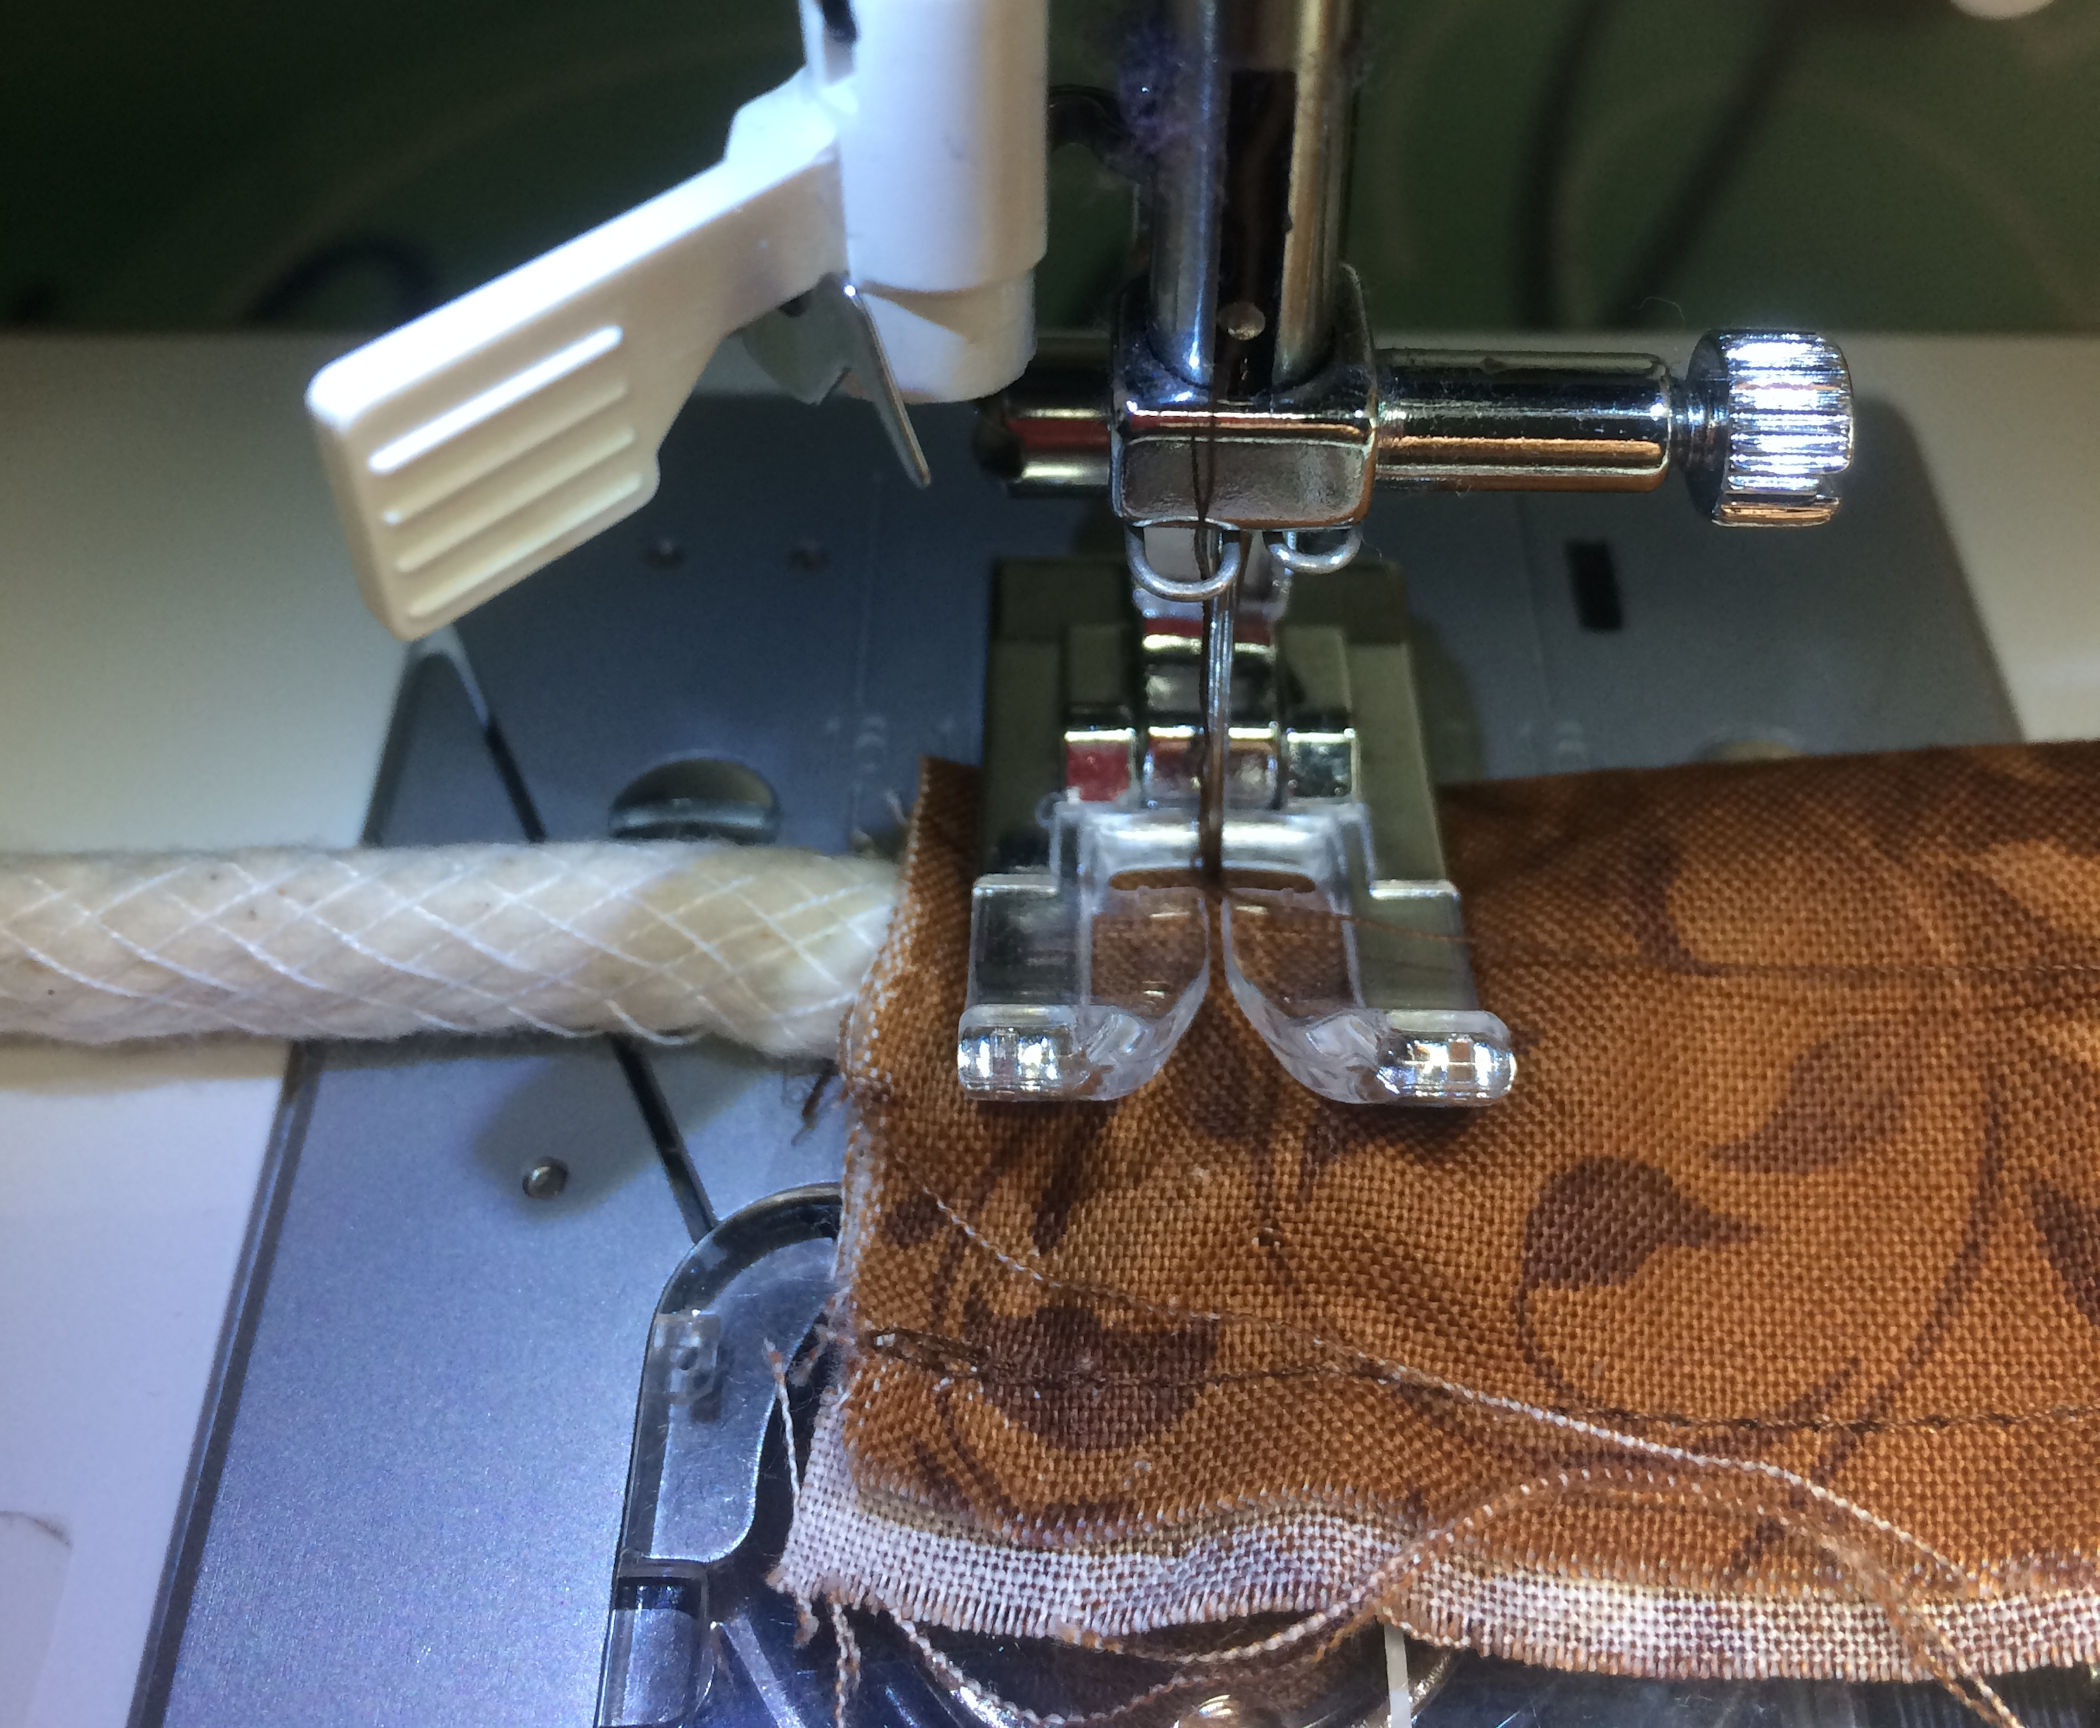
Creating the Sleeve for the Piping: |
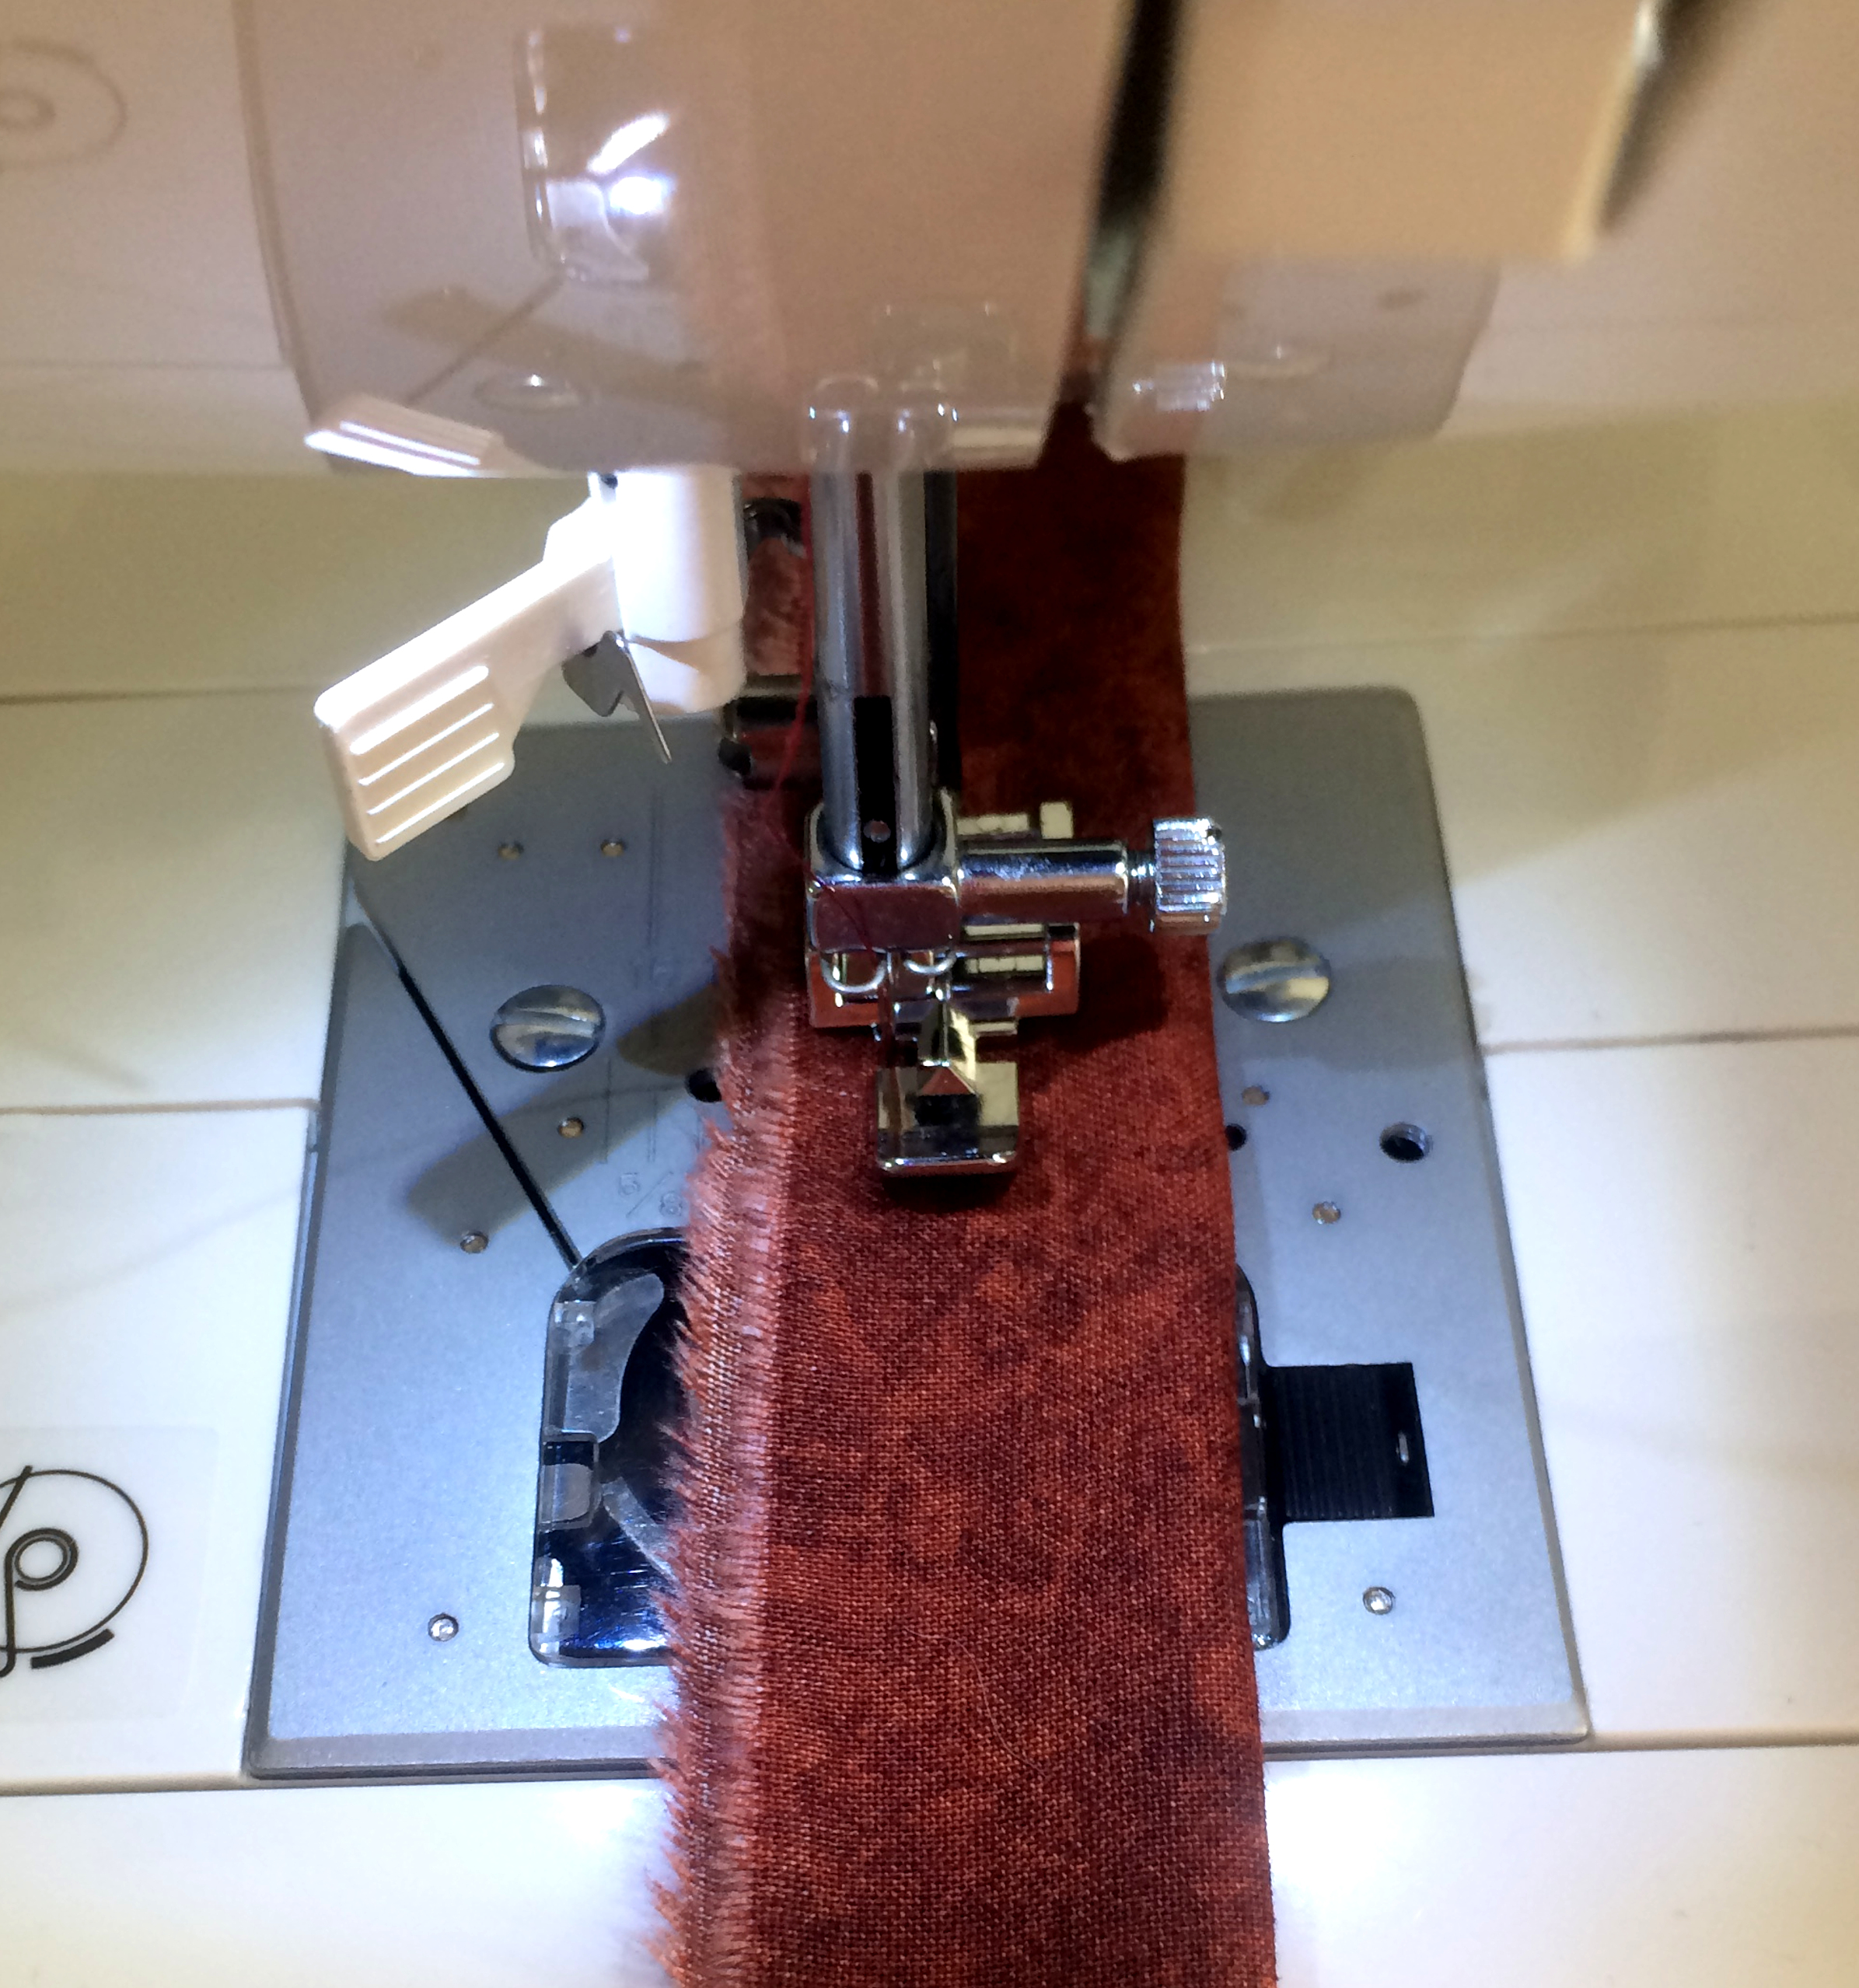 With my sewing machine set at the longest stitch length stitch well away from the folded edge of this fabric. You want to have lots of room for working the darning needle with its pulled along cording through the sewn piping sleeve. |
 In this photo I have pulled the darner needle and cord through the piping sleeve.Though it bunches the piping sleeve up, I like to get the darning needle all the way through the piping sleeve before I pull the cord on through. This way my finger grip is on the darning needle as I pulled the cord through. Once you have the cord all the way through make sure to have several inches of the cord coming out both ends of the sleeve. When done the fabric of the piping sleeve is rumpled, I just hand smoothed it. Personal choice whether to iron the piping sleeve or not. I decided not to iron the rumpled fabric and found that this particular fabric became non-rumpled looking as I completed the pillow. |
 General comments about what I did above: The length of piping fabric for the Fall leaf pillow and the Entwined Pomegranates pillow were both created from two strips of fabric width meaning I had to sew them together, forming a center seam (which I ironed open) before doing the lengthwise fold.
When I worked the darning needle through the sewn piping sleeve for the Fall leaf pillow the darning needle went right through the center seam area with no problem. |
 With the Entwined Pomegranates pillow I couldn’t get the darning needle through that center sewn area of the piping sleeve and had to snip several of the machine sewn stitches to allow my fingers to get in there and guided the darning needle pass that center sewn seam of the piping sleeve. Knowing that machine sewing the piping sleeve onto the front piece would close this snipped open access area, I didn’t have to do any hand sewing to close the snipped open area. |