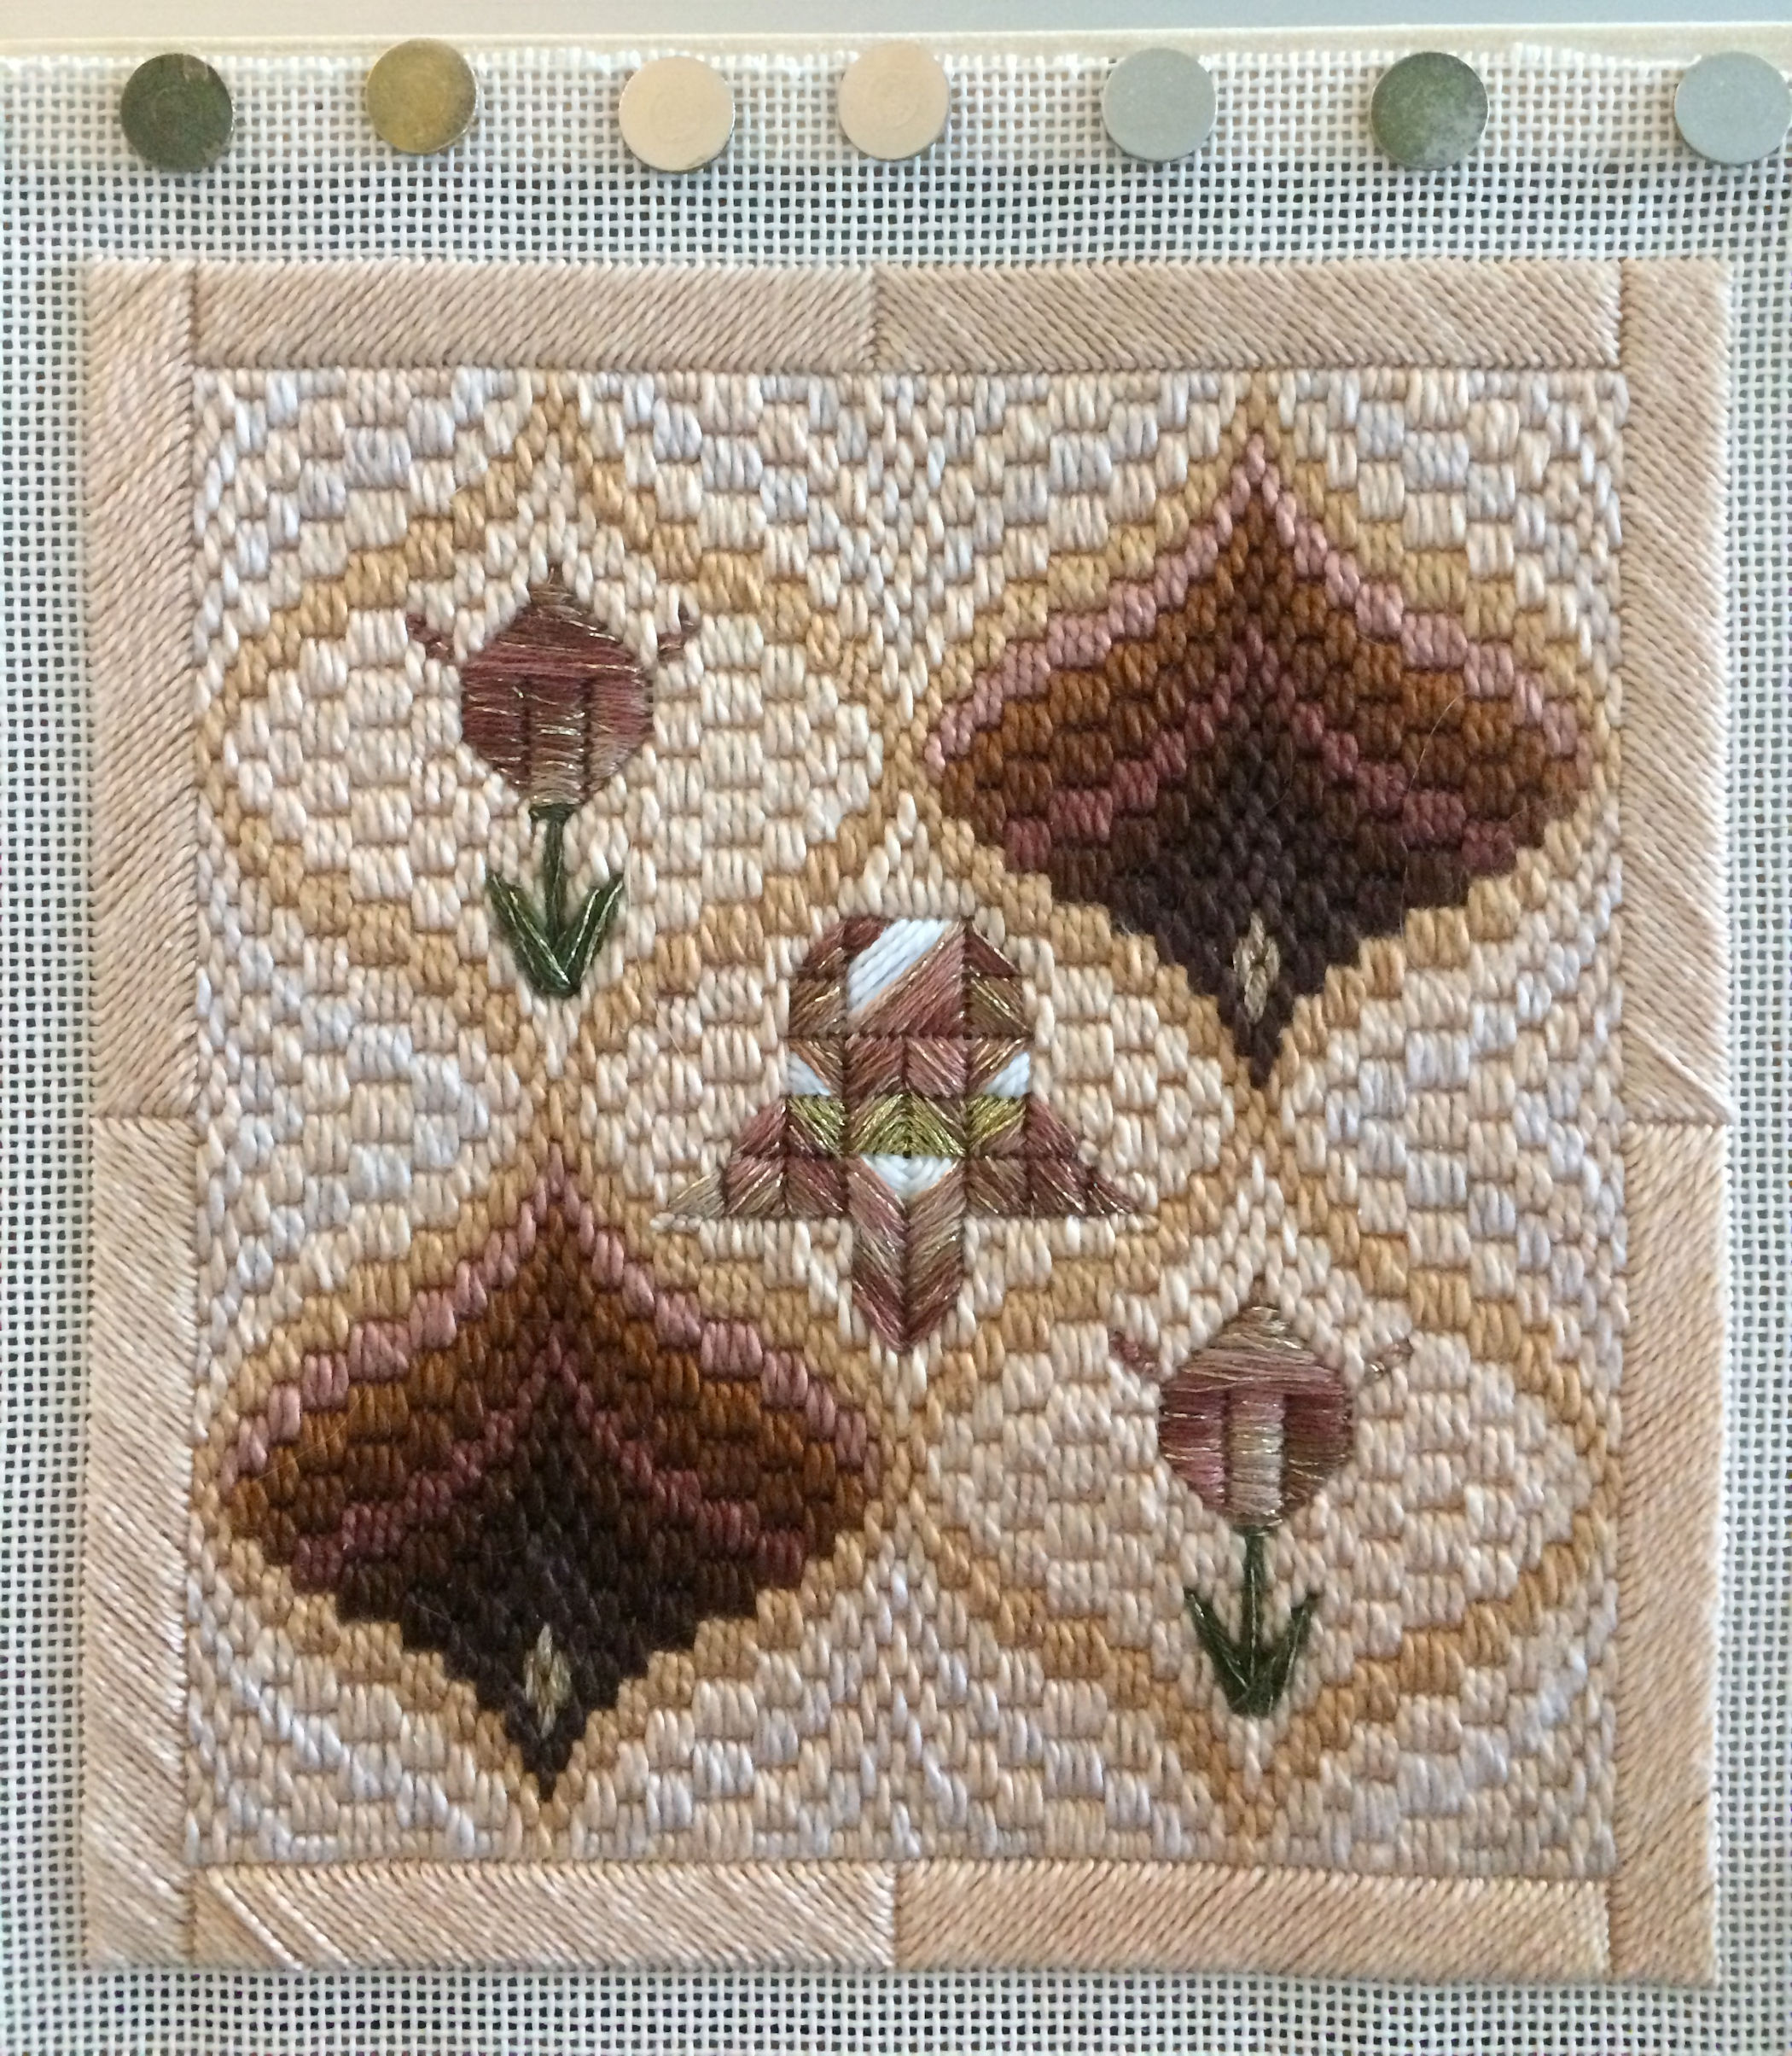
Tulips and Pomegranates, 6 by 6.25-inch square, which for discussion I am calling a 6-inch square.
Click any of these photos to see larger images.
The fabric that I used (in this example pillow) for the border, back fabric and piping is 100% cotton Essentials Climbing Vines (light brown, comes in several colors) Wilmingtonprints fabric. Including both selvage edges the width of this fabric (wof) is 44-inches.
Preparing 100% cotton fabric: As I will be using a very hot iron for pressing, I used 100% cotton stitching thread instead of polyester thread (which might melt).
These are two tutorials from Leah Day in which she discusses preparing fabric. I do not starch my fabric as stiff as she does, but her discussions contain lots of info.
https://leahday.com/pages/how-to-prewash-fabric
https://leahday.com/pages/how-to-starch-and-square-fabric
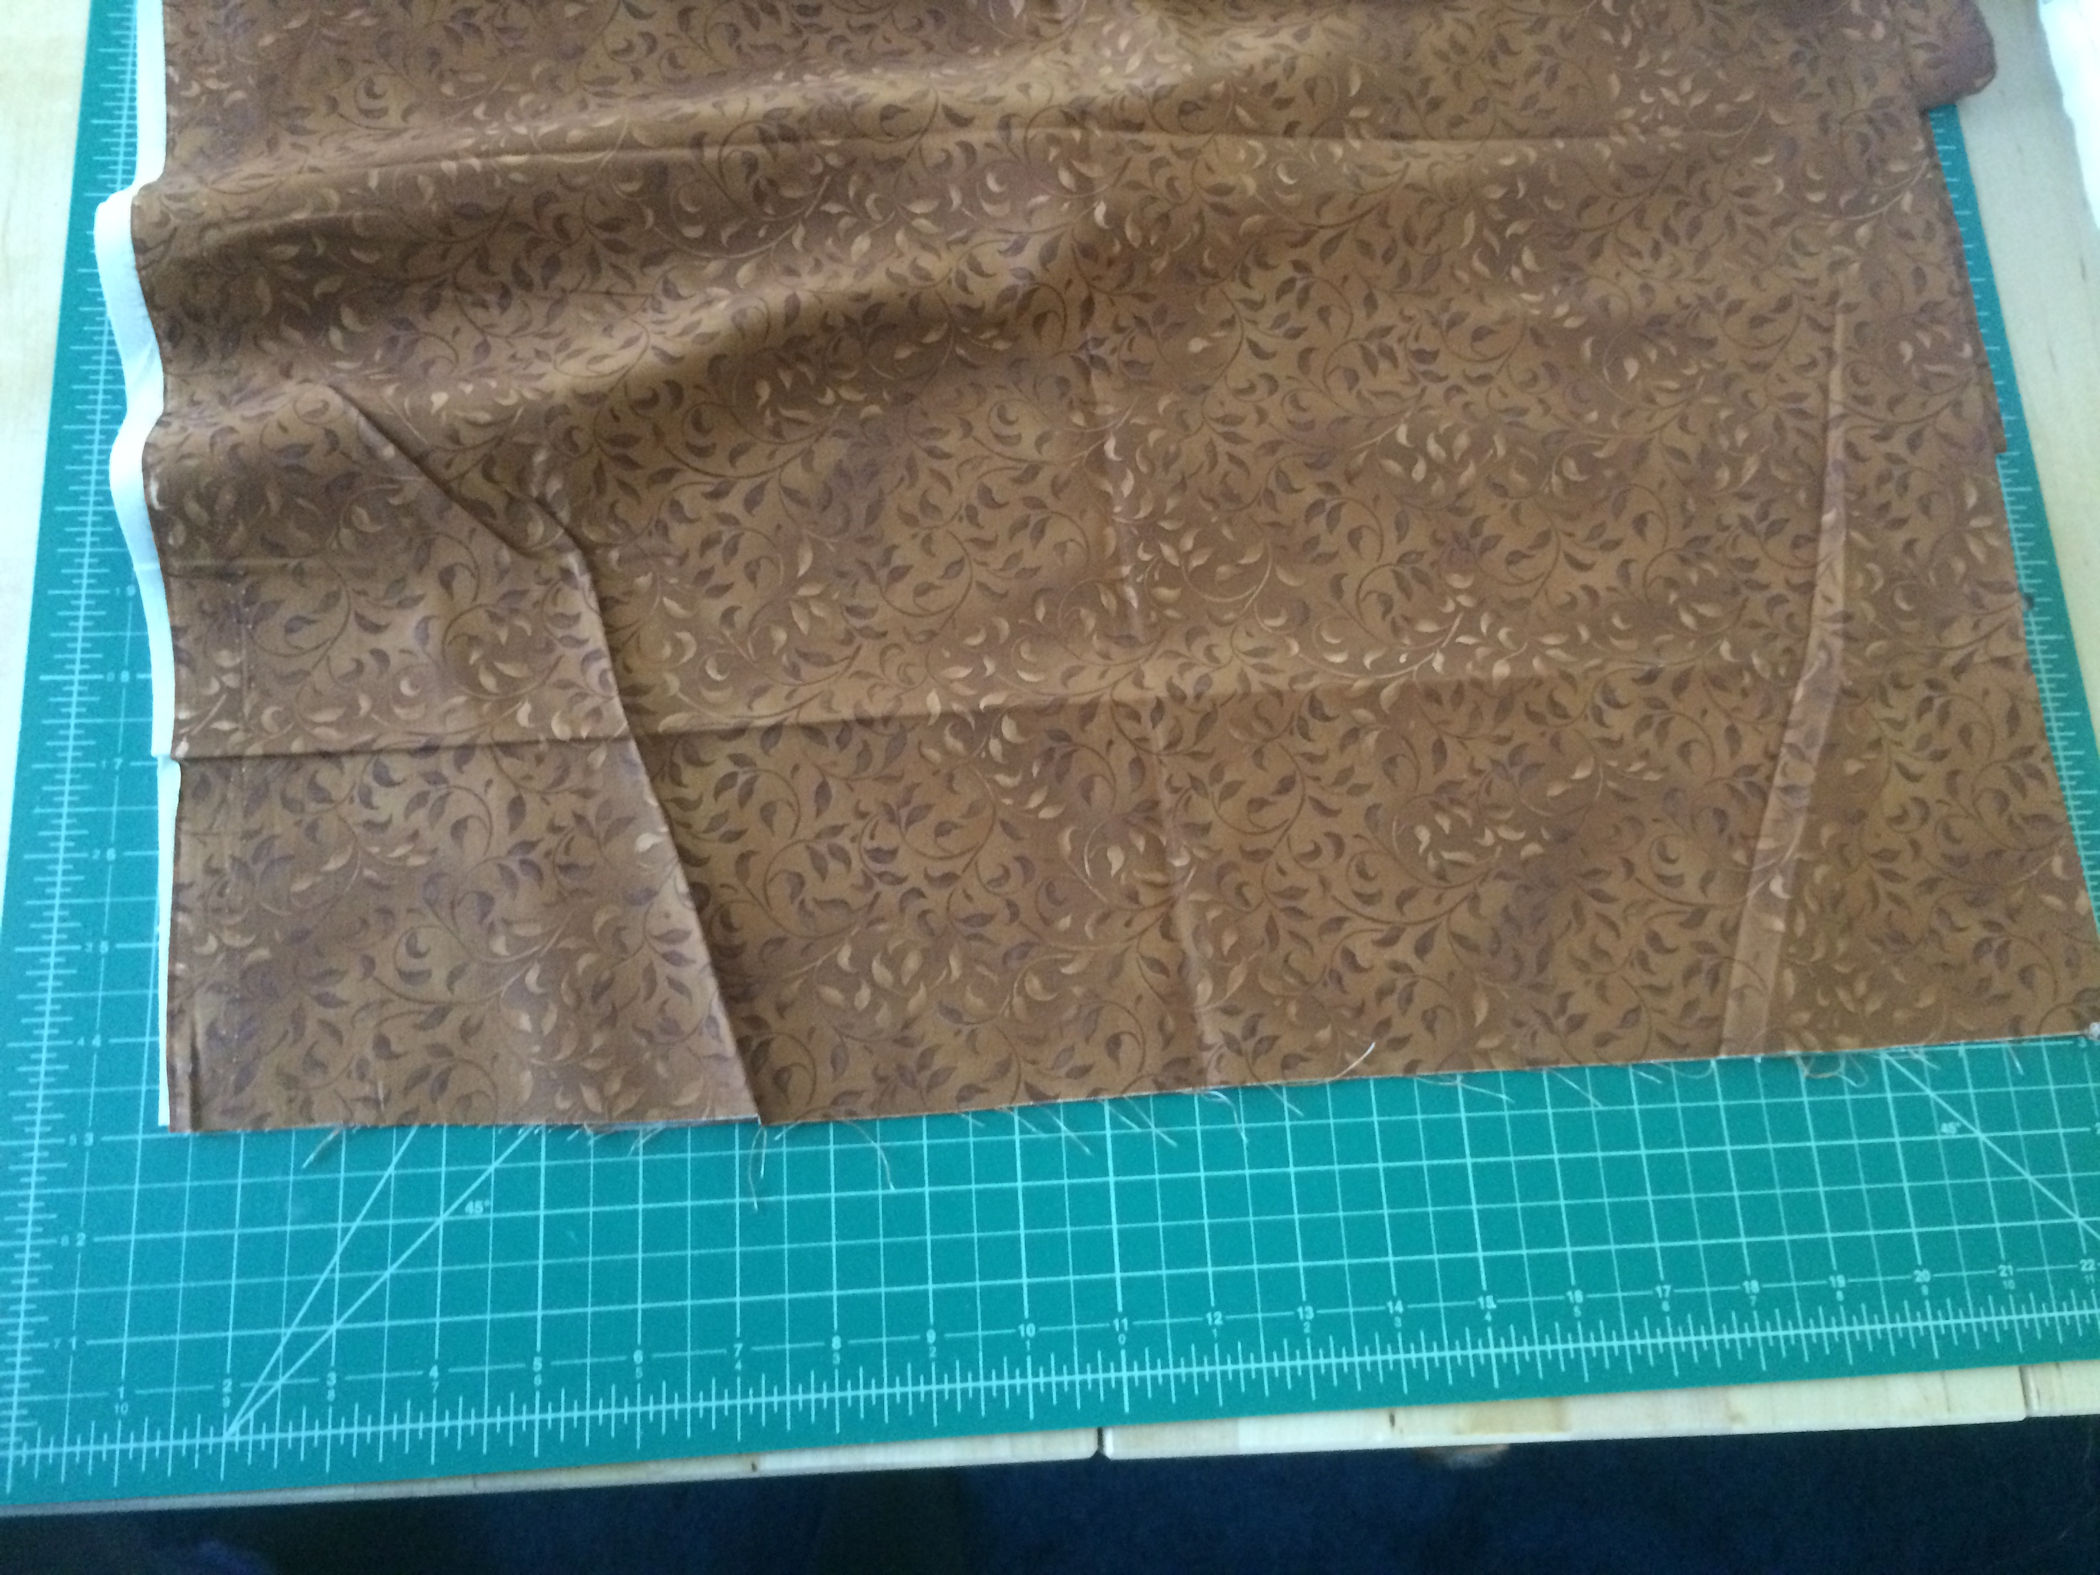
Cut end of the fabric. Never trust the cut end of fabric as it comes from the store. Always take the time to square your fabric before you begin to cut.
This pillow is going to have a quilted back which will be three layers: back fabric, quilt batting and a lining fabric.
The front is two layers: bordered top that has a lining fabric. Plus the front will have piping, which is two layers of fabric.
In all 7 (back, front and piping) layers will be stitched through when I attached the back to the front. Knowing this is going to be a thick sandwich of layers I decided to cut the various pieces with an inch seam allowances. This inch seam allowance along the raw edges will give me fingertip holds as I sew.
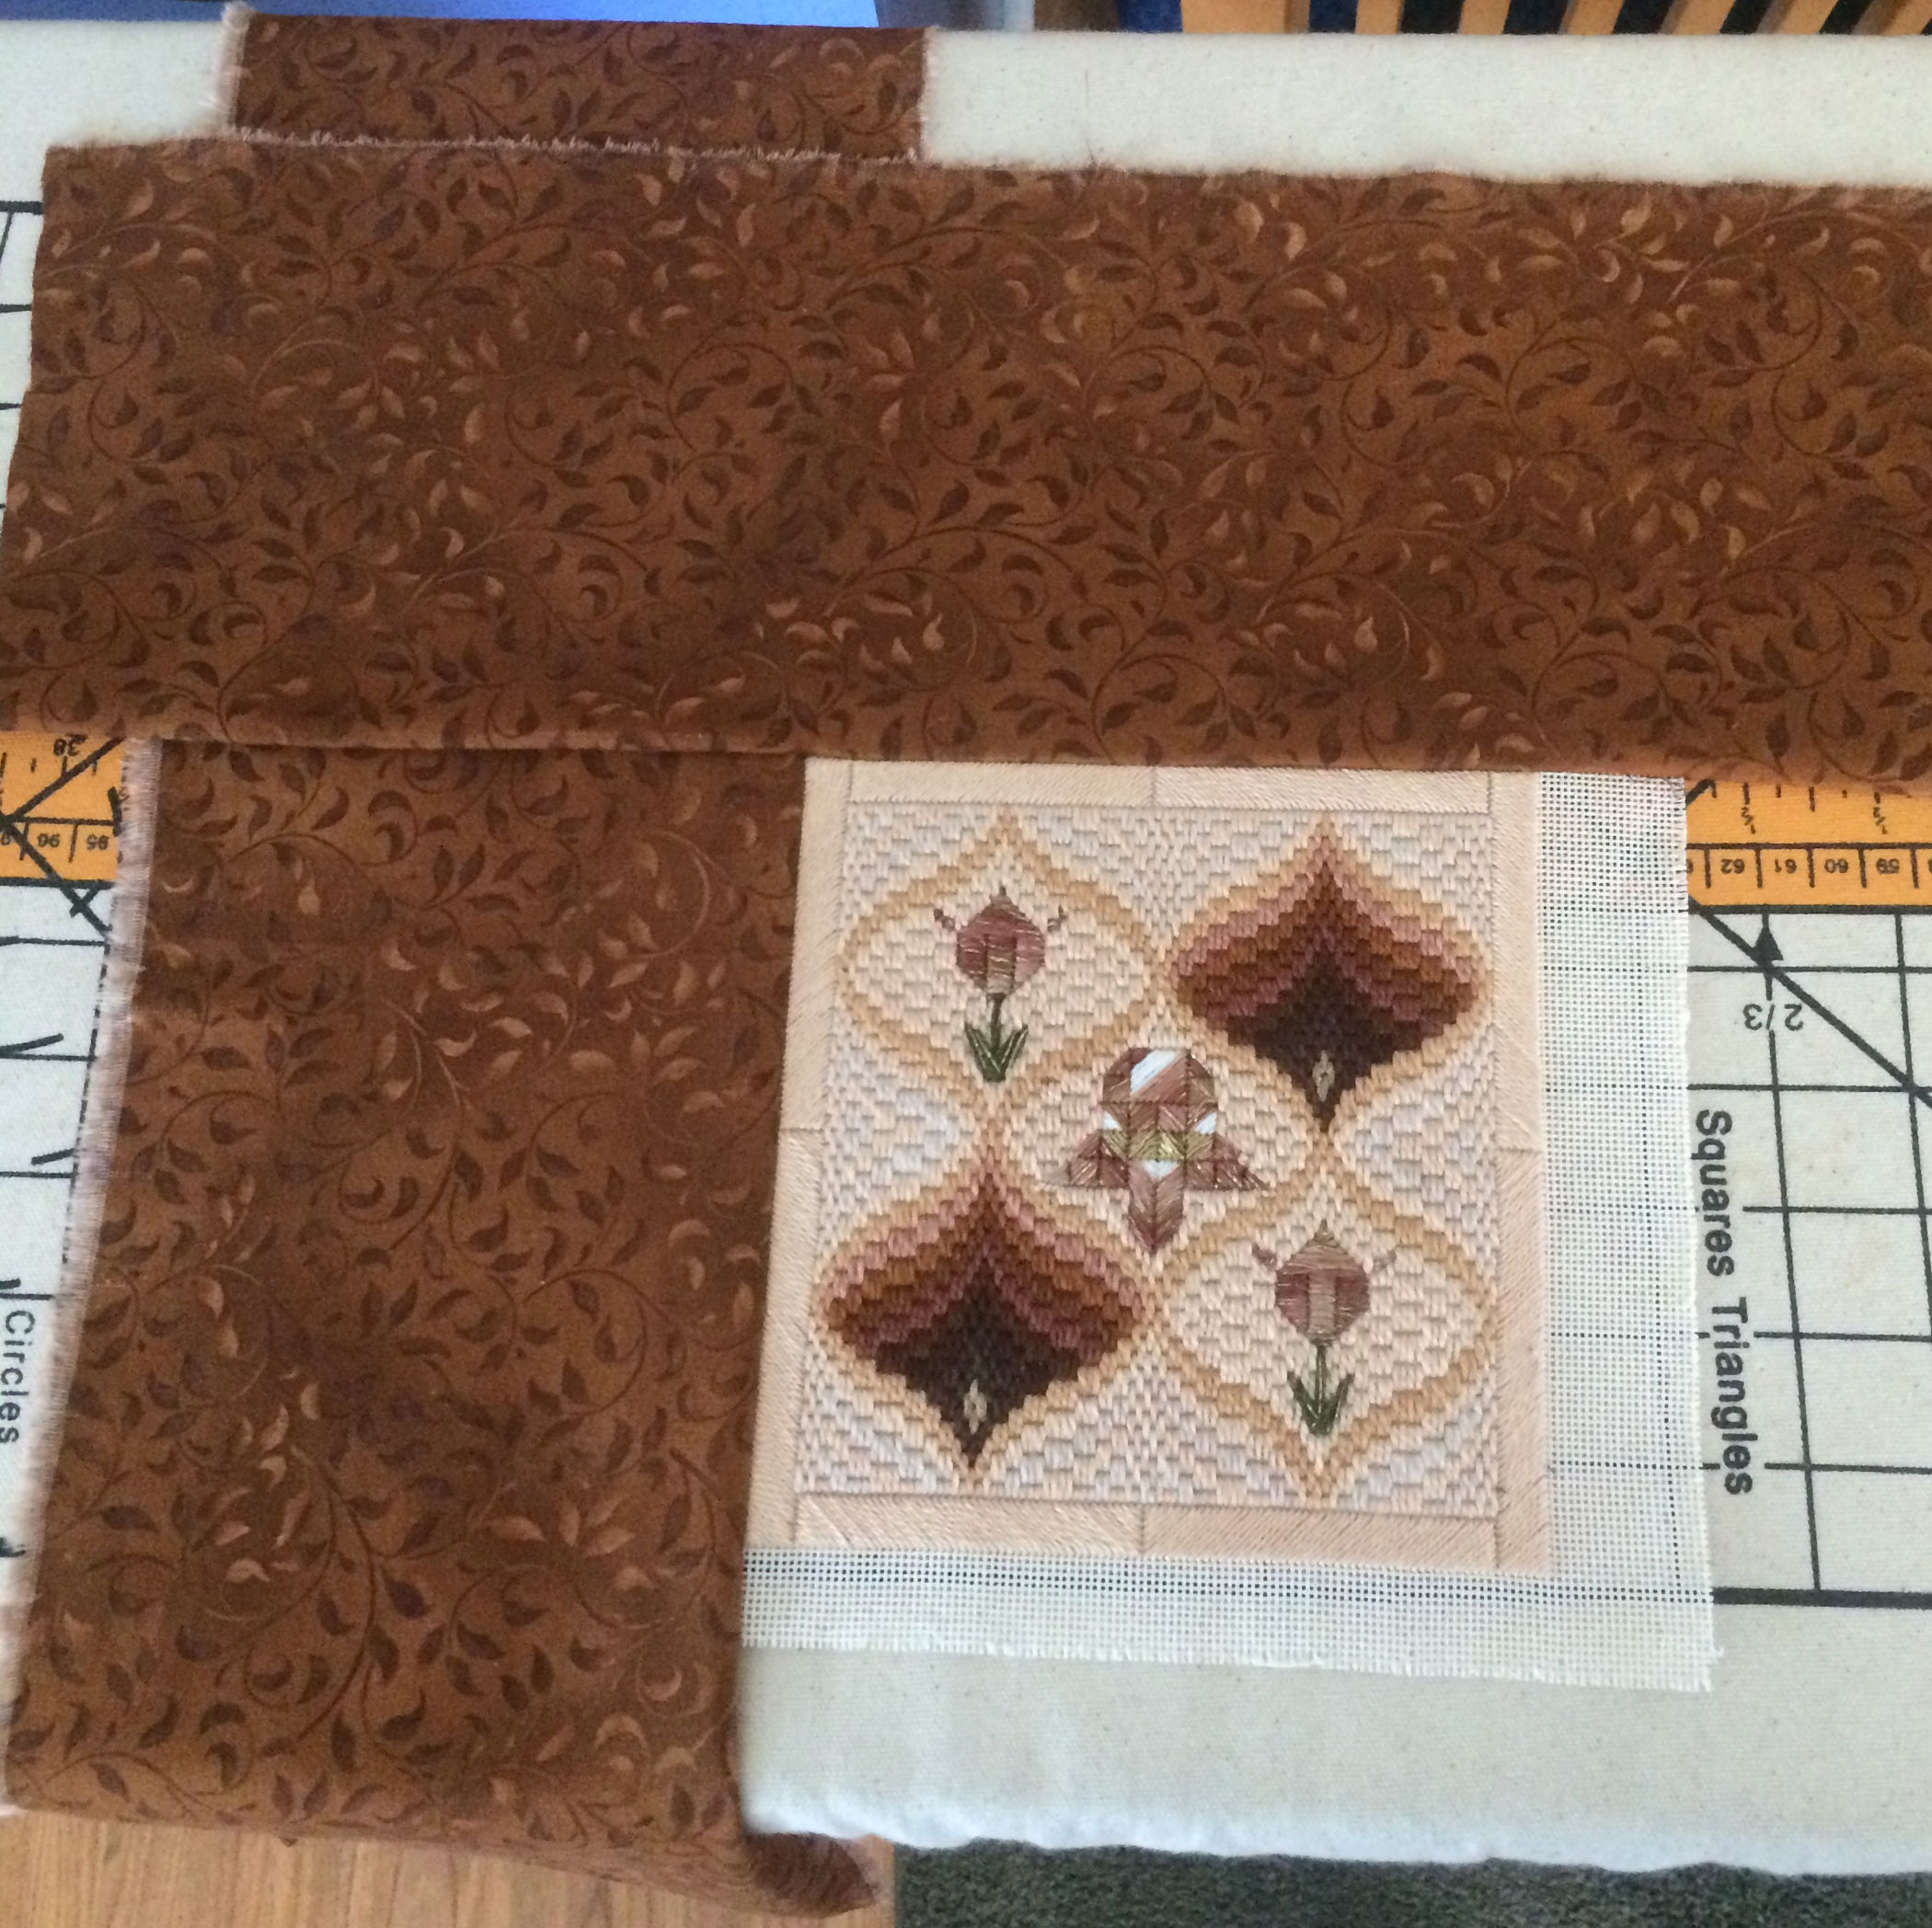
The four border lengths sewn around the design. Notice over-lengths of each border piece, for creating the 45 degree angled corners.
The pillow size is 13-inch square: 3.5-inch border around 6-inch side of the worked design. Fabric requirements for the finished length of each border: 3.5 (corner area) + 6 (along side of the worked design) +3.5 (other corner area) = 13-inches
Cutting fabric for the top piece:
Border around the worked design is 3.5-inches wide. Cut the border strips to be 5.5-inches wide. That provides an inch seam allowance on each lengthwise border edge.
Border corners: For the 45-degree angle corners, do not think about the 3.5-inch finished width of the border but the raw width of 5.5-inches.
Thus each of the four border lengths is 6 (length of the worked design’s side) + 2(5.5) = 6 + 11 = 17-inches.
But I have found when creating a 45-degree angle corner that it really helps to have a few extra inches on the border’s length to move the fabric back and forth to get the fold of the 45-degrees just right. So I decided on four 5.5-inch by 20-inch strips for the border.
The net width of my fabric (44-inch width of fabric minus the two selvage edges) should be about 41-inches. For the border strips I cut two 5.5-inches x wof. Each strip cut in half gave me two 5.5 x 22-inch strips from which I cut off a selvage edge.
Next step, press the border fabric to remove creases and wrinkles.
If the width of the fabric (not including the selvage edges) is not wide enough, then cut four 5.5-inches by wof strips.
Front piece completed and trimmed to 15-inch square. 13-inch square plus 1-inch seam allowance along the edge of each side.
General steps to sewing border lengths along each side of the worked design:
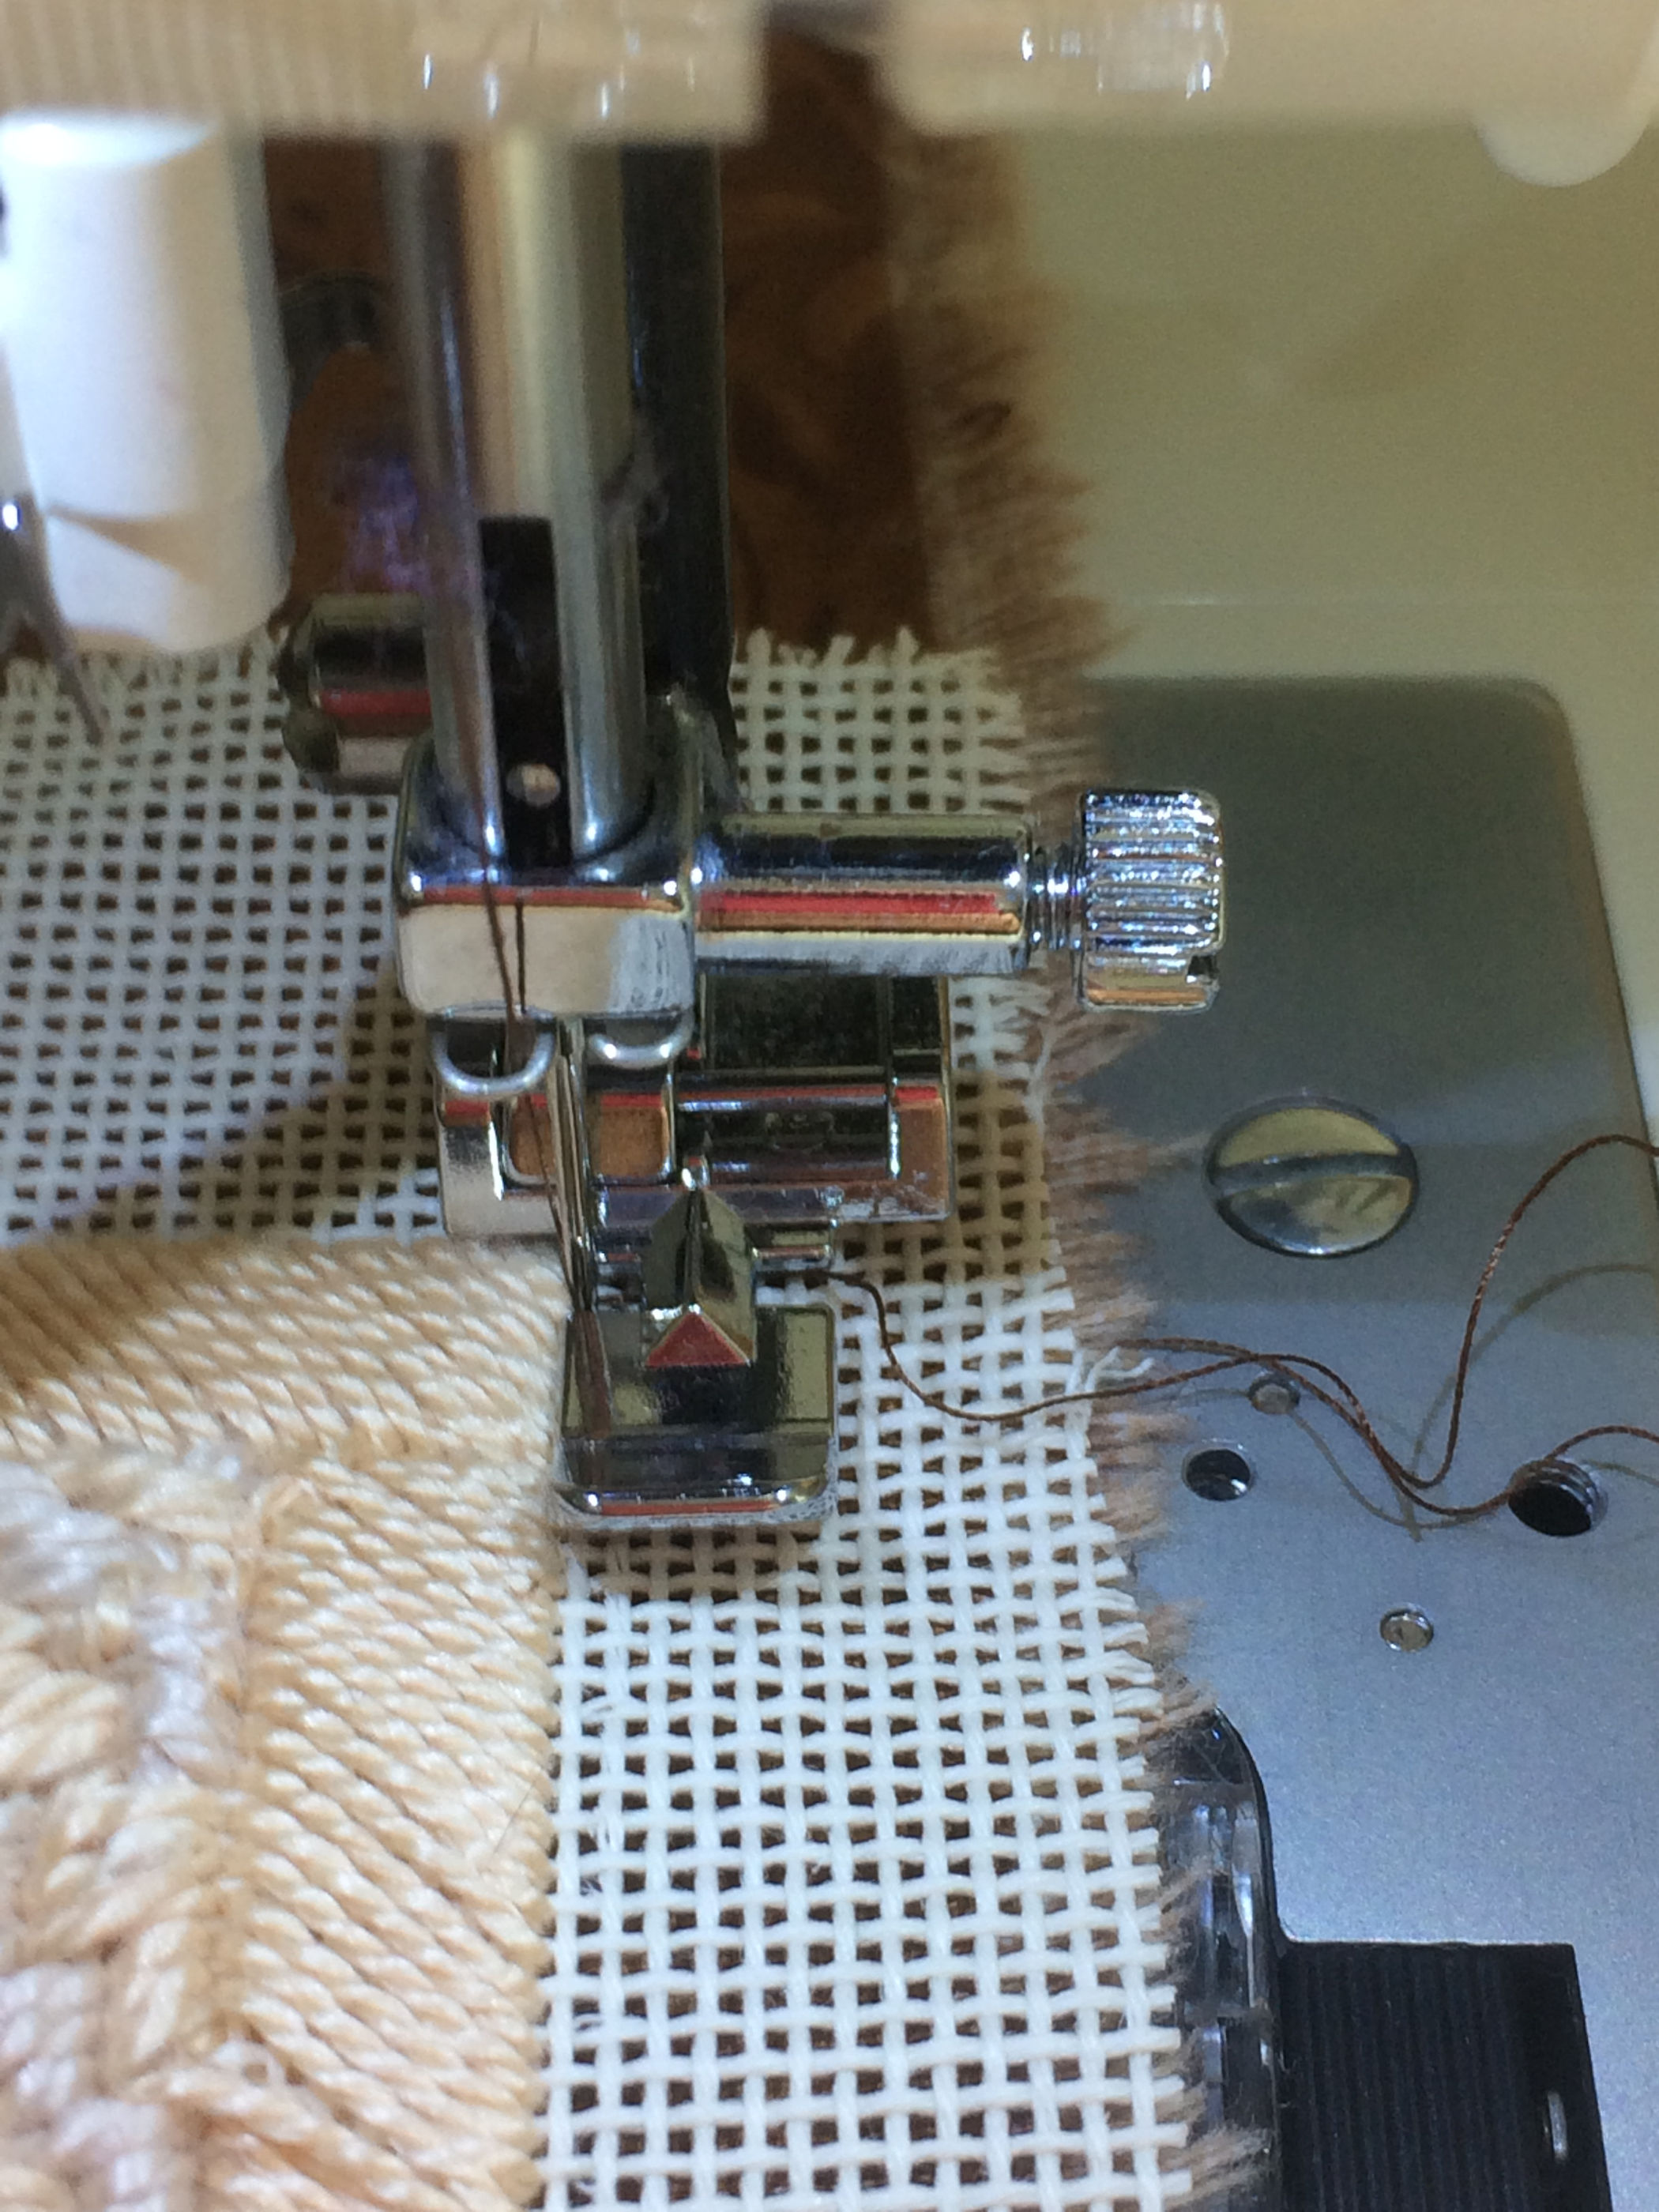
machine setup: zipper foot or a regular flat pressure foot. Short stitch length.
trim the 6-inch square worked design to have approximately 1-inch of unused mono fabric outside of the worked area.
stitch with the right sides of the worked design and the border lengths facing each other.
align raw edges of worked design and border length, allowance edge of the sewn together two layers will be 1-inch in width.
stitched snugly against the 6-inch side edge of the worked design without catching any of the design’s stitching thread.
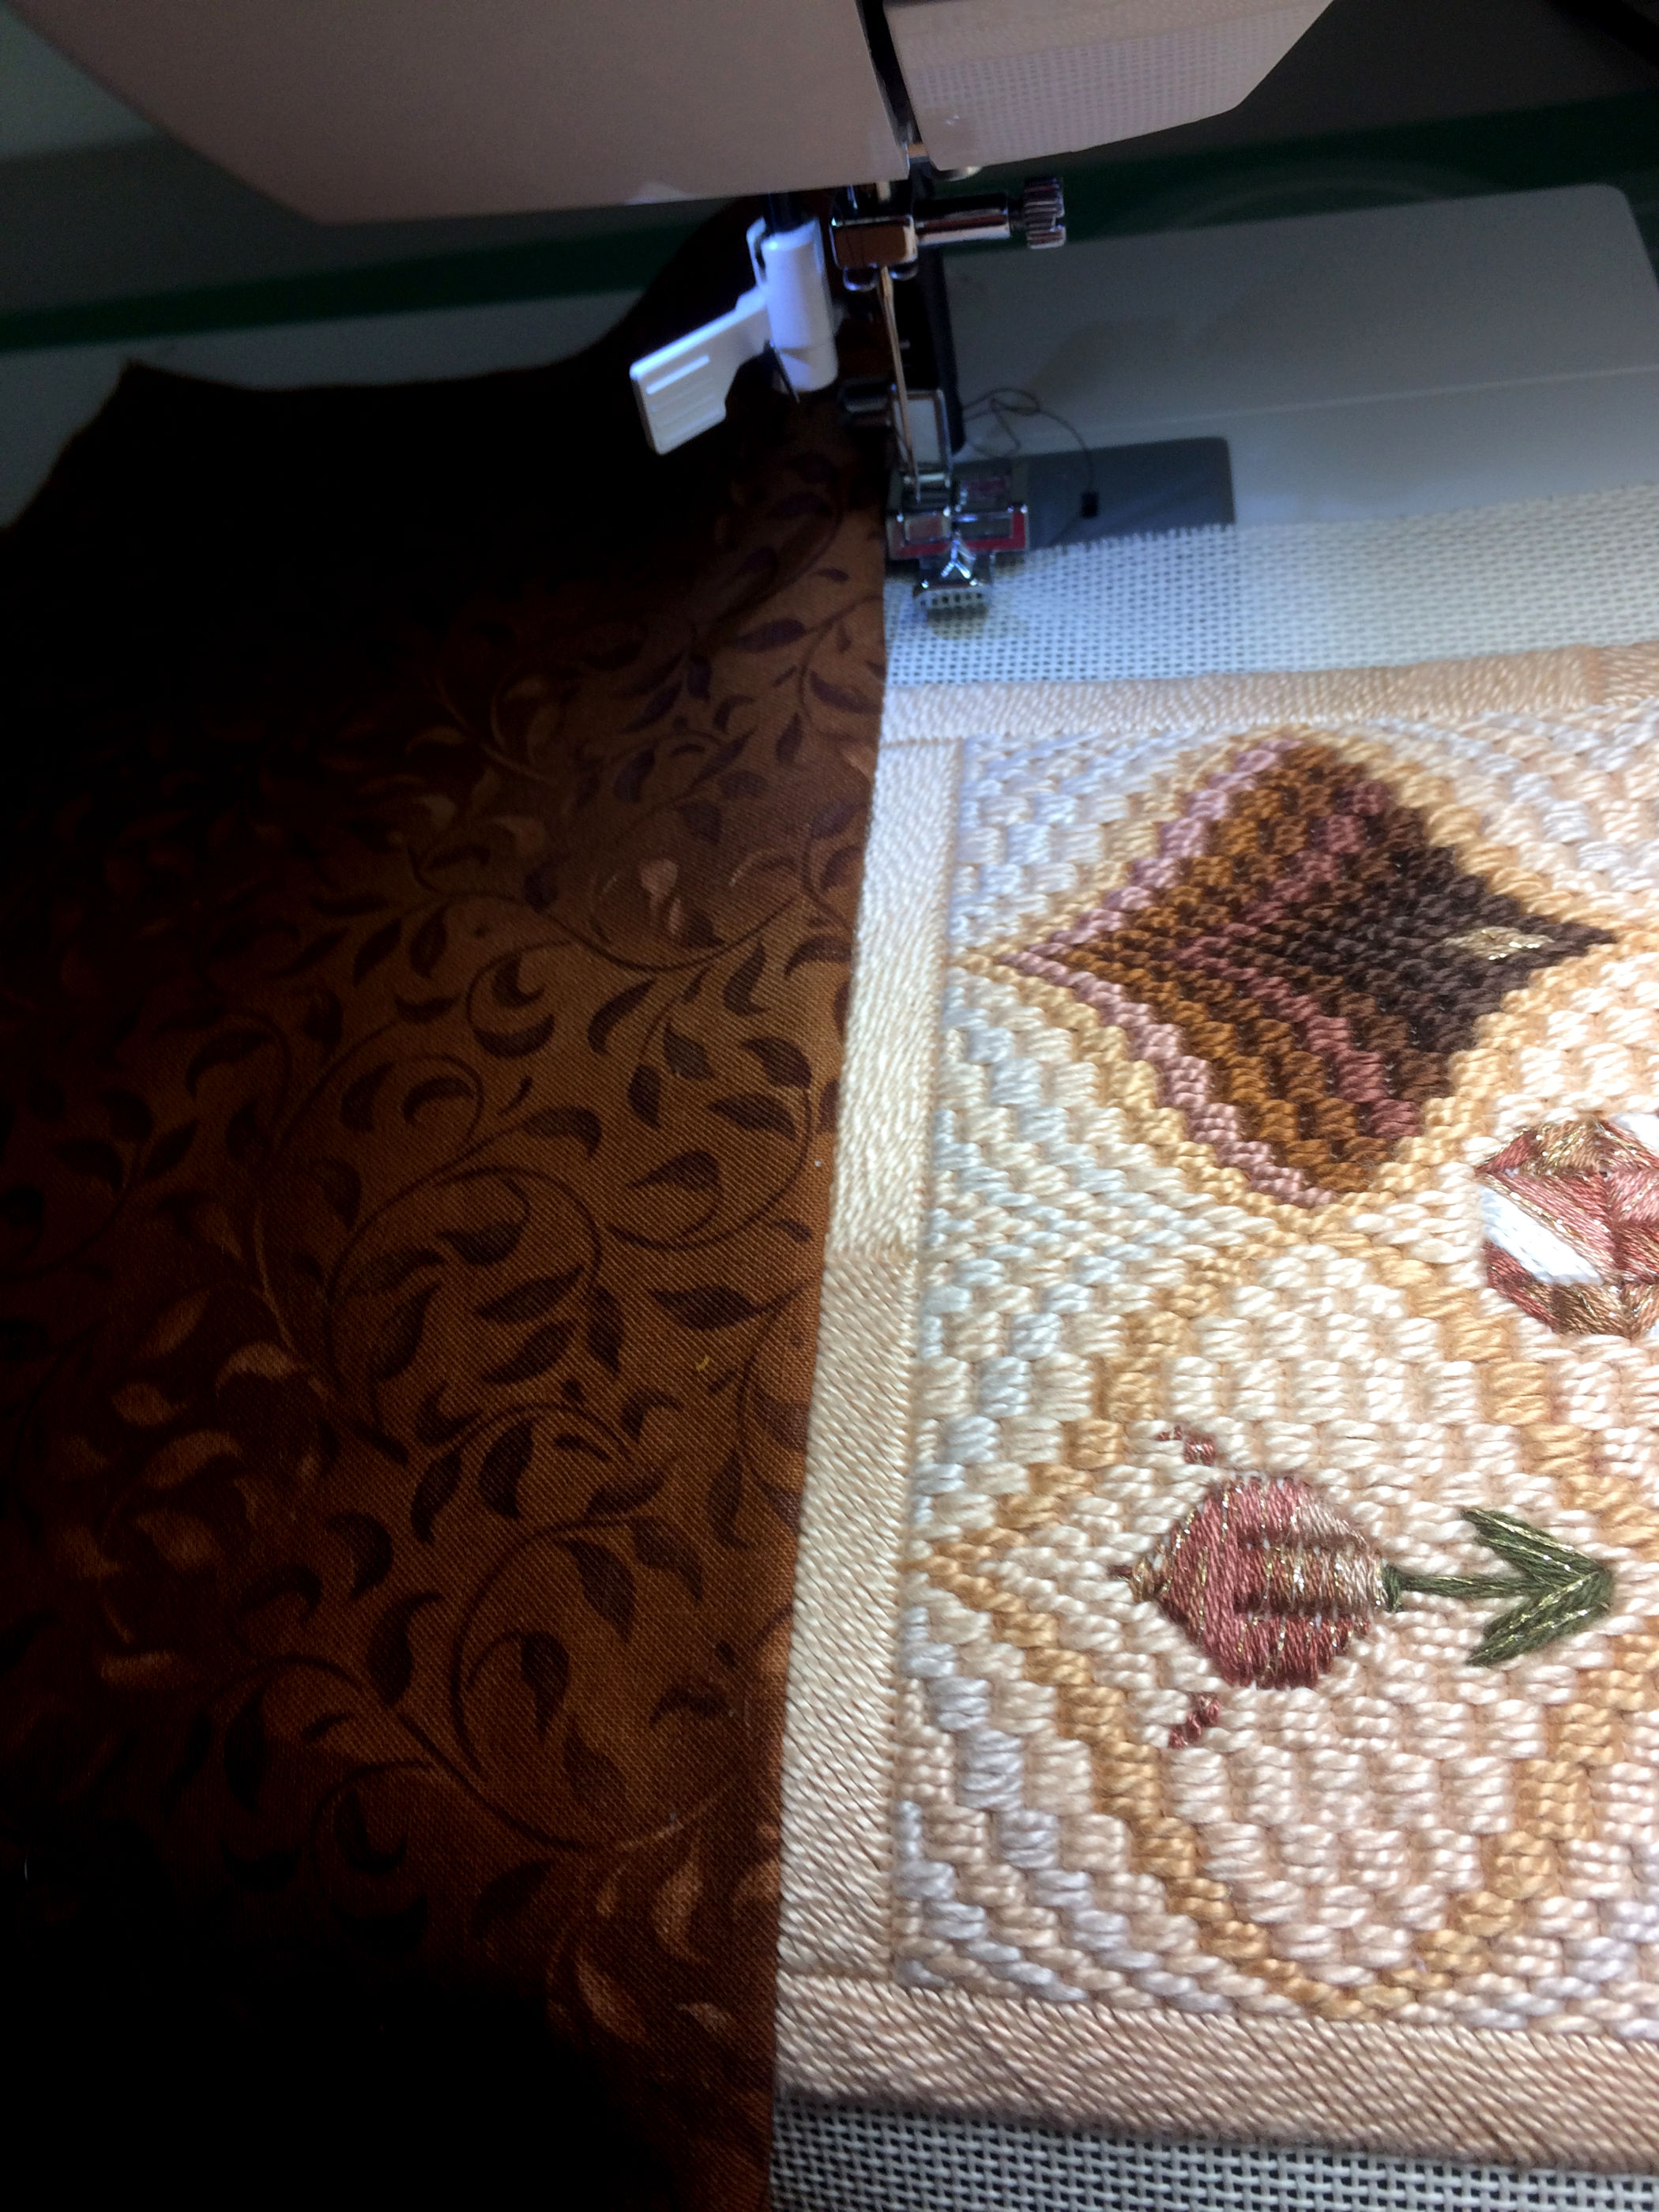
Step 1: start aligned at corner of worked design. Good sides of worked design and border length facing each other. Stitch on top (wrong side) of the worked design.Step 2: stitch to next corner. When you start step 1 and end step 2: reverse stitch over 2-3 stitches to lock stitchesStep 3: flip over, smooth border length back and check front side. Then with back side of the worked design facing up, go back to step 1, restitch the same line, flip over and check front side is ok.
Step 4: Second border length sewn corner to corner of the worked design. Flip over and check front side again, then repeat steps to resew the stitch line of the 2nd border length.
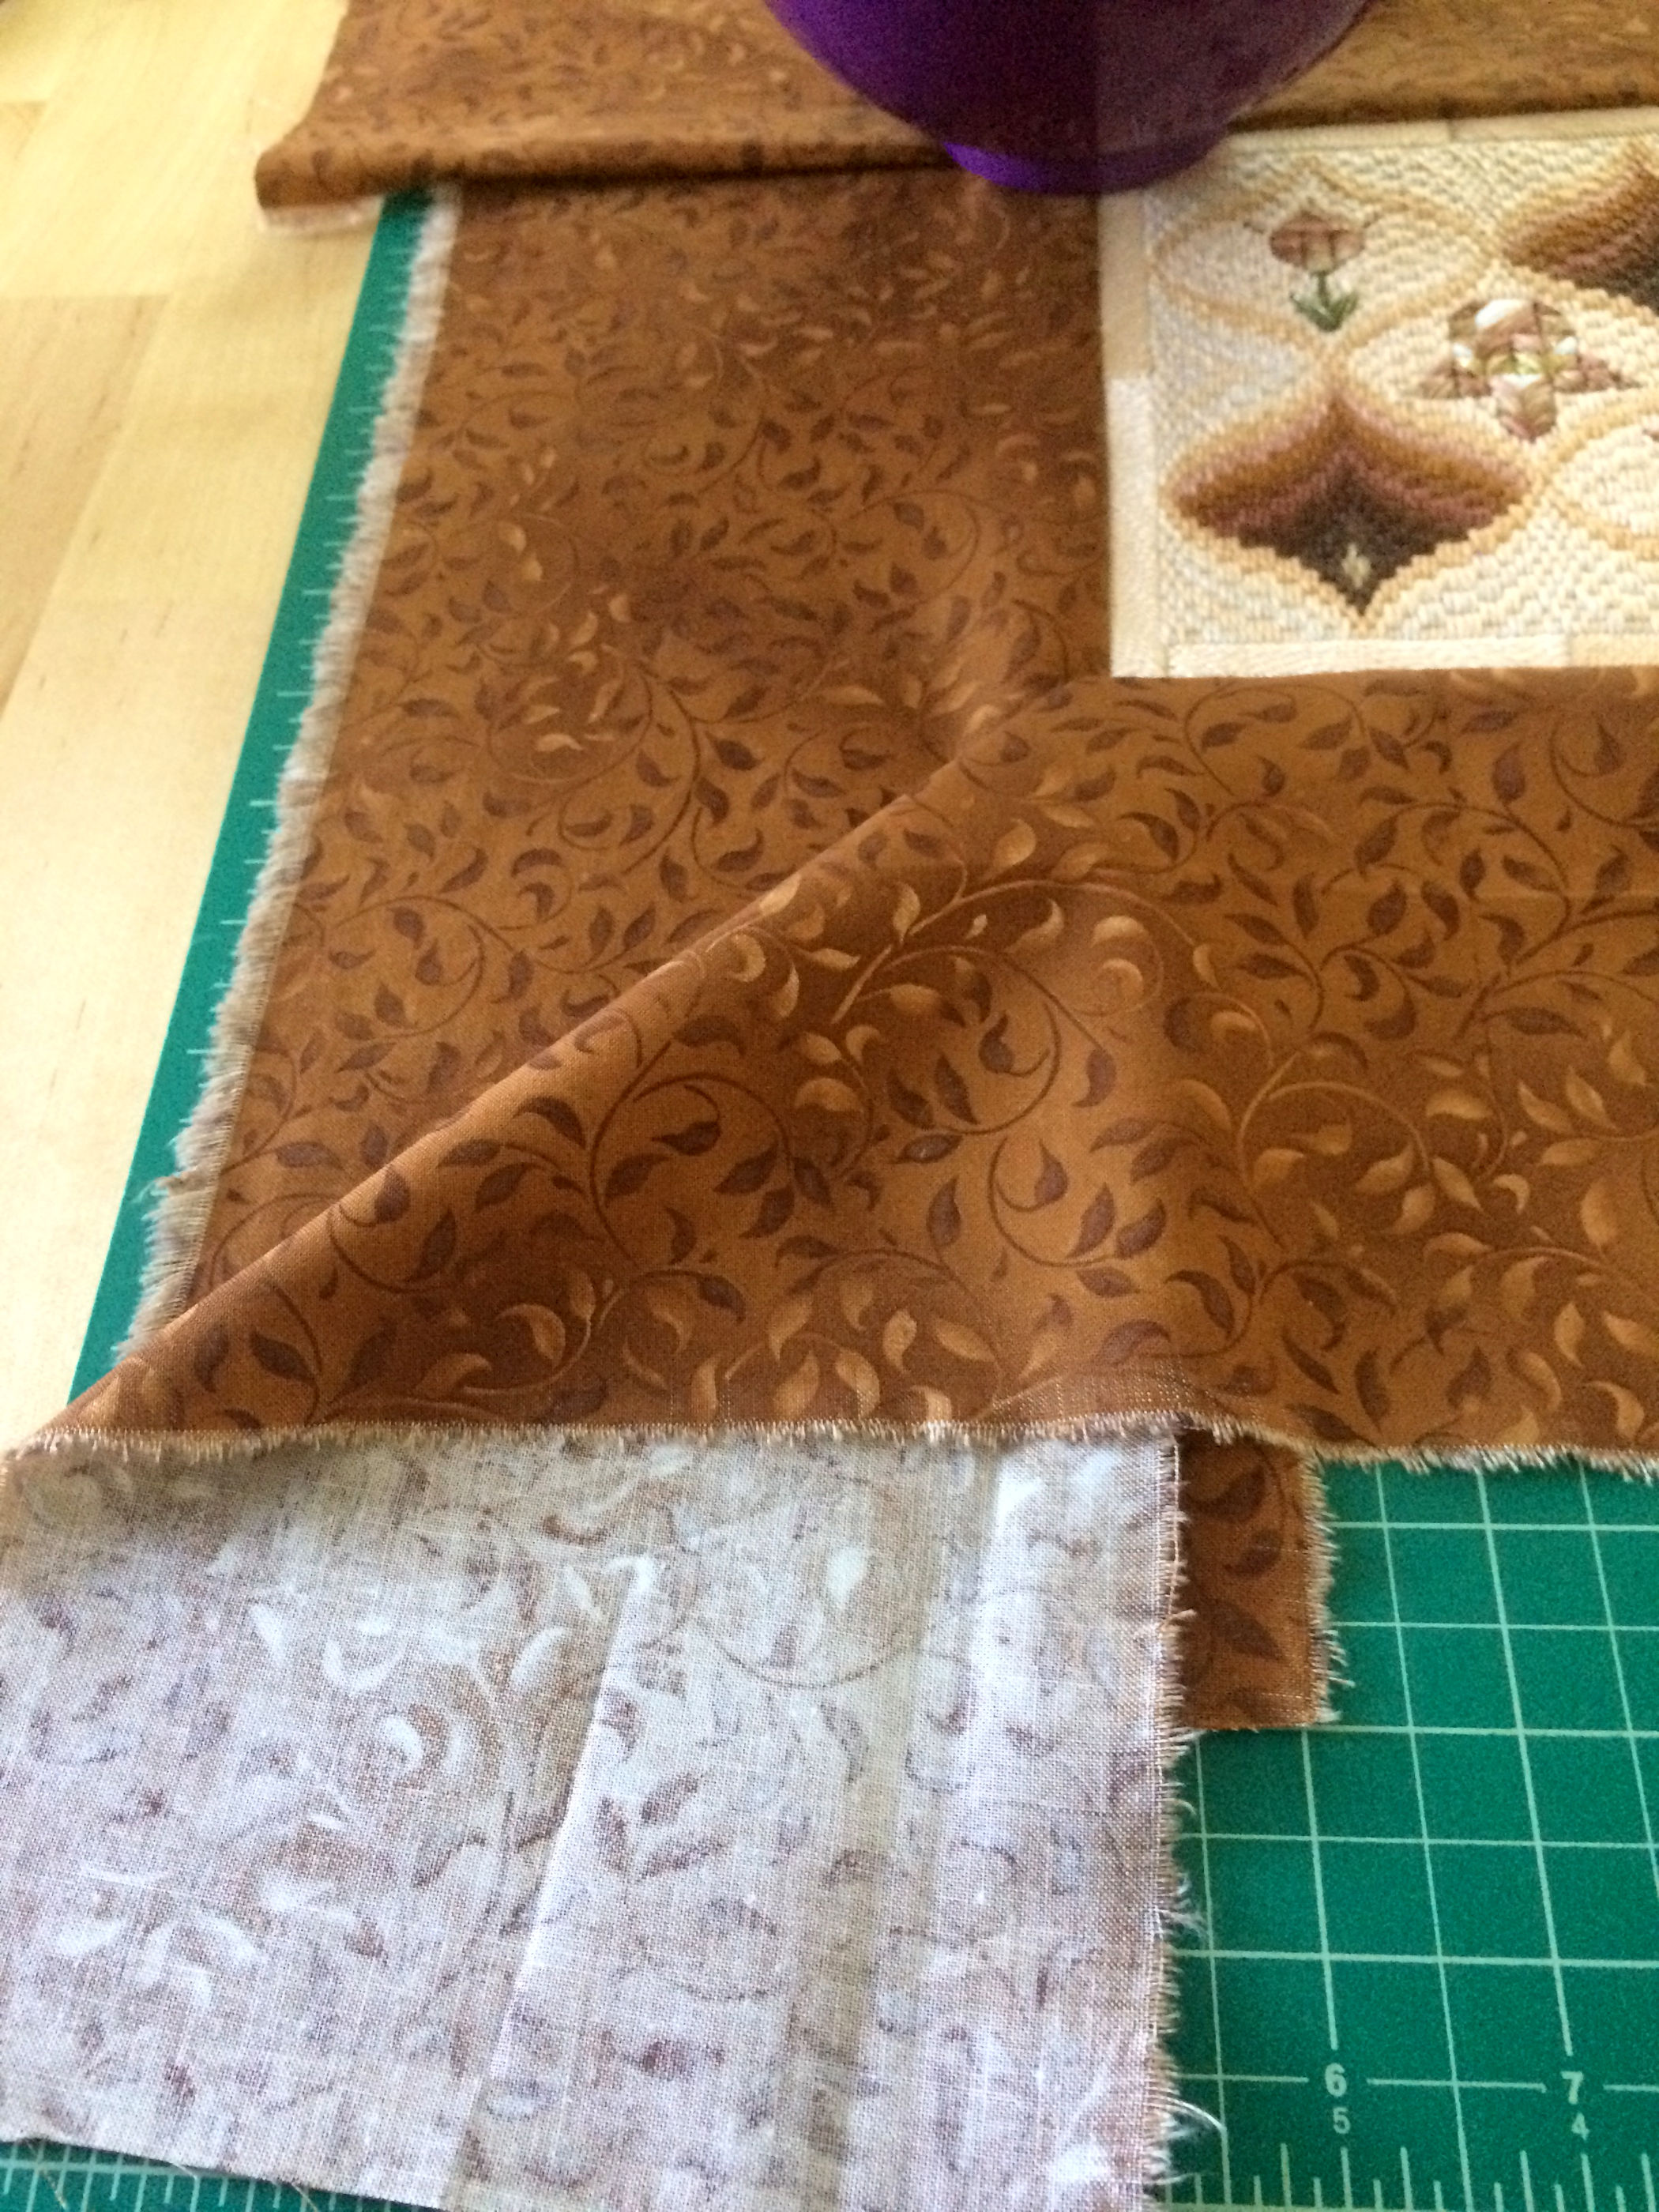
Ready to create what I call quick mitered corners
Photo shows the four border lengths sewed along each 6-inch side of the worked design.
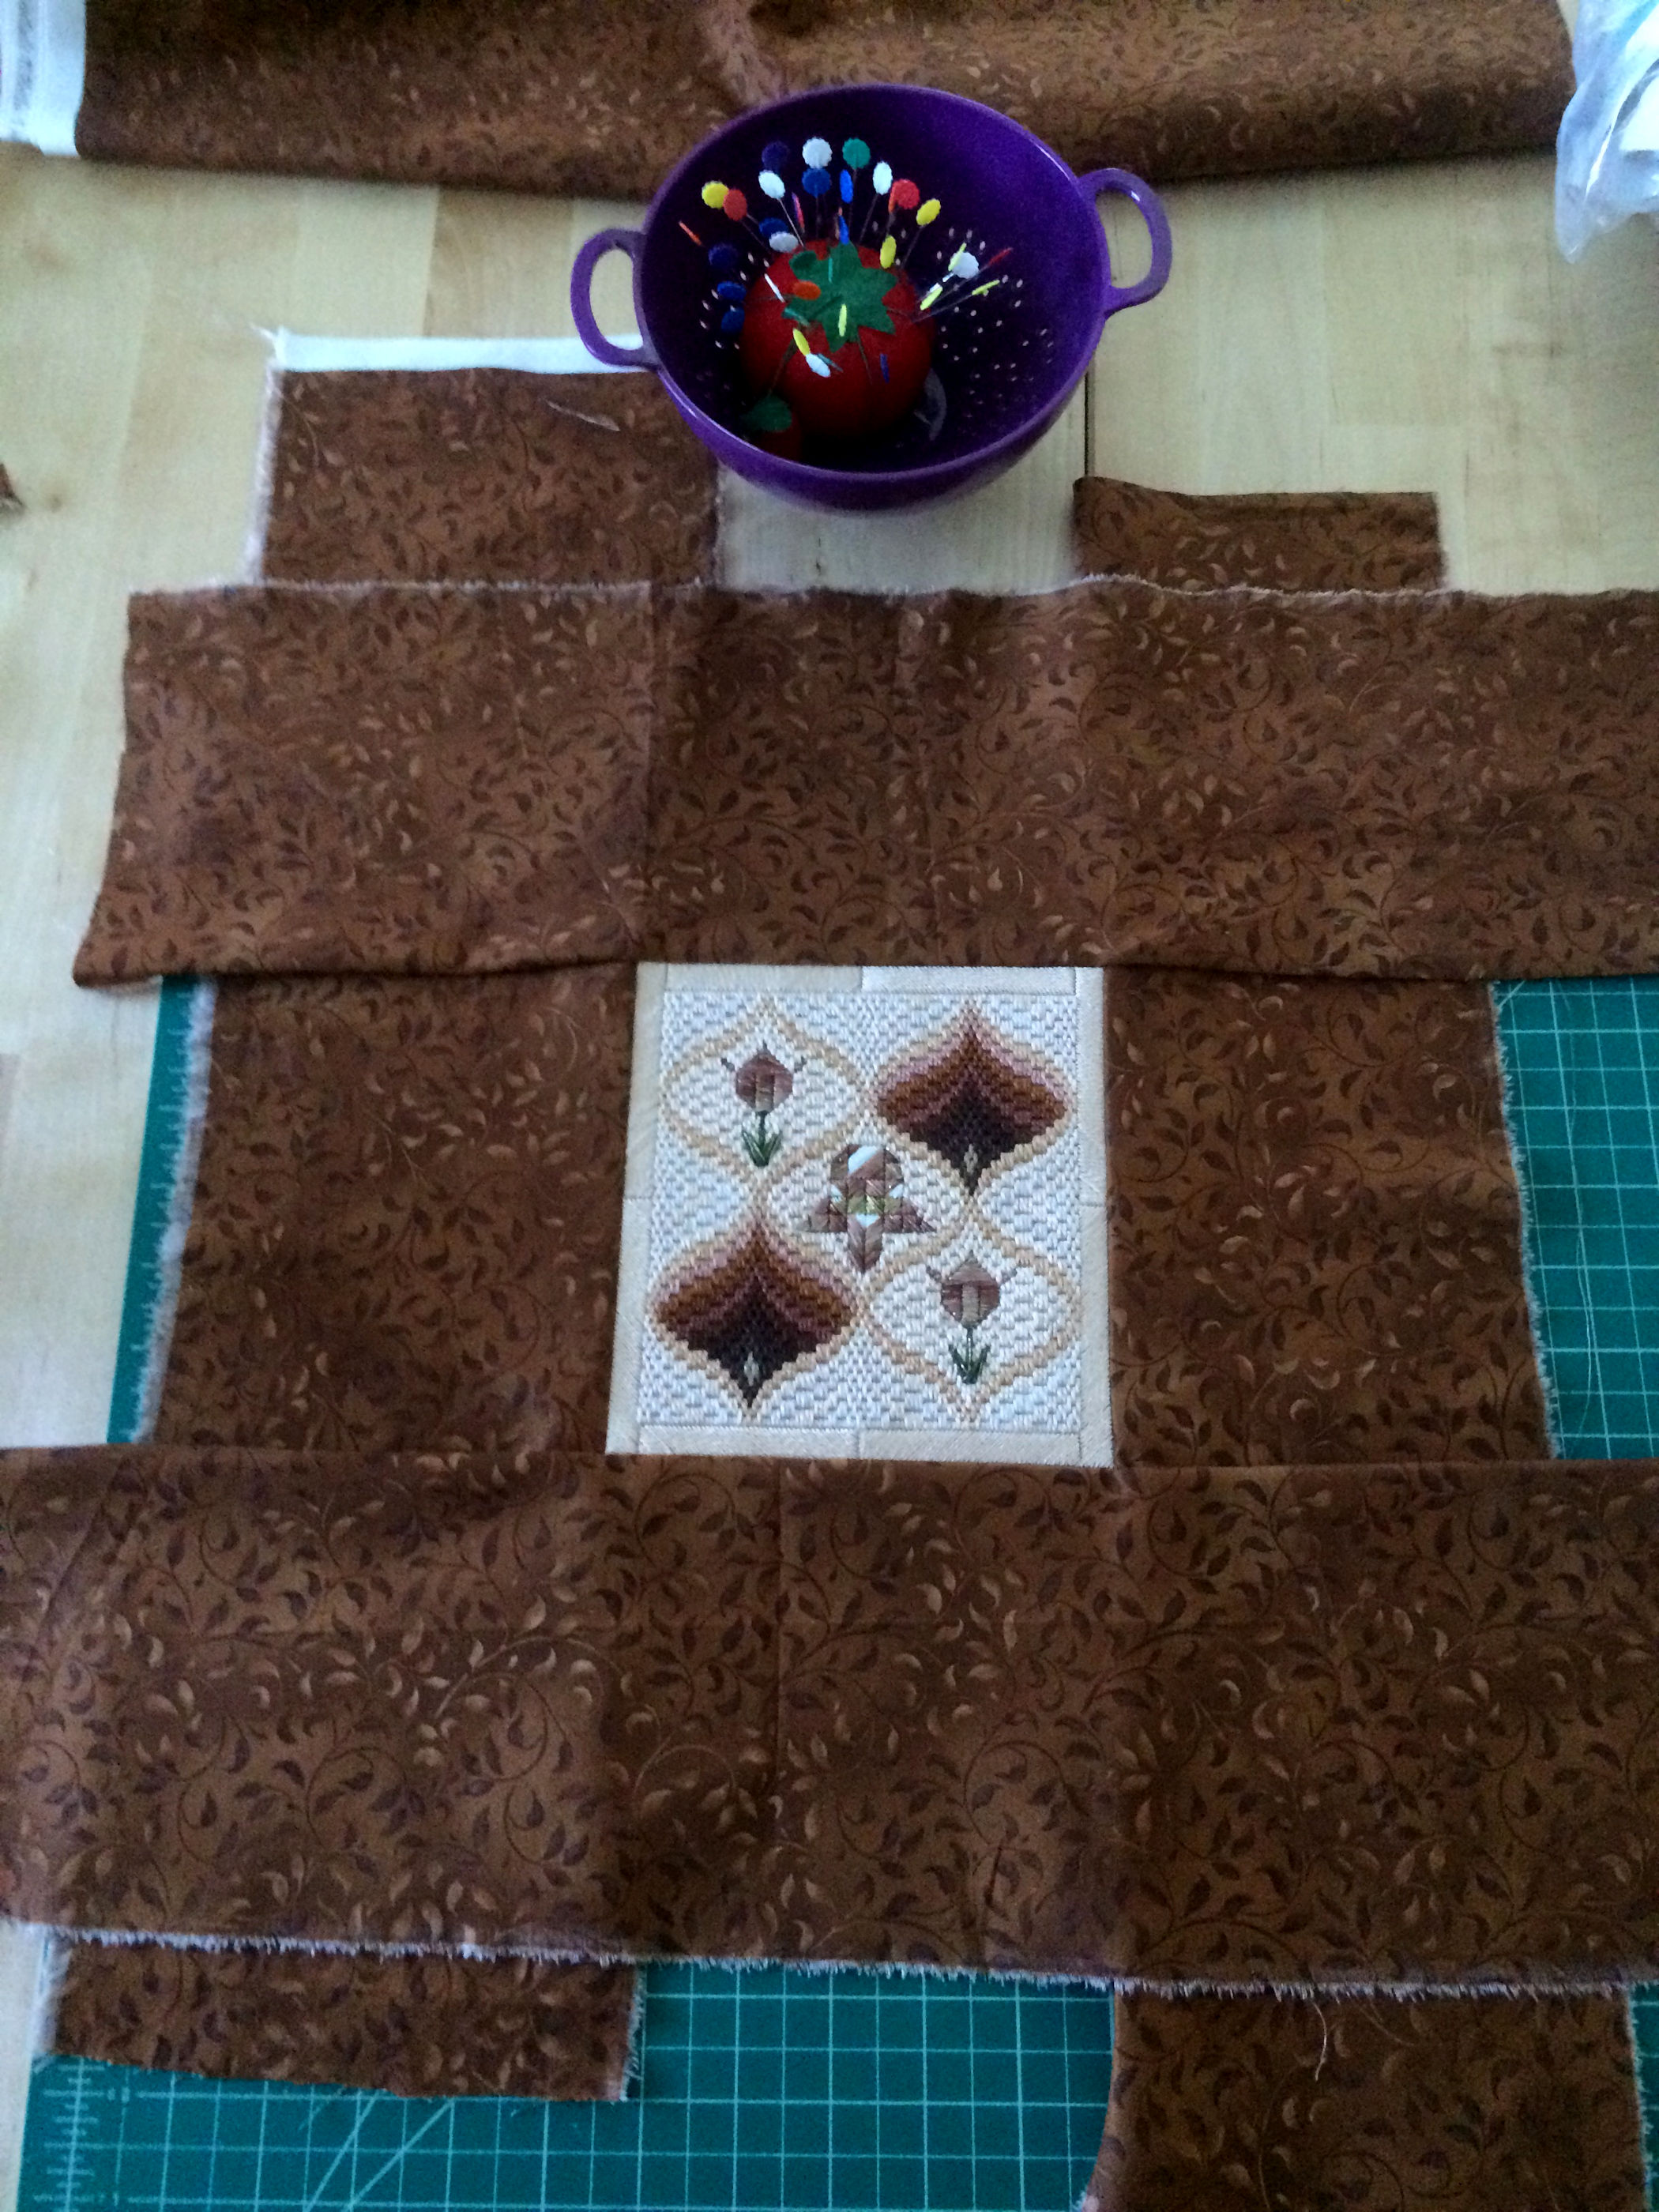
To get ready to fold the border pieces to create the mitered corners, place two opposite border lengths on top of the other two border lengths.
Smooth the printed fabric down with your hands to make sure the fabric lies nice and flat.
Folded top border pieces align with bottom border pieces.
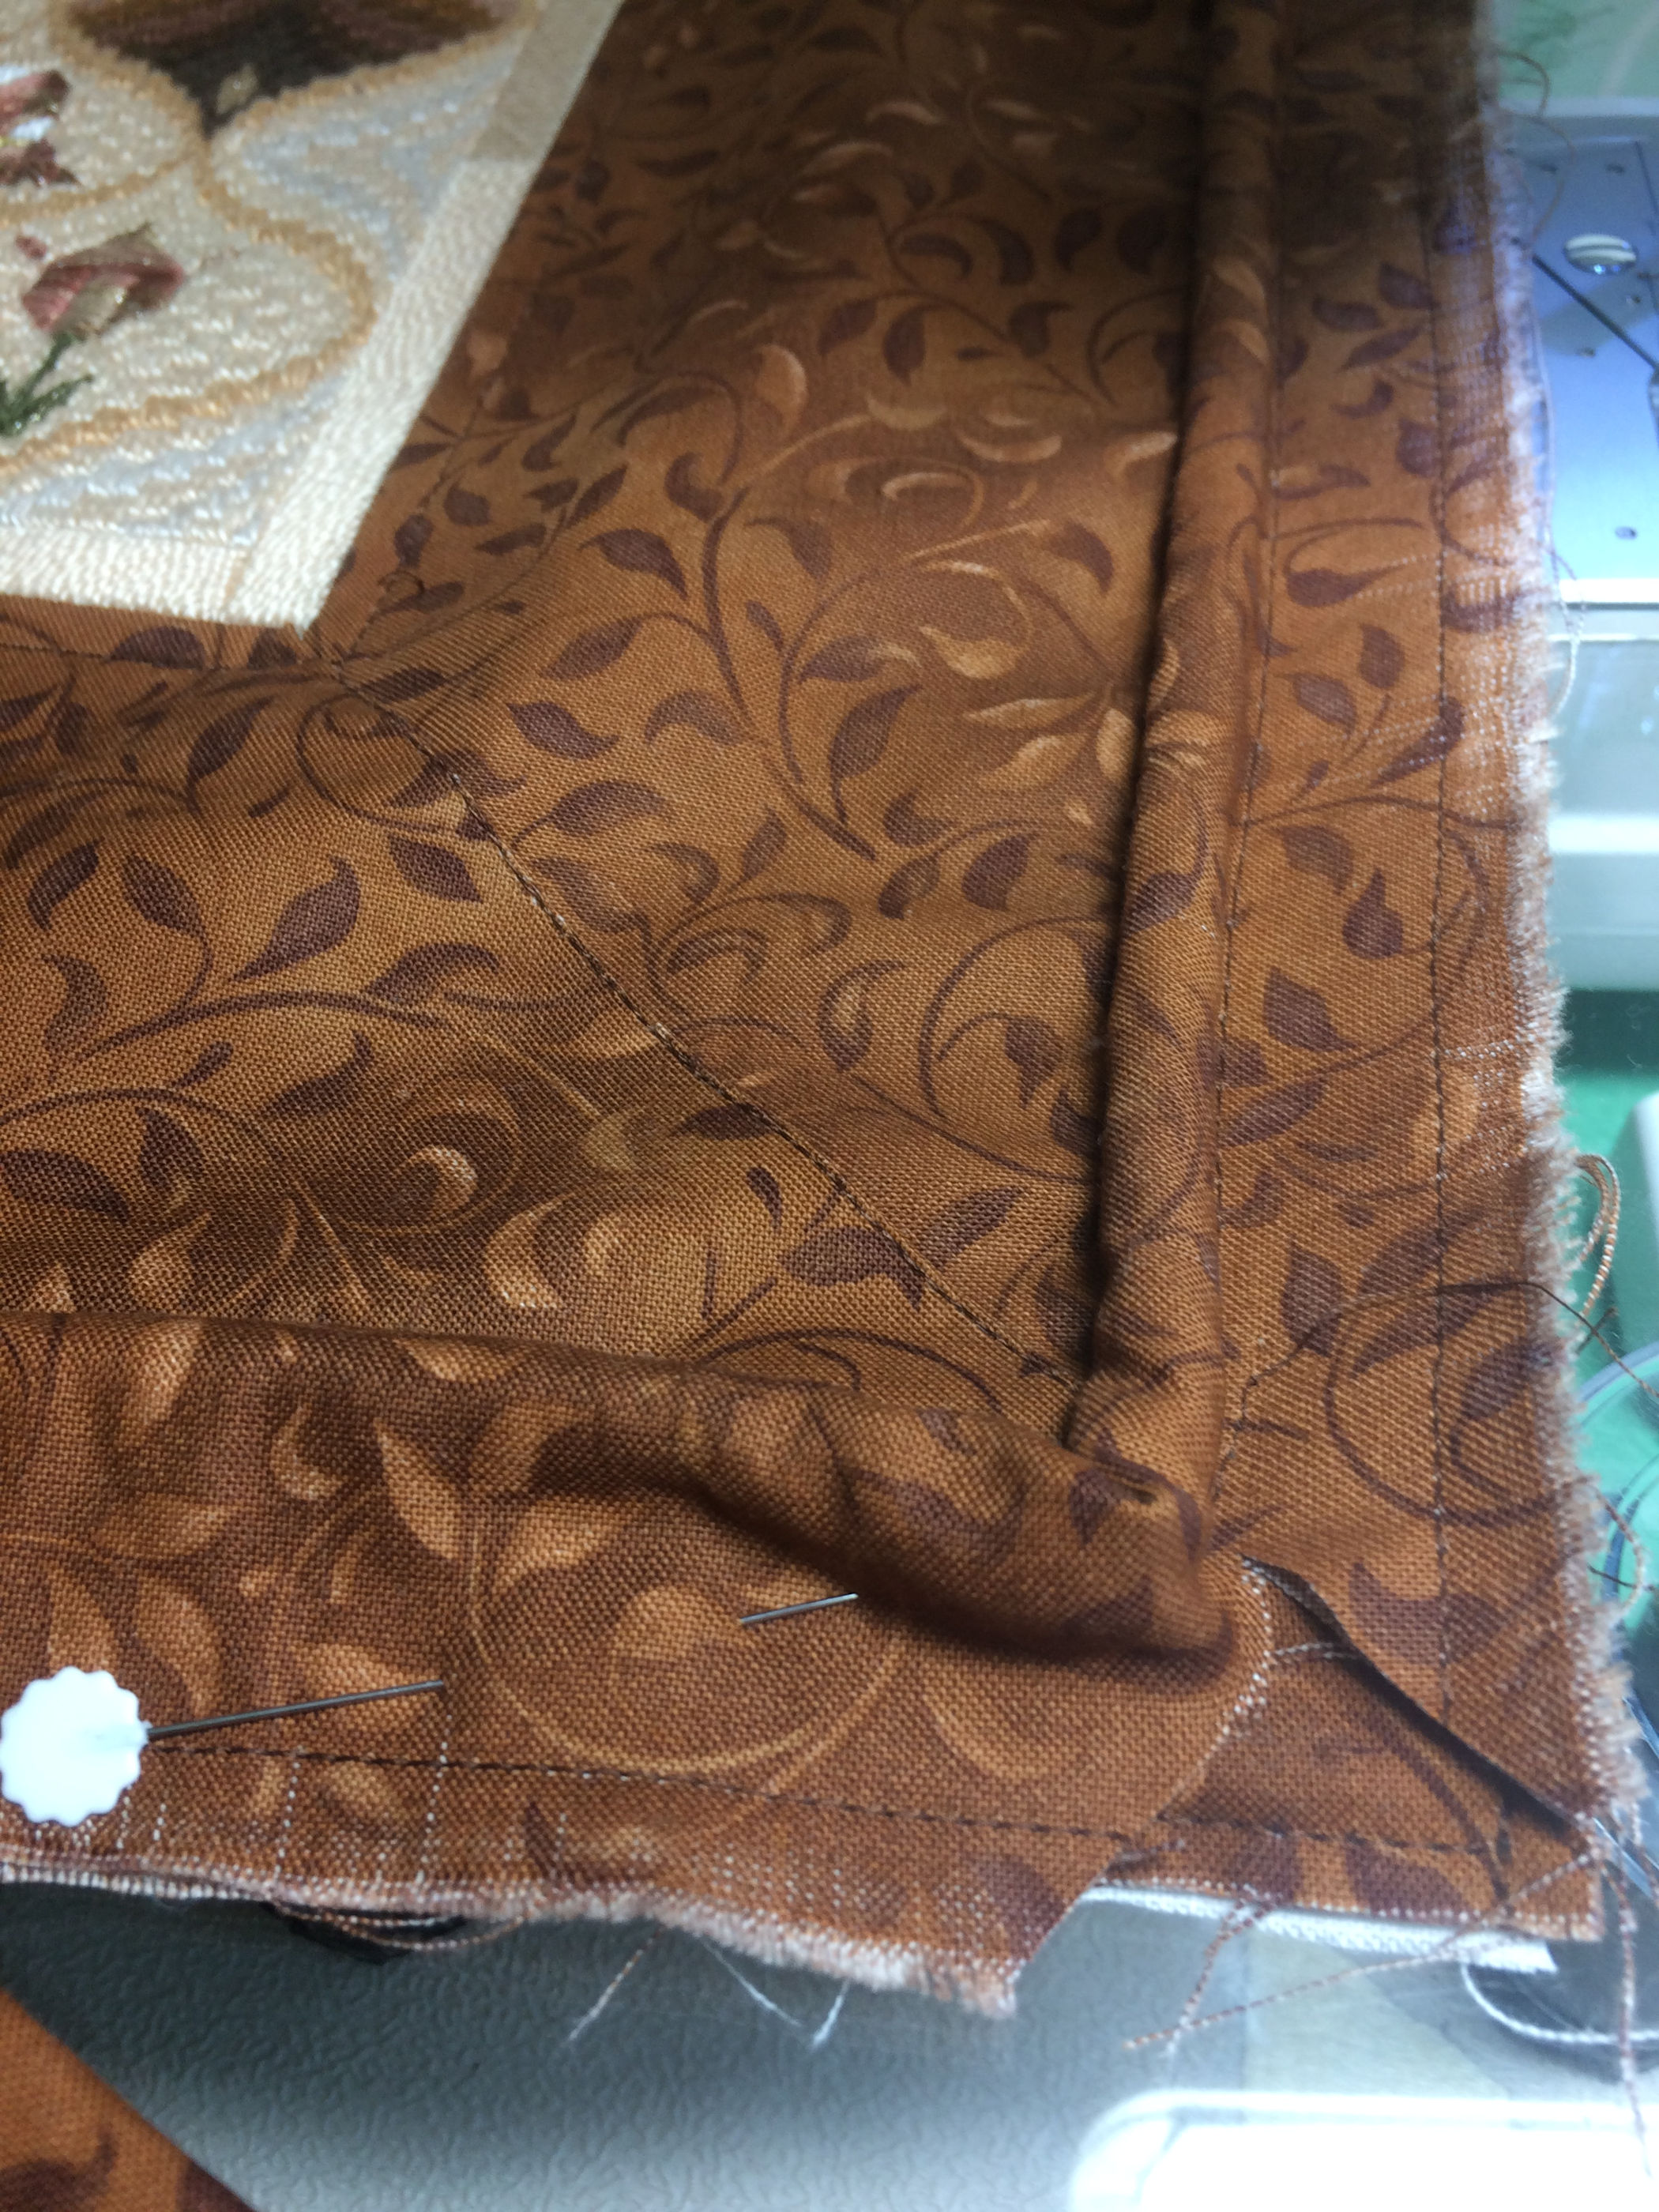
Photo to the left shows the four corners of the two top border pieces folded at 45 degrees and pinned.
To create the “quick” mitered corners:
Up above opposite border lengths were placed on top of the other two border lengths.
The outer parts of these “top” border lengths will be folded back to create the four 45-degree corners. Notice in this photo that the top left corner has a \ 45-degree slant and the right corner has a / 45-degree slant. The bottom corners are slanted / \.
Each inner edge of a folded corner starts at a corner edge of the worked design.
When folded at 45 degrees the outer fabric of the top border length aligns with the bottom border length.
Three of the corners folded back easily to create a crisp 45-degree line from corner of the worked design and out to the edge of the top piece.
One of the folded four corners was slightly off at the corner of the worked design. This is discussed below.
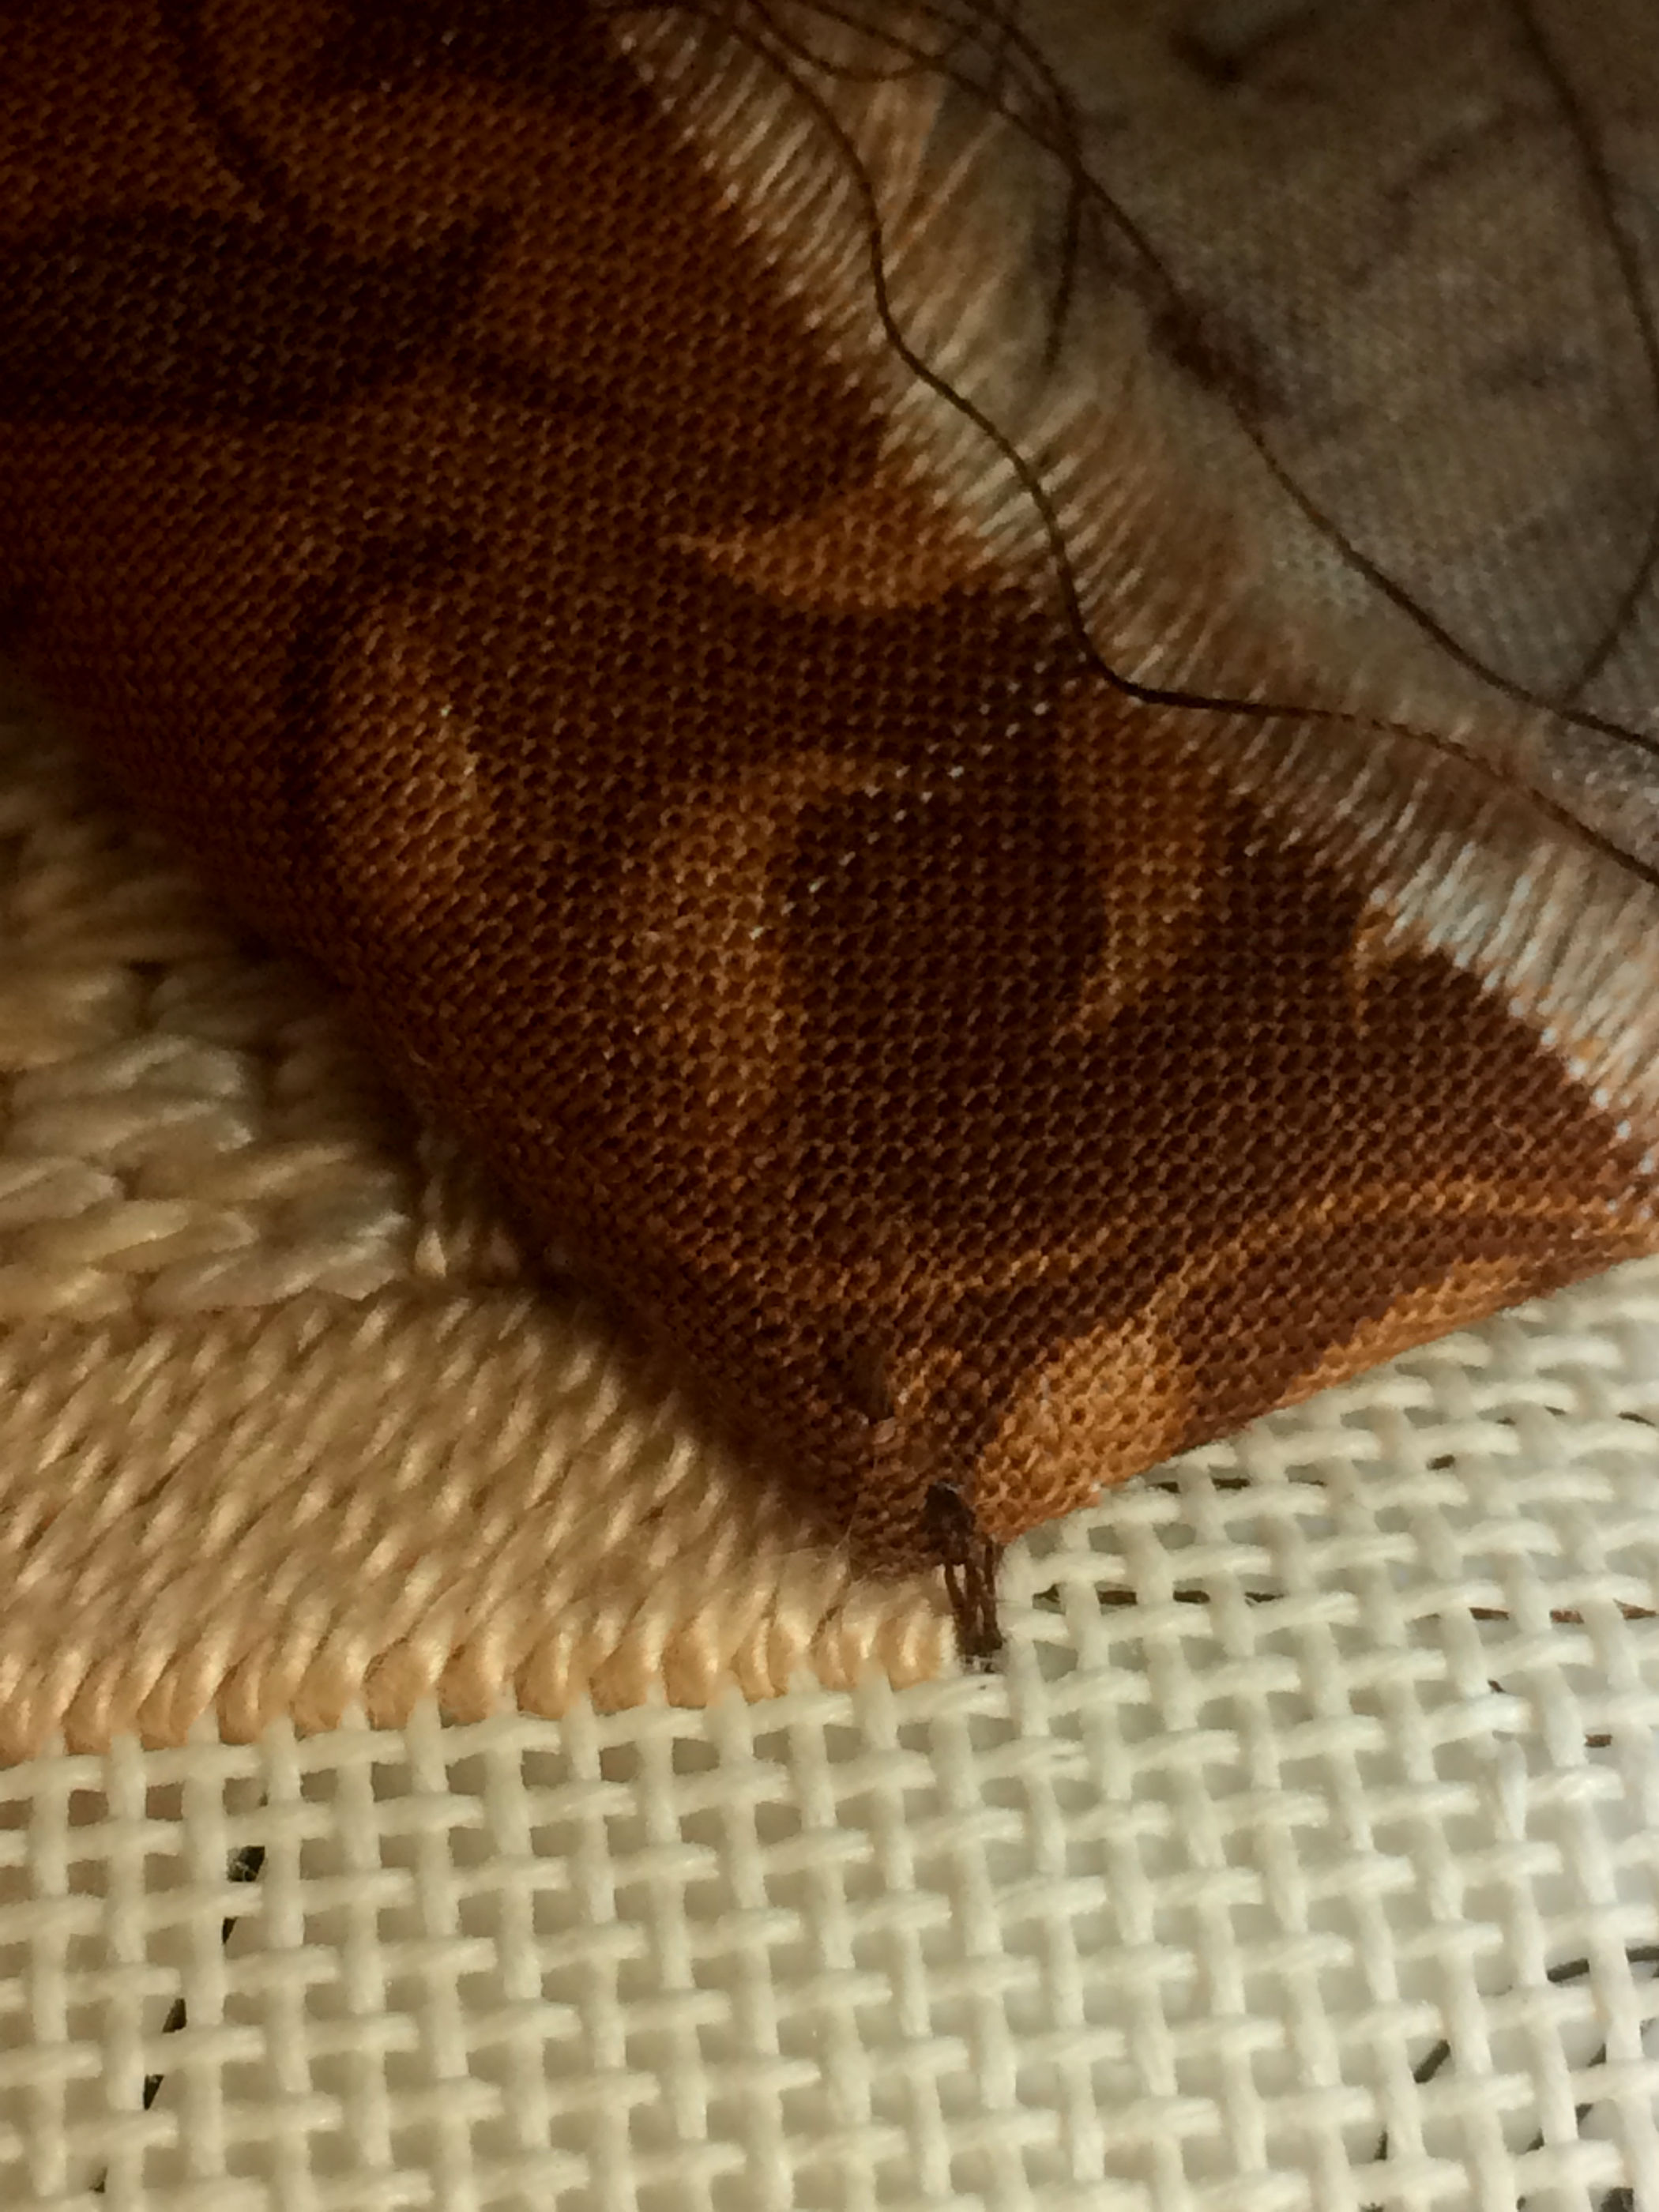
Fold of this corner was slightly off. Notice the top folded border length is not aligning right on top of the bottom border length.Determining why this folded corner is slightly off. The stitching looks good, in that stitching ends right at edge of the worked piece.
Problem with one of the folded back corners:
When I examined the stitching of this border piece to the mono fabric, the stitching looked good because it stopped right at the corner edge of the worked design.
Still I snipped the first stitch, refolded the border piece at that corner and this time it align nice and sharp at the corner of the worked design.
With all four corners folded and pinned, trimmed the extra lengths (ends) of the four border lengths then right side up, top stitch the border about 1/4-inch (see the next photos) from the sides of the worked design:
Top stitching: I like to switch from zipper foot to a regular flat pressure foot.
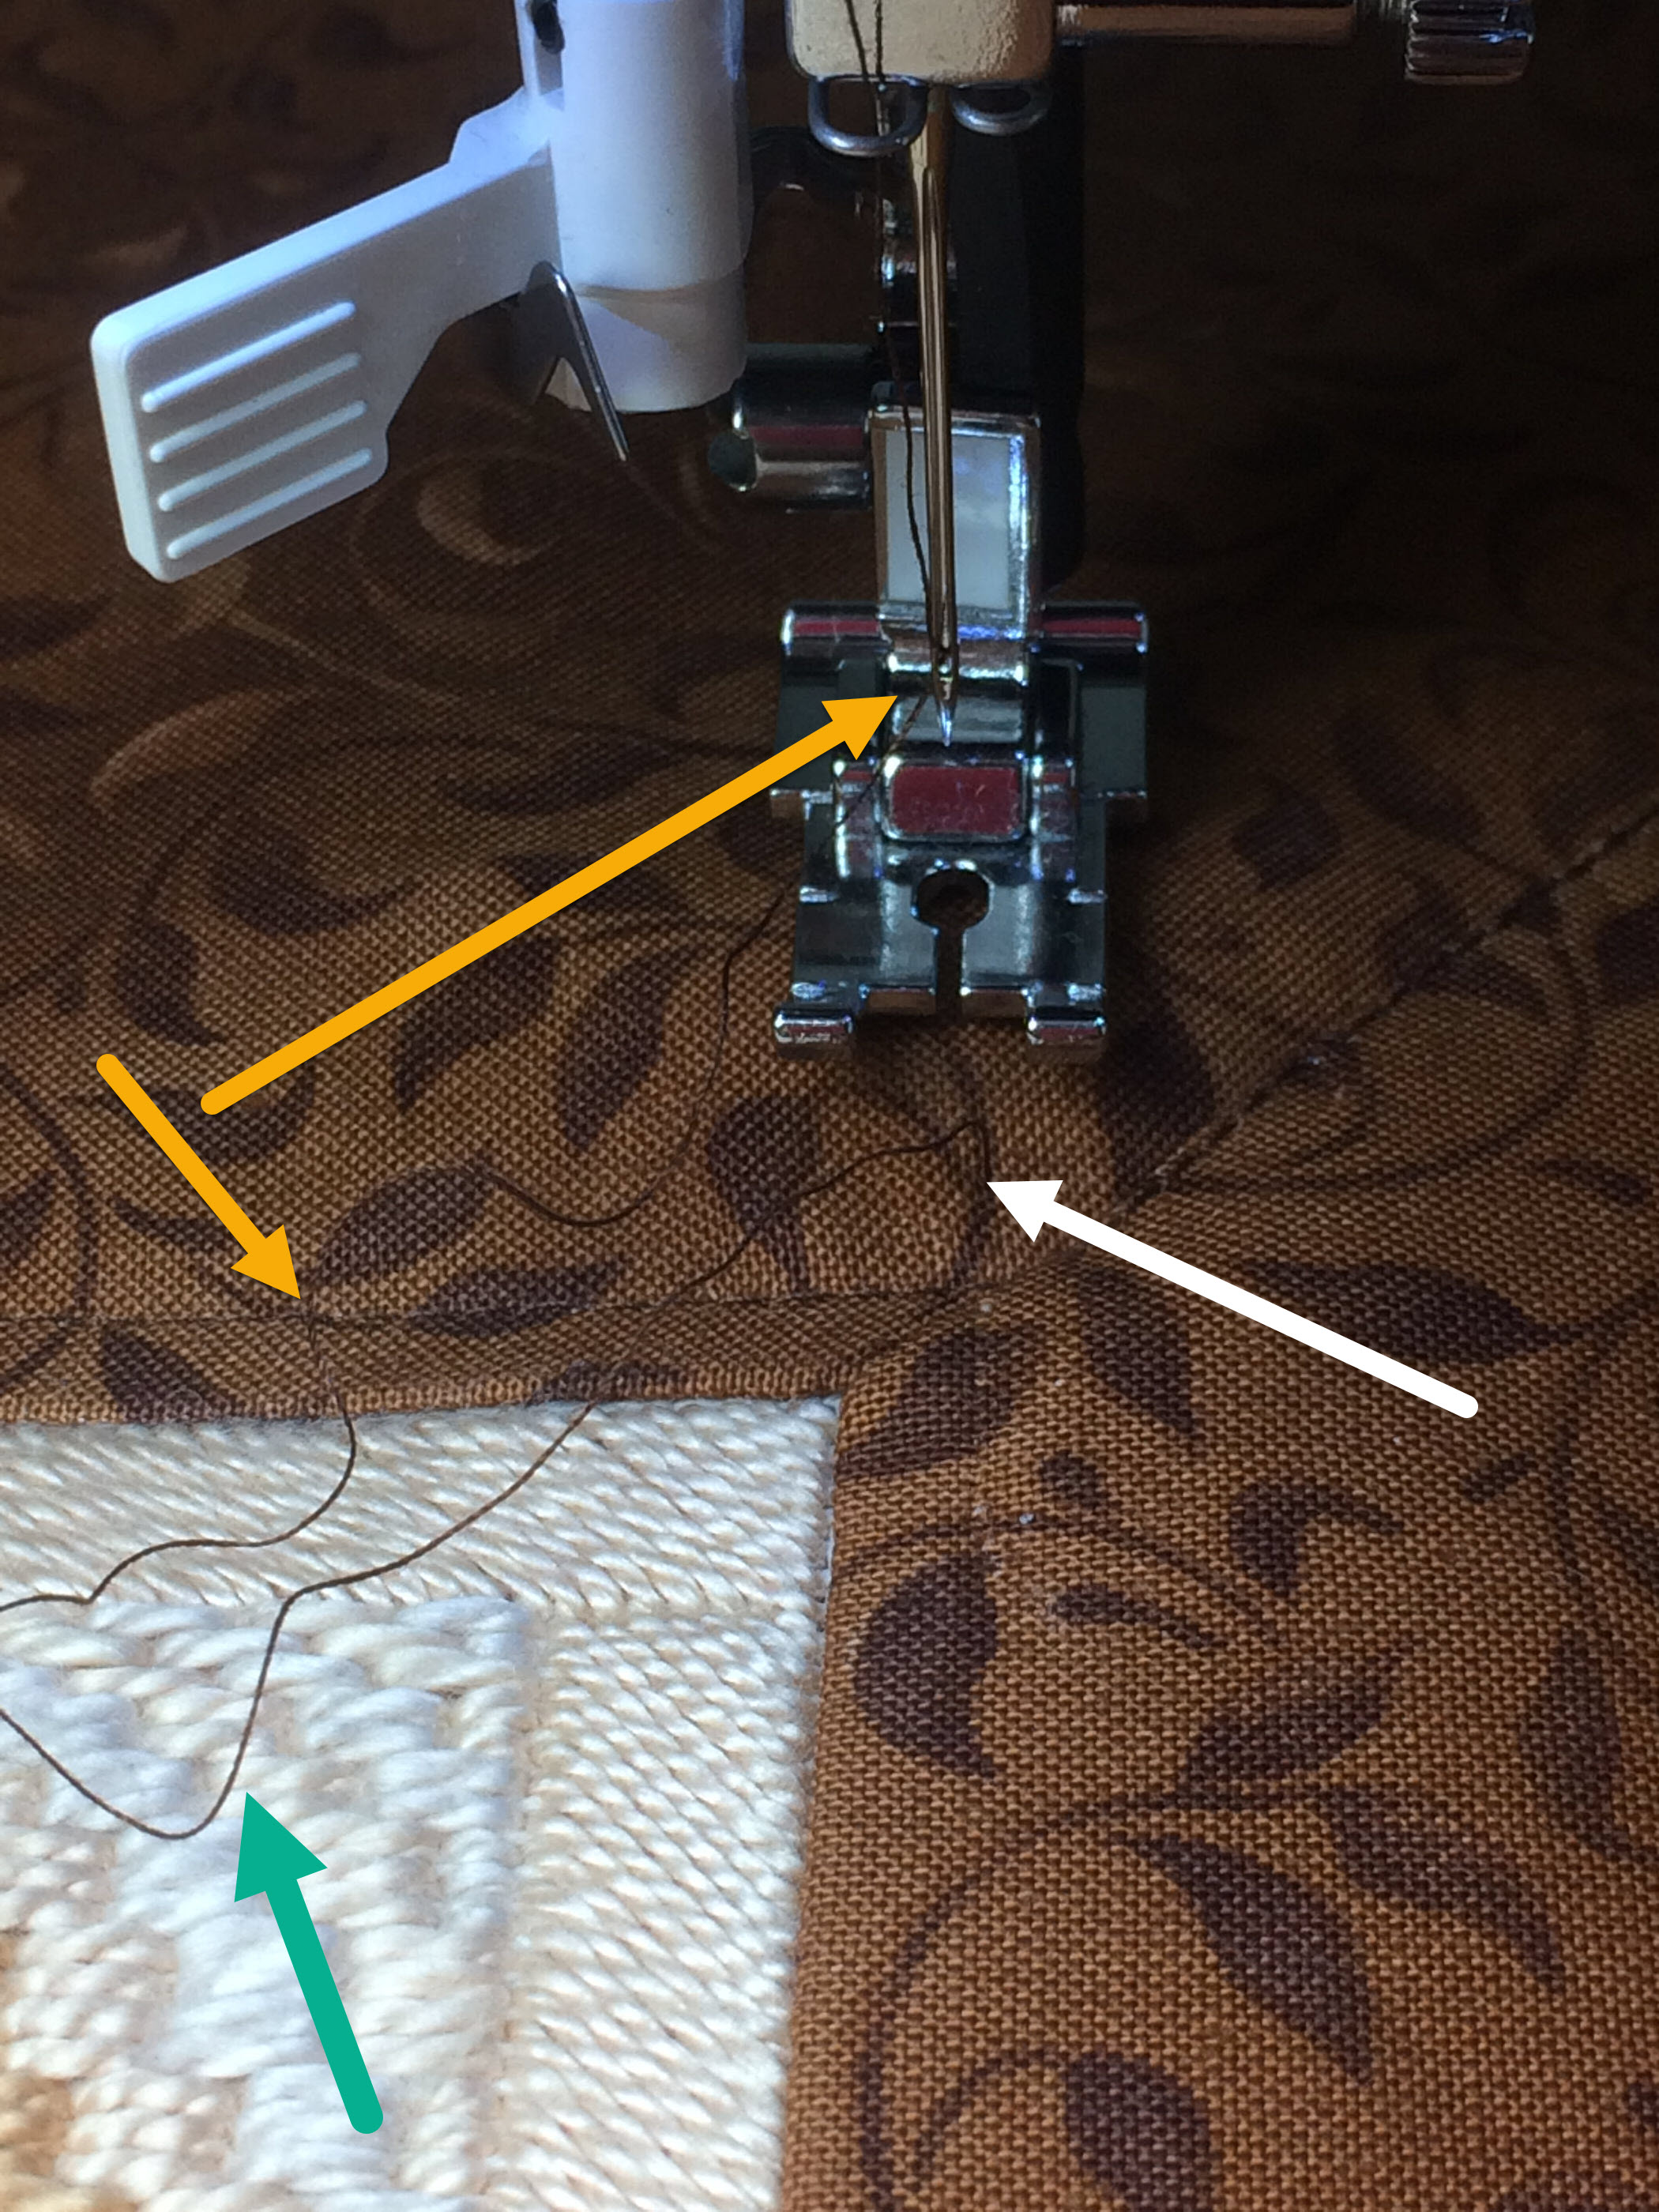
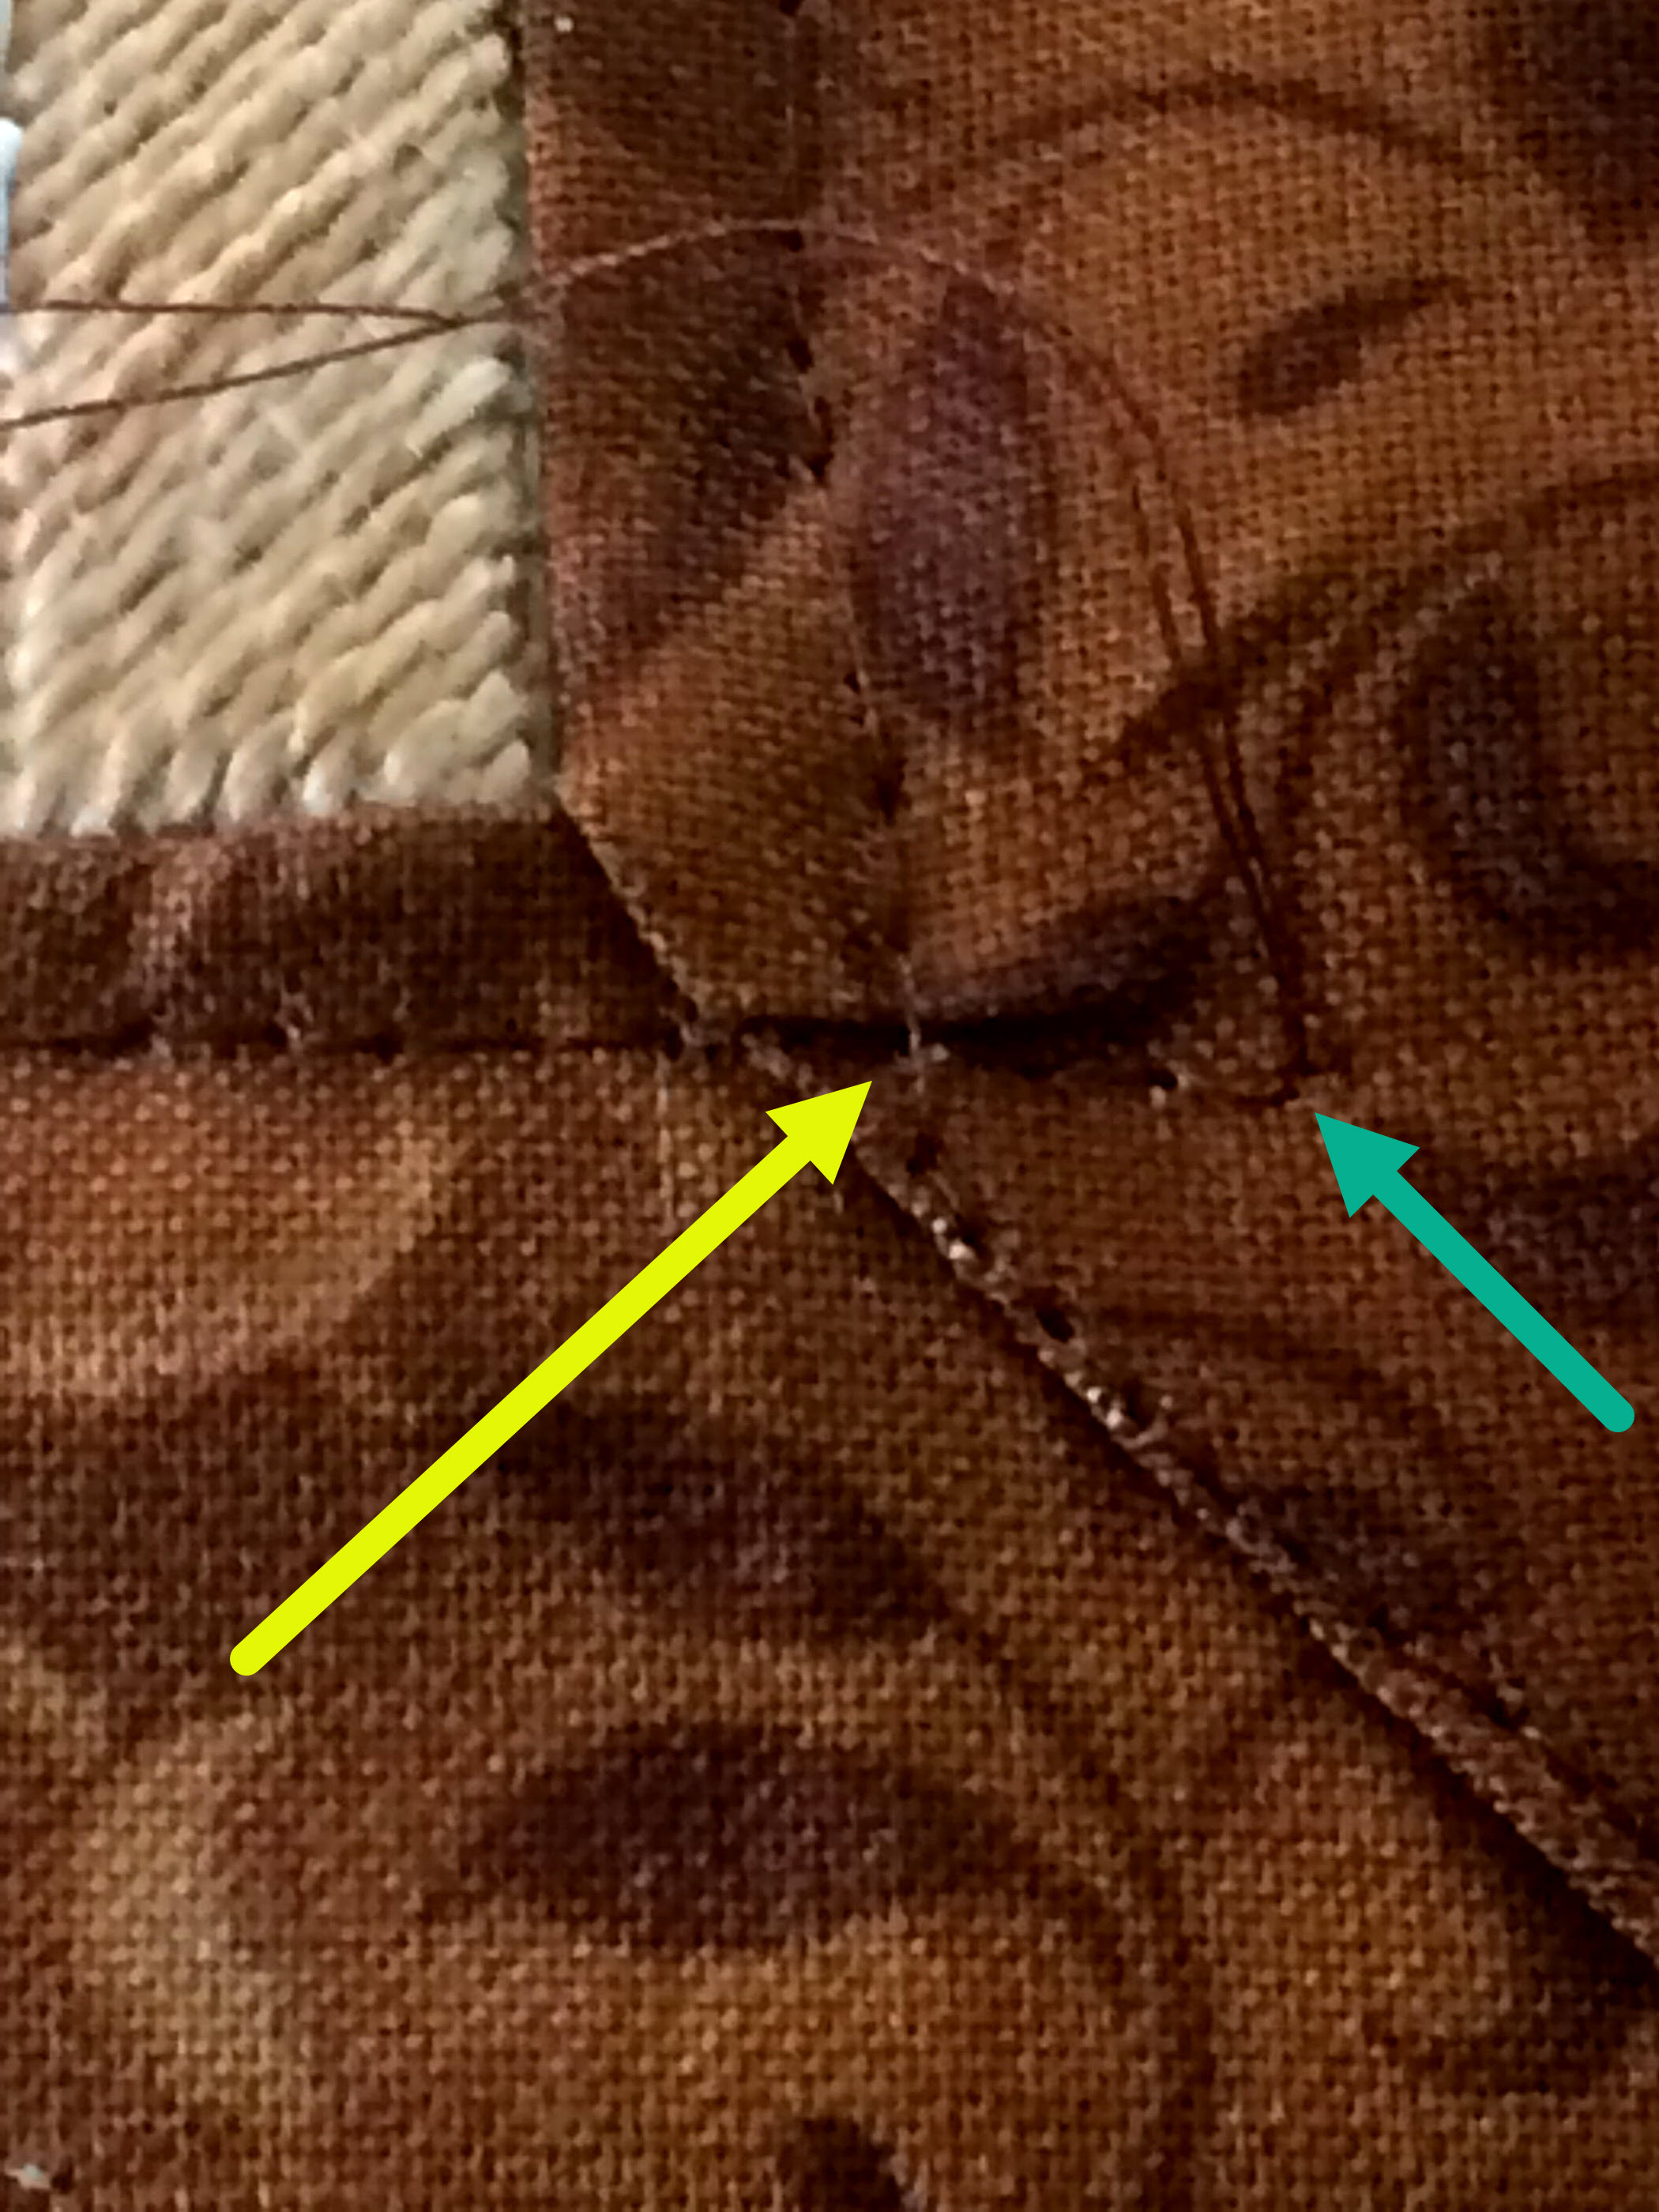
Each of the four sides is individually top stitched. Stitch along one side of the worked piece then stitch corner diagonal. To start a line of top stitching place needle just before folded corner (see white arrow on the next photo) and about 1/4 inch away from the side (that you will be stitching along) of the worked design. Pull bobbin thread through: do first stitch, stop, use top stitching thread to pull the bobbin thread up top, move both start tails (bobbin and top stitching thread) to the side and continue on with the top stitching of one side along the worked design.
Start top stitching by bringing bobbin thread (lower left (aqua) arrow) up top. Bring the bobbin thread up on top by doing one stitch and using top thread (yellow arrows) to pull bobbin thread through. Hold top and bottom tails of stitching thread off to the side.To start line of top stitching place needle just before folded corner and about 1/4 inch away from the worked design.Stitch quarter inch away from side of worked design. At the corner (at the end of this side) pivot (with needle down) onto the folded (45-degree corner fabric). Continue top stitching very close to and on top of the folded edge of the corner diagonal (45 degree folded back border fabric).Click this photo, then click the larger image to view top stitching of a “quick” mitered corner.
The method of top stitching along each side is:
do one stitch in front of a folder corner diagonal
bring bobbin thread up
with thread tails held aside, stitch straight over to the next folded corner diagonal
with needle down, pivot to then stitch (closely) along the folded diagonal out to the edge.
do this four times
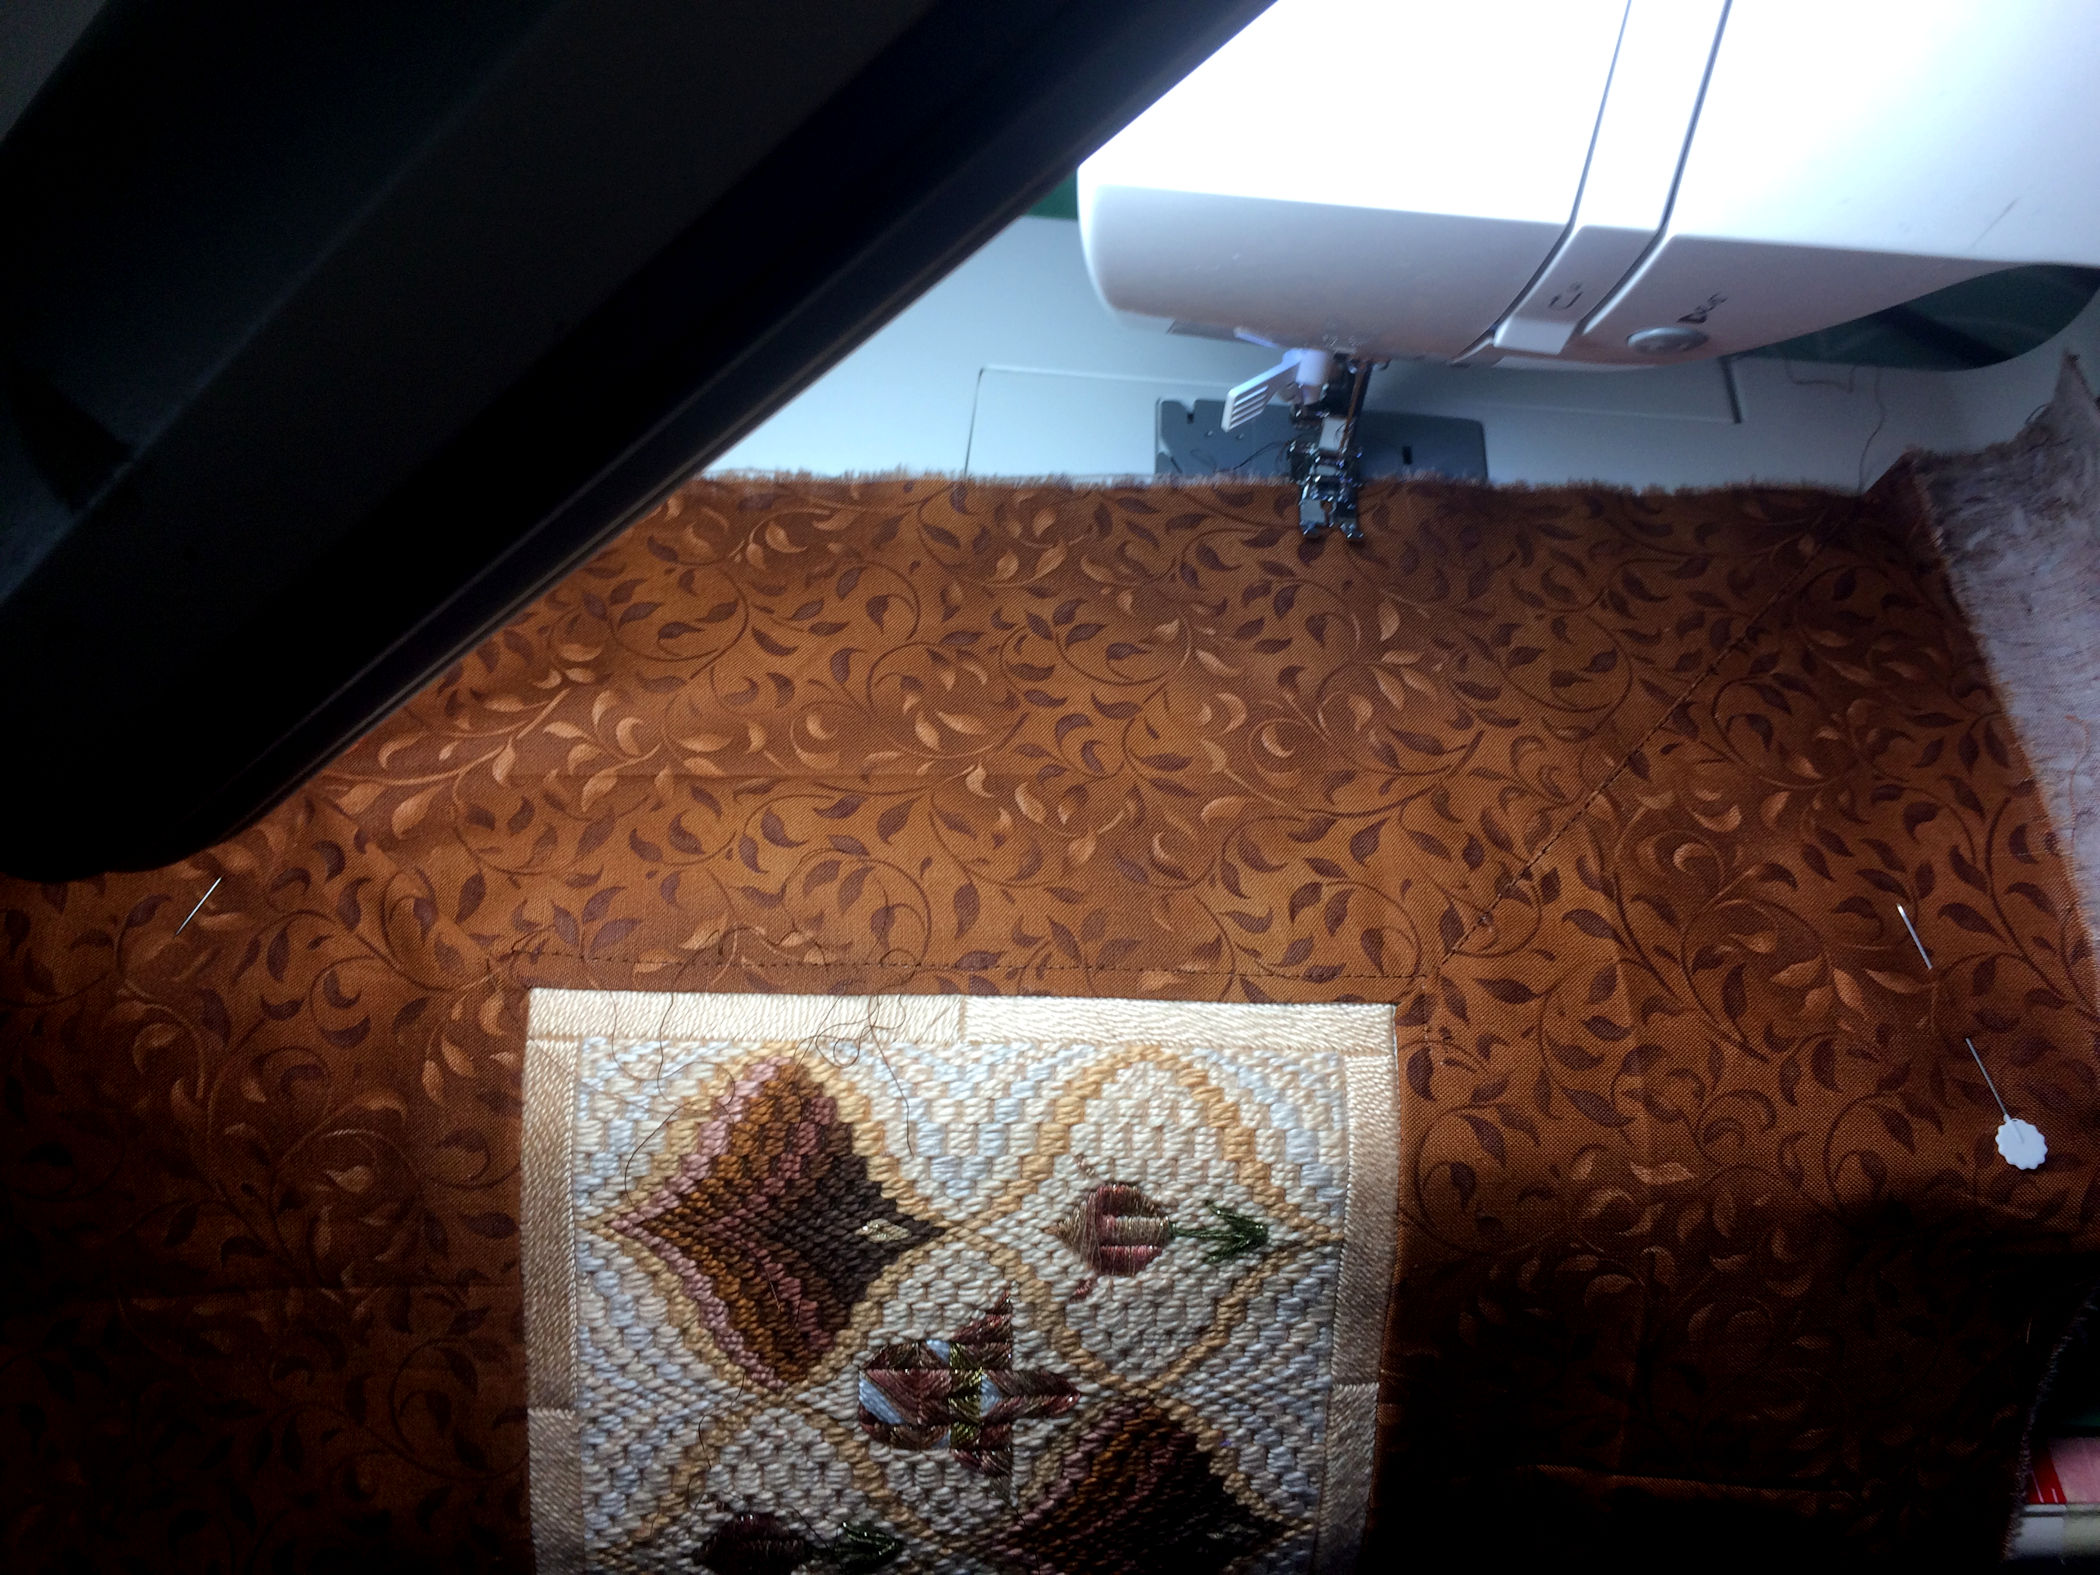
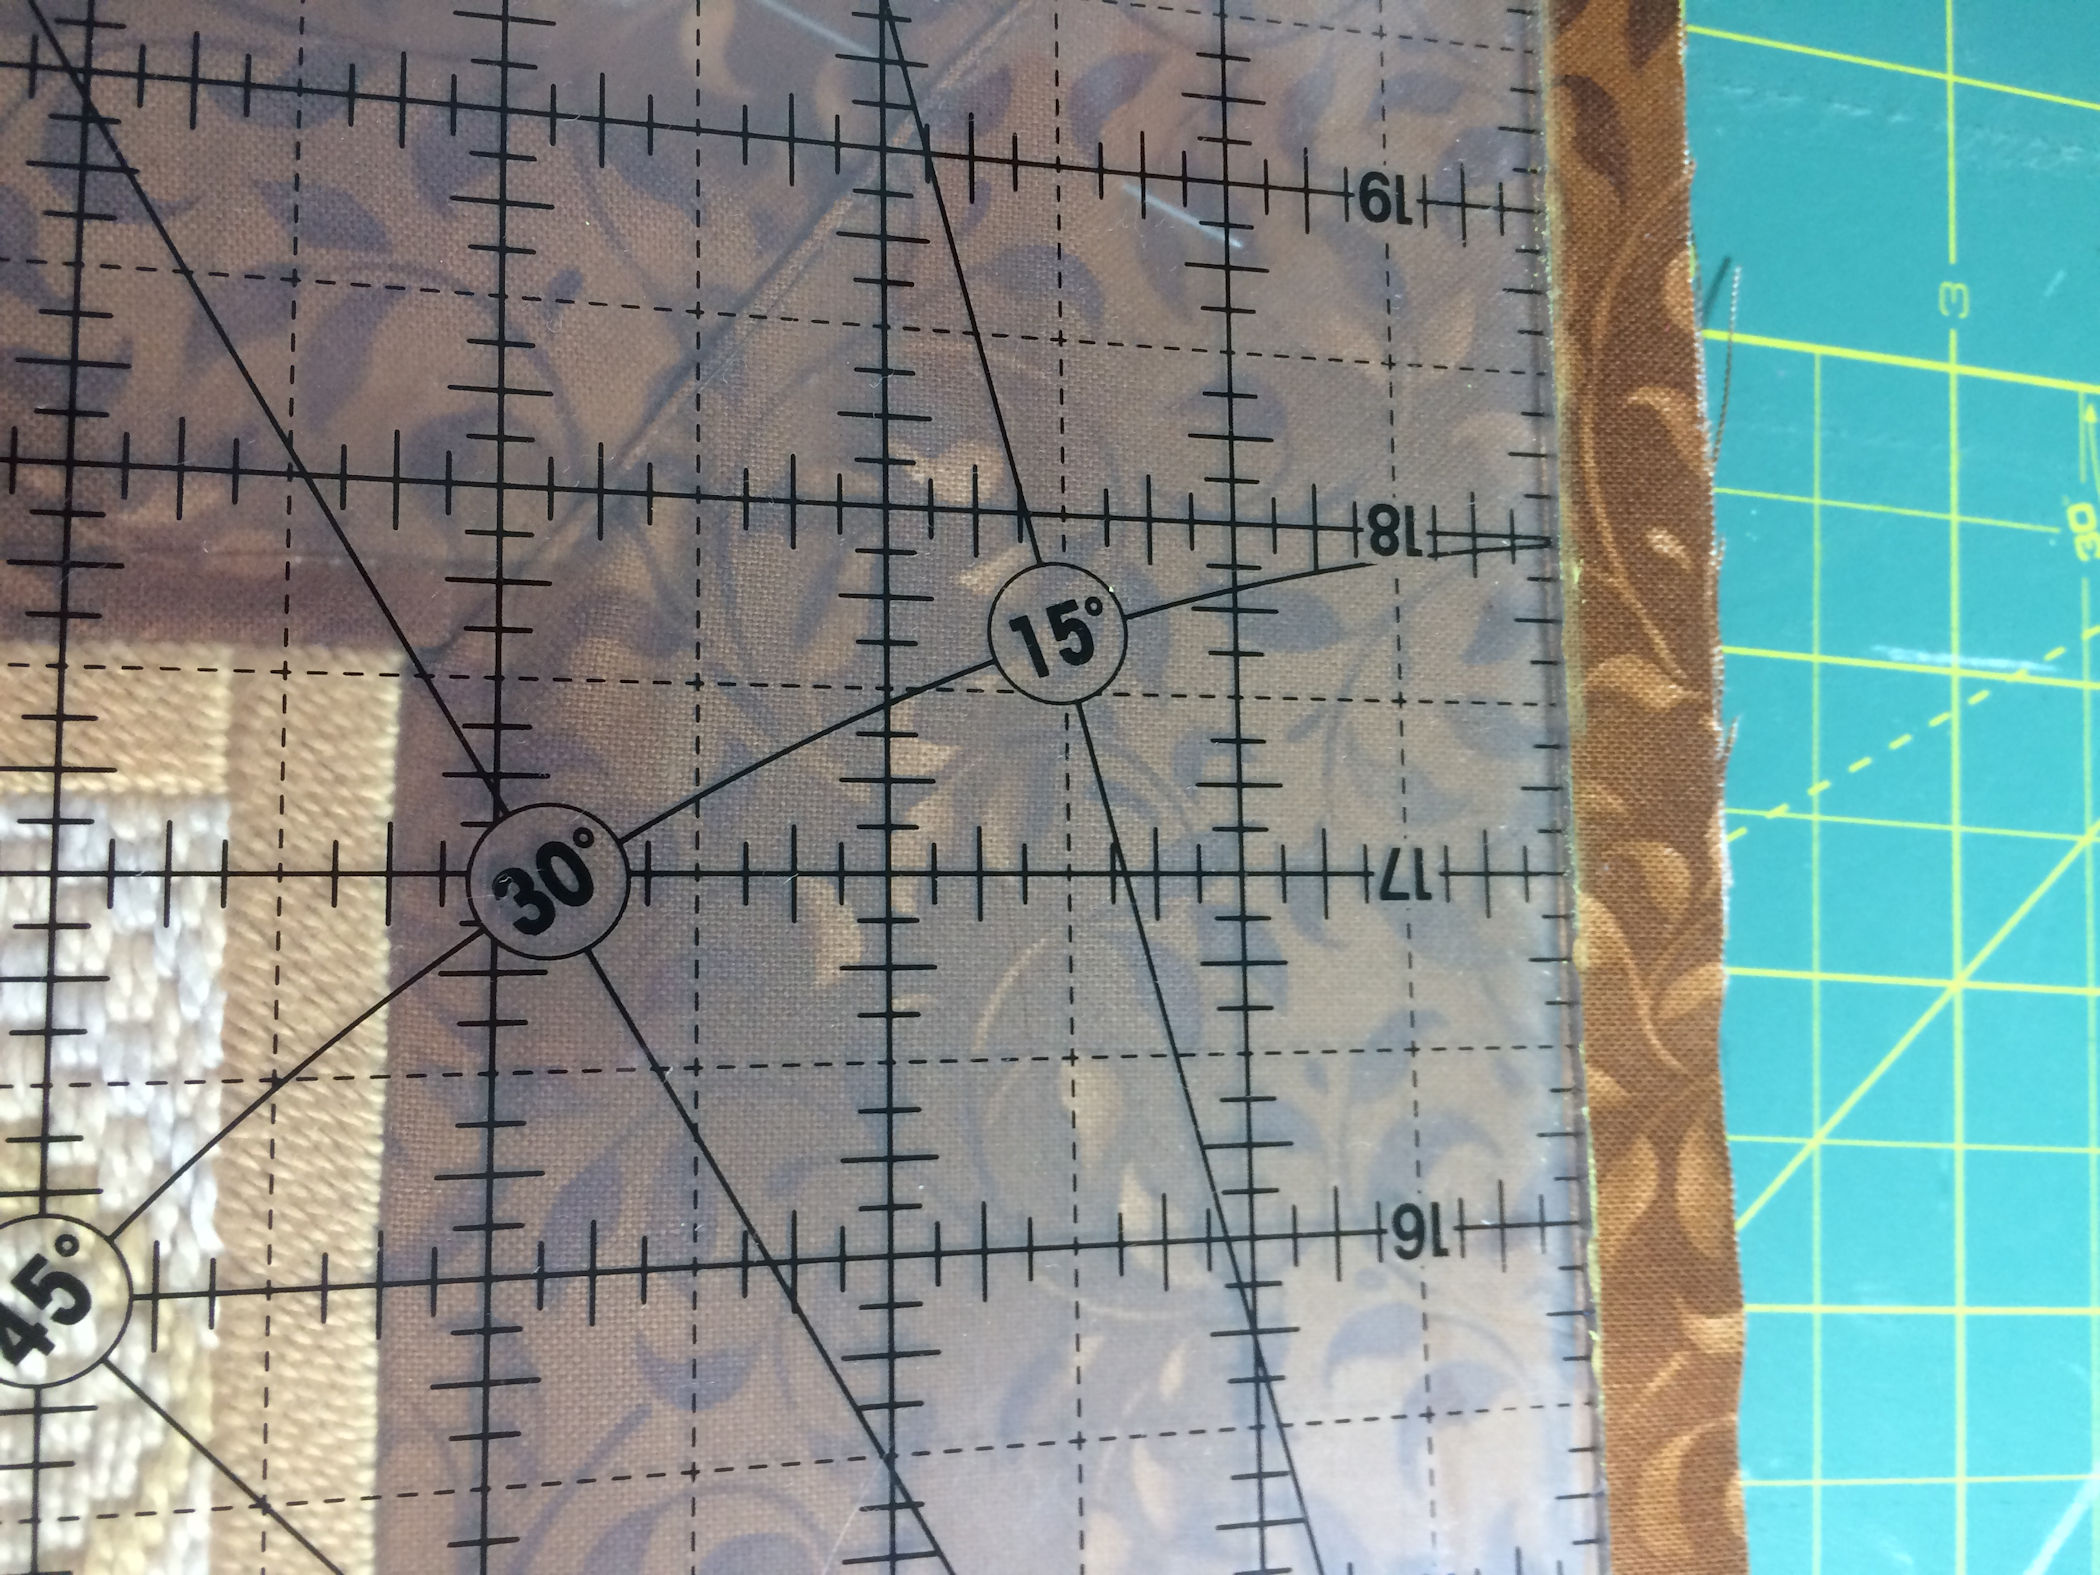
With all four sides and diagonal corners top stitched, you will have four sets of top and bobbin threads (blue arrow) on top. Unstitch the start tails of the two sewing threads to the yellow arrow, then take these two start tail threads through to the back and tie off.This photo shows 4.5-inch border along 6-inch side of the worked design: clear ruler shows 3.5-inch border (chalk mark drawn against outer edge of the ruler) and to the right of the clear ruler is the 1-inch of border fabric for the seam allowance.This photo shows 4.5-inch border along 6.25-inch side of the worked design: clear ruler shows 3.25-inch border (chalk mark drawn against outer edge of the ruler) and to the right of the clear ruler is the 1-inch of border fabric for the seam allowance.
To get ready to stitch the piping along the pillow’s 13-inch sew line,chalk mark each length of border to create the 15-inch square.
I had mentioned earlier that though I thought of the worked design as being 6-inch square it was actually 6 by 6.25-inch square.
To achieve the 15-inch square (13-inch pillow stitch line with 1-inch seam allowance along each side) do two chalk marking along each side of the border.
For example, along the 6-inch sides of the worked design, chalk marks the border to be 3.5-inch plus 1-inch. 6 + 2(3.5) provides a chalk line drawn for 13-inch pillow.
Along the 6.25-inch sides of the worked design, chalk marks the border to be 3.25-inch plus 1-inch. 6.25 + 2(3.25) provides a child line drawn at 12.5-inches. 12.75-inches is close enough (for me) to the desired 13-inches.
Bordered top piece trimmed to 15-inch square. Though for the previous photos I went through all of the chalk marking for the 13-inch and 15-inch guidelines, once I had trimmed to 15-inch square I brush the 13-inch guideline markings off of the fabric as I knew I would be sewing the piping on with an 1-inch seam allowance.Lining fabric pinned to 15-inch bordered top piece then machine baste 1/4 inch in from edge of the bordered top piece. After trimming the lining fabric close to the 15-inch square I added the piping.Sewing the piping onto bordered top piece with 1-inch seam allowance.