The below discussion is for counted embroidery. The two below links discuss purchasing fabric. If you are new to purchasing embroidery fabric or new to setting up an embroidery project I suggest you read both of these blog pages.
Purchasing fabric, Hardanger
Purchasing fabric, Bargello
Once you are set up to work you need to decide where to start the first stitch.
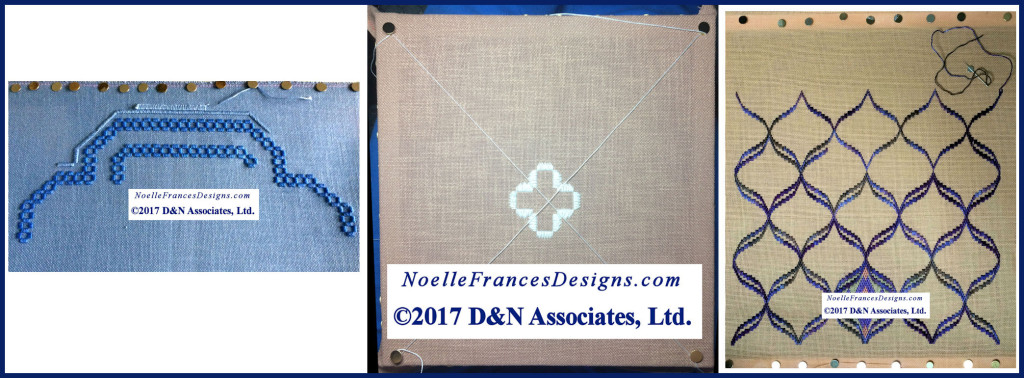
Viewing the above photos. The leftmost design (blue fabric) is the hardanger design that I am currently working on. I started in the center of a side as that was the easiest way to determine that my buttonhole worked edge would be 1-2 inches in from the fabric edge.
|
For the middle design in the above photo trio, I used two long lengths of thread wrapped around corner placed tacks to help me determine the center of the fabric and start in that area.
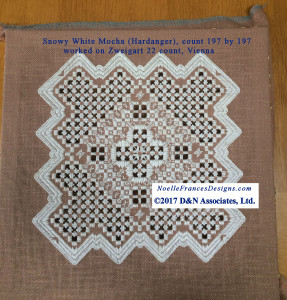
The photo to the left shows the fully worked Snowy White Mocha design. As you can see it would had been fine to start along the outer edge of the design and work inward, but I didn’t want to be stitching with my hands brushing across the top of all of that white thread! So I started in the center and worked outwards. |
My first goal working this design was to establish the outline structure (the entwined pomegranate pattern) then come back through and stitch each of the inner areas.
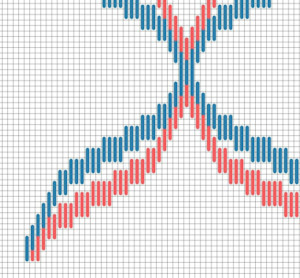
For my first stitch, I started in the lower left corner then followed the 4:2 pattern of the outline structure’s graphed chart for the blue stitch lines. When finished with the blue stitch lines I came back and did the red stitch lines.
To determine how far in: If you decided to have 3 inches of unused fabric around your worked design you measure in 3 inches and up 3 inches from the fabric’s edge then bring your stitching thread through and begin to stitch.


