
I have several of my embroidery pieces framed for wall display but cost of the frame and not enough wall space has about put a stop to my framing completed pieces. We have two cabinet tops at waist height and two cabinet tops at chest height which are great for displaying mat mounted (no frame) embroidery in iron-rod easels that I purchased on line.
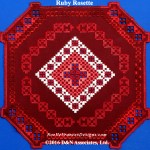 Traditional Hardanger designs like Ruby Rosette shown to the left are finished with a buttonhole worked edge where excess (exterior to worked area) fabric is snipped off and the finished piece is displayed as a table or cabinet top mat or runner. My blog pages discussing Hardanger can be viewed by clicking the Hardanger button up in the header area of this site. |

Snowy White Mocha is a Hardanger design with a buttonhole worked edge that I decided to mount into a mat and display on a cabinet top.
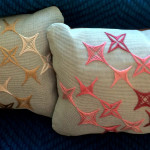
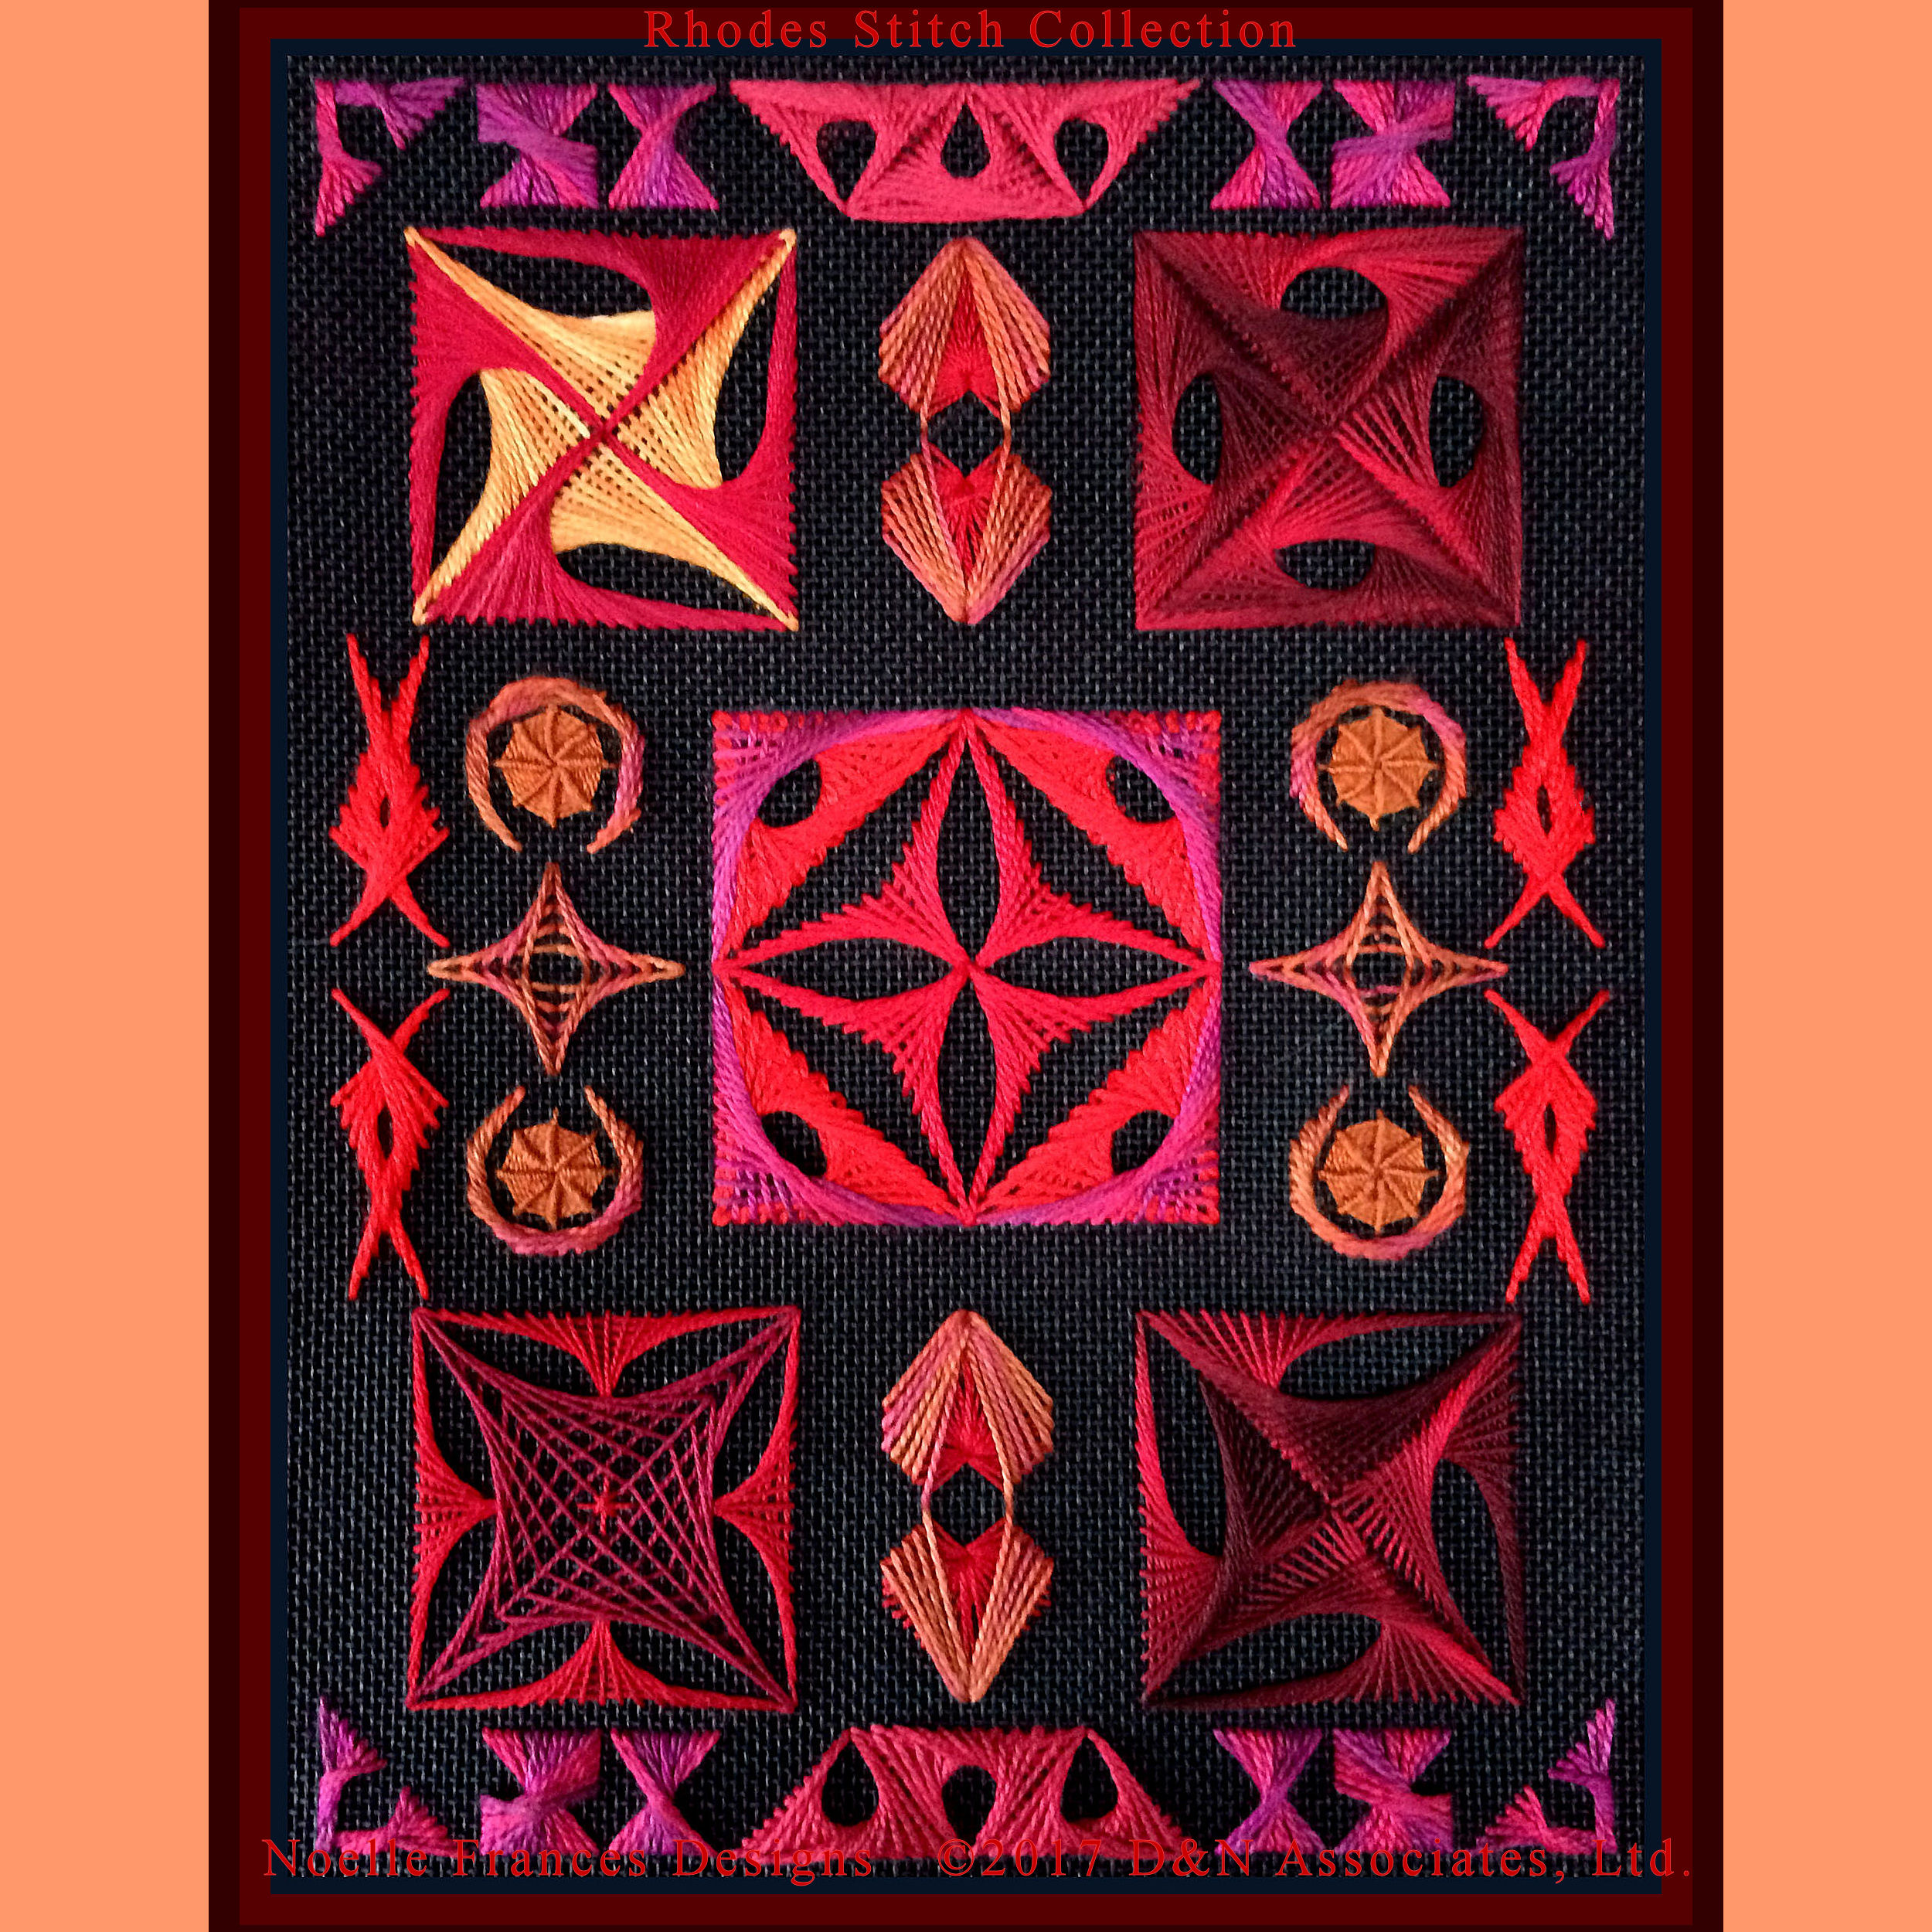
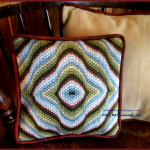
With Bargello and Rhodes Stitch style designs I finish them as pillows or mat mount them.
| To use a frame or not:
With my first few embroidery pieces I went to a store and worked with someone selecting the frame, the glass and the mat. They had the head ache of getting the measurements correct and assembling it all together into a finished, framed piece. I had the head ache of paying for it. After we had an earth quake and a mirror fell from the wall I decided to stop getting glass with my framed pieces. That cut the cost and weight down a bit. Then, for saving money, I moved to ordering frames with mats through the web. But I often could not find the frame size that I wanted plus I was running out of wall space so I moved to just ordering custom mat sizes and displaying my finished pieces on cabinet tops. Now I have the responsibility of cutting my beloved (they all are to me) embroidery piece. Yikes! I still get the nerves as I take a scissor to my finished piece. |
Help with matting and/or framing:
If there is a problem such as the finished piece is skewed or if you are not sure about selecting the mat color and determining measurements for the mat size then I suggest you work with a craft store that has an experienced framing department.
Now and then I treat myself to having a finished piece matted and framed. I wait for a good sale at a craft store that has a nice selection of frames and mats on display to order from. If it happens that I do not like the person manning the framing department that day I head to a different store that will honor the sale coupon.
DIY:
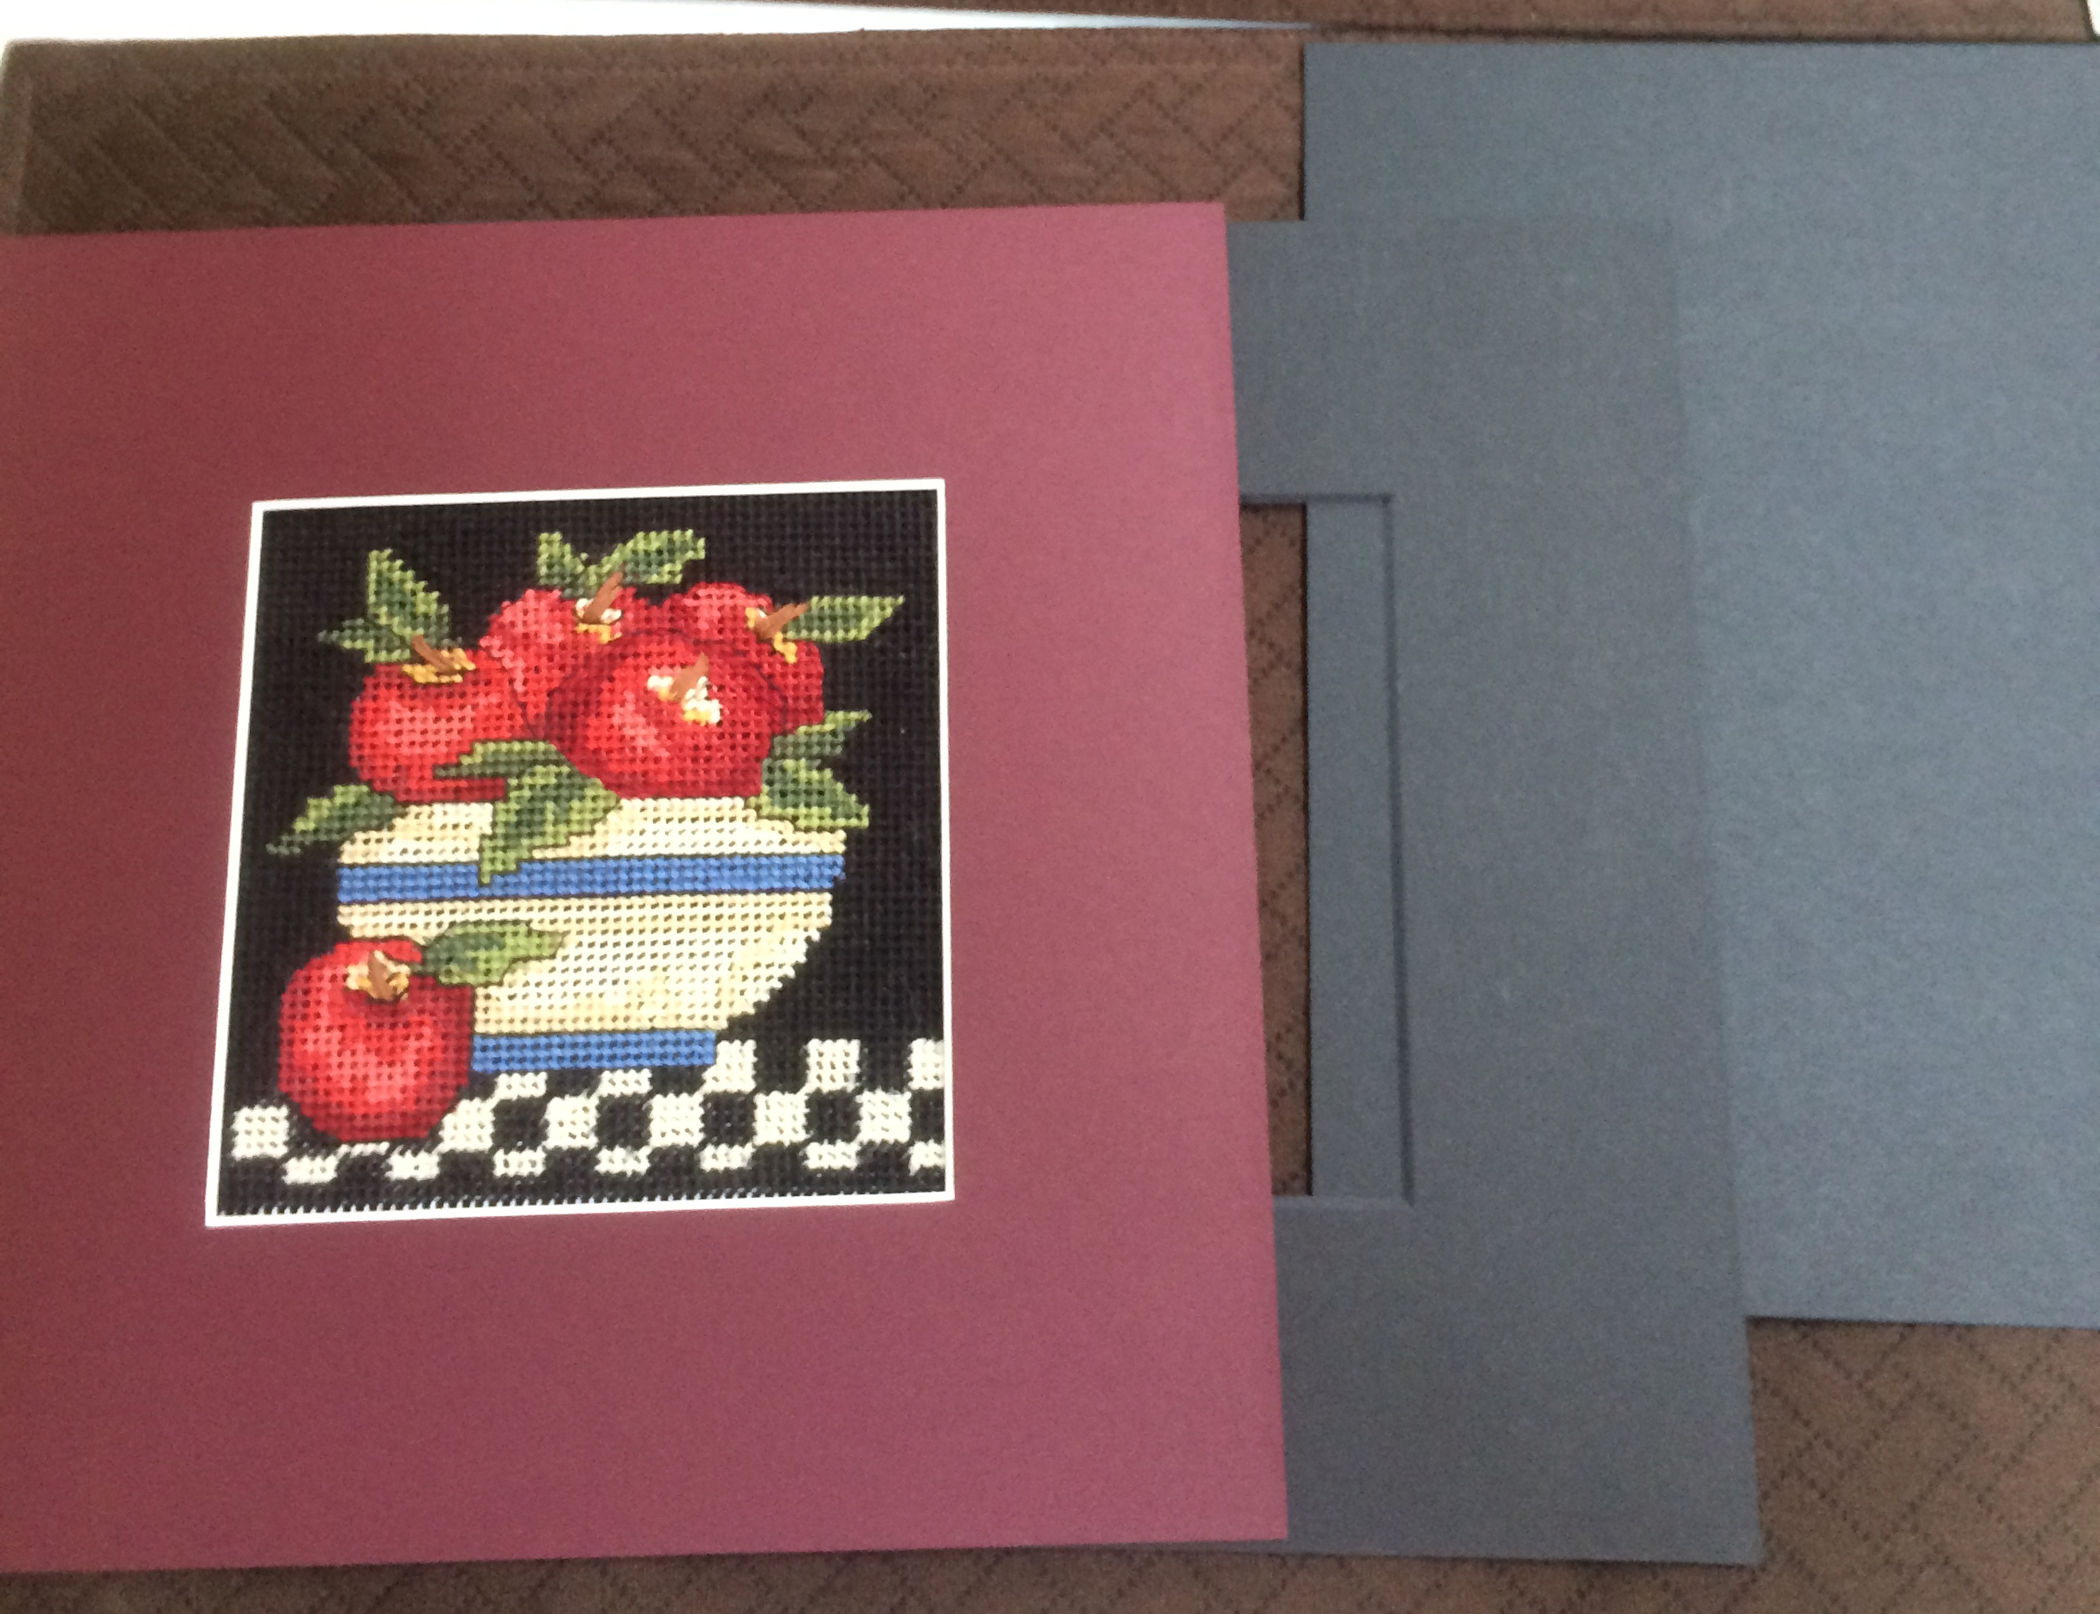
I find color selection of the mat to be fun. I normally go for a mat that emphasizes a color thread within the worked piece that is of interest to me. I want, depending on the color of the mat, my eye drawn to a particular color within the worked piece but not held there. Click each of the below photos so that it enlarges and see where your eye is immediately drawn.
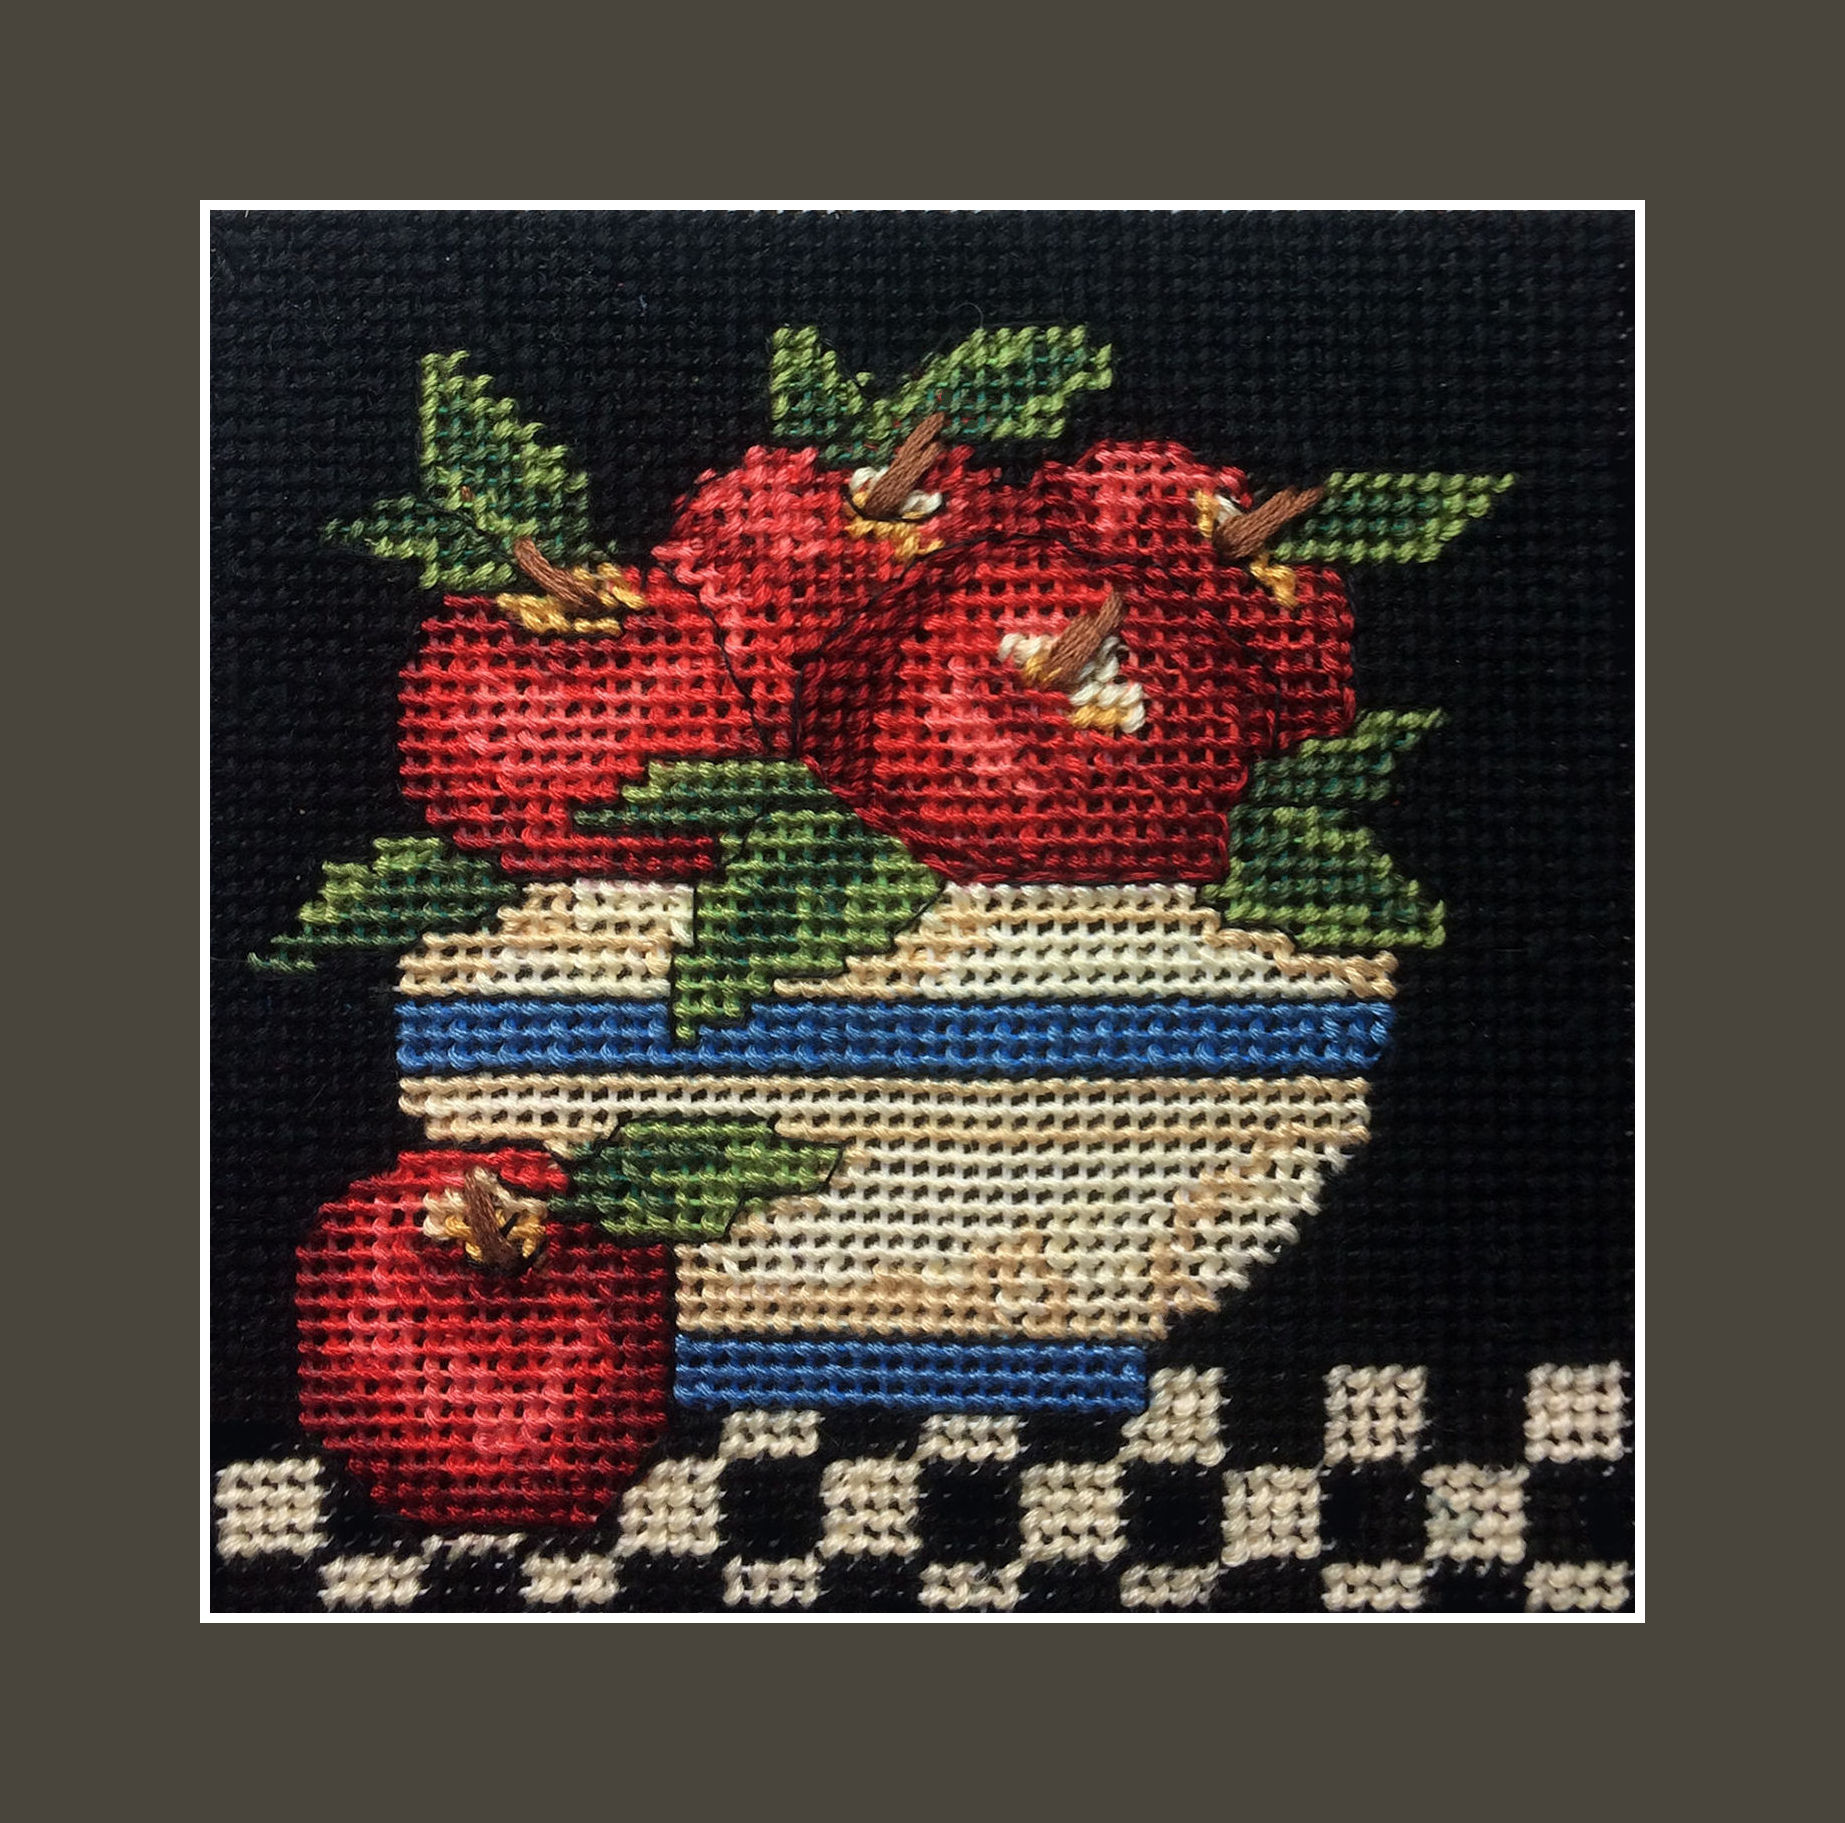
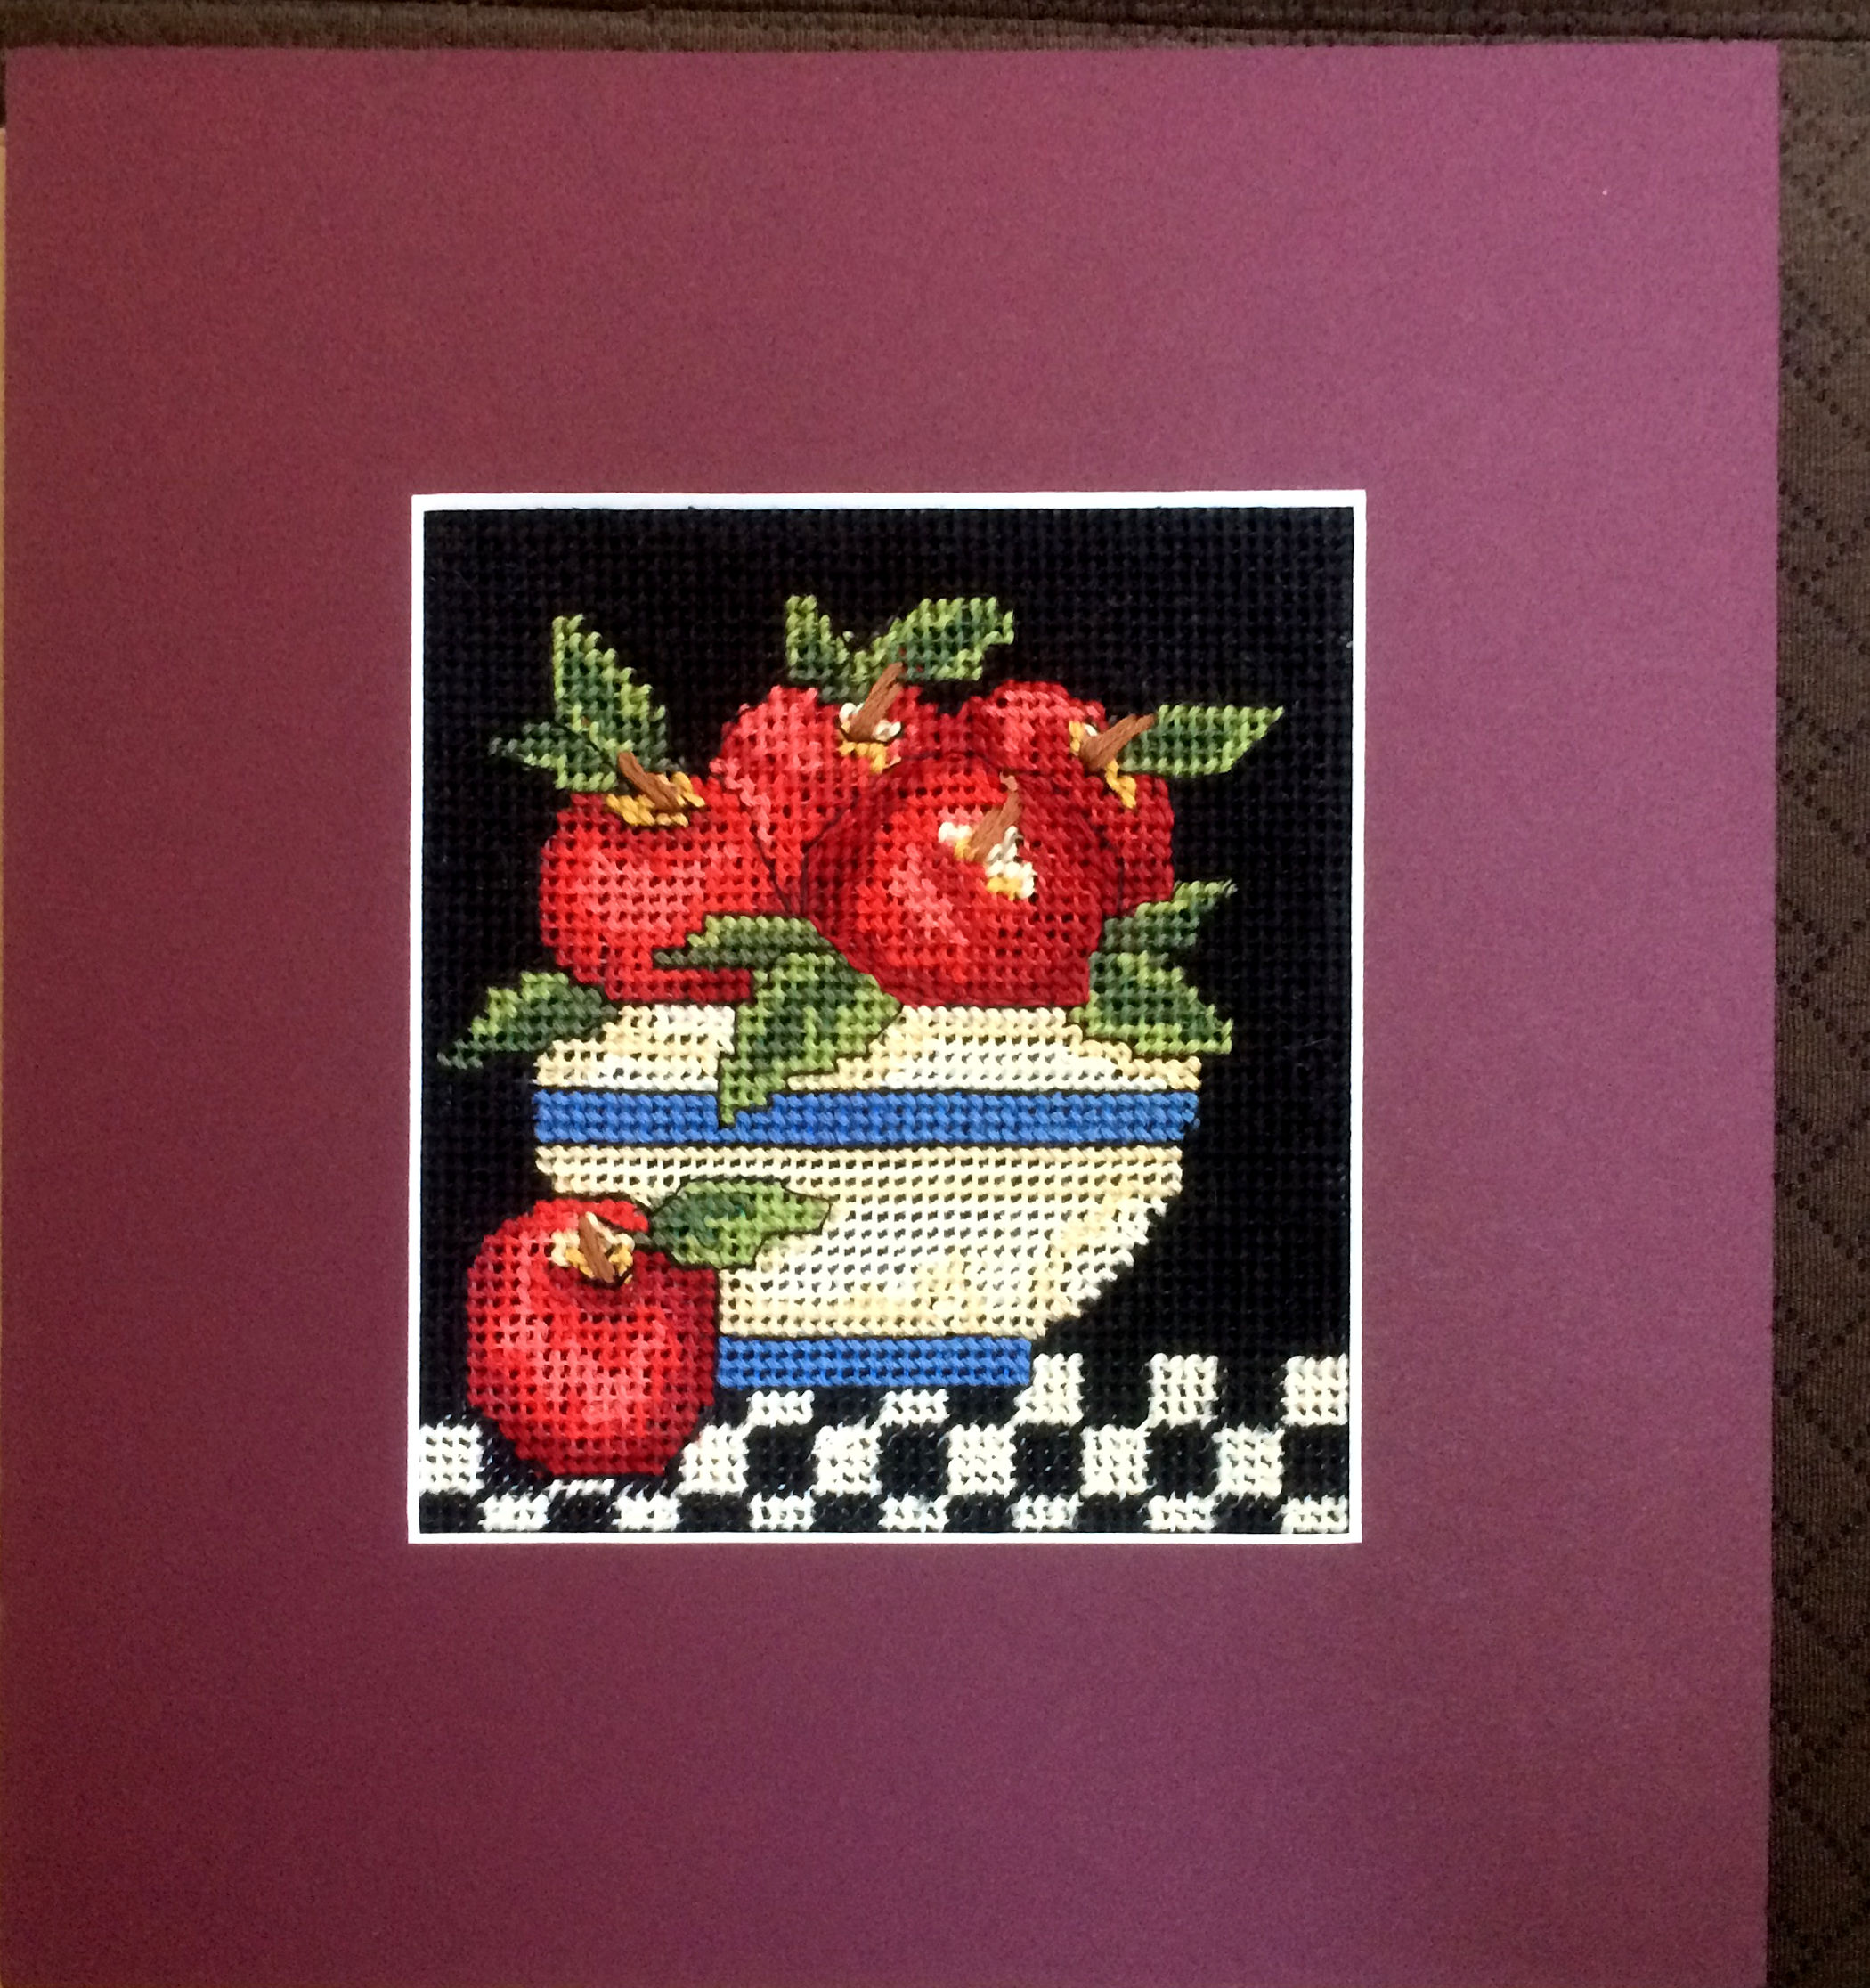
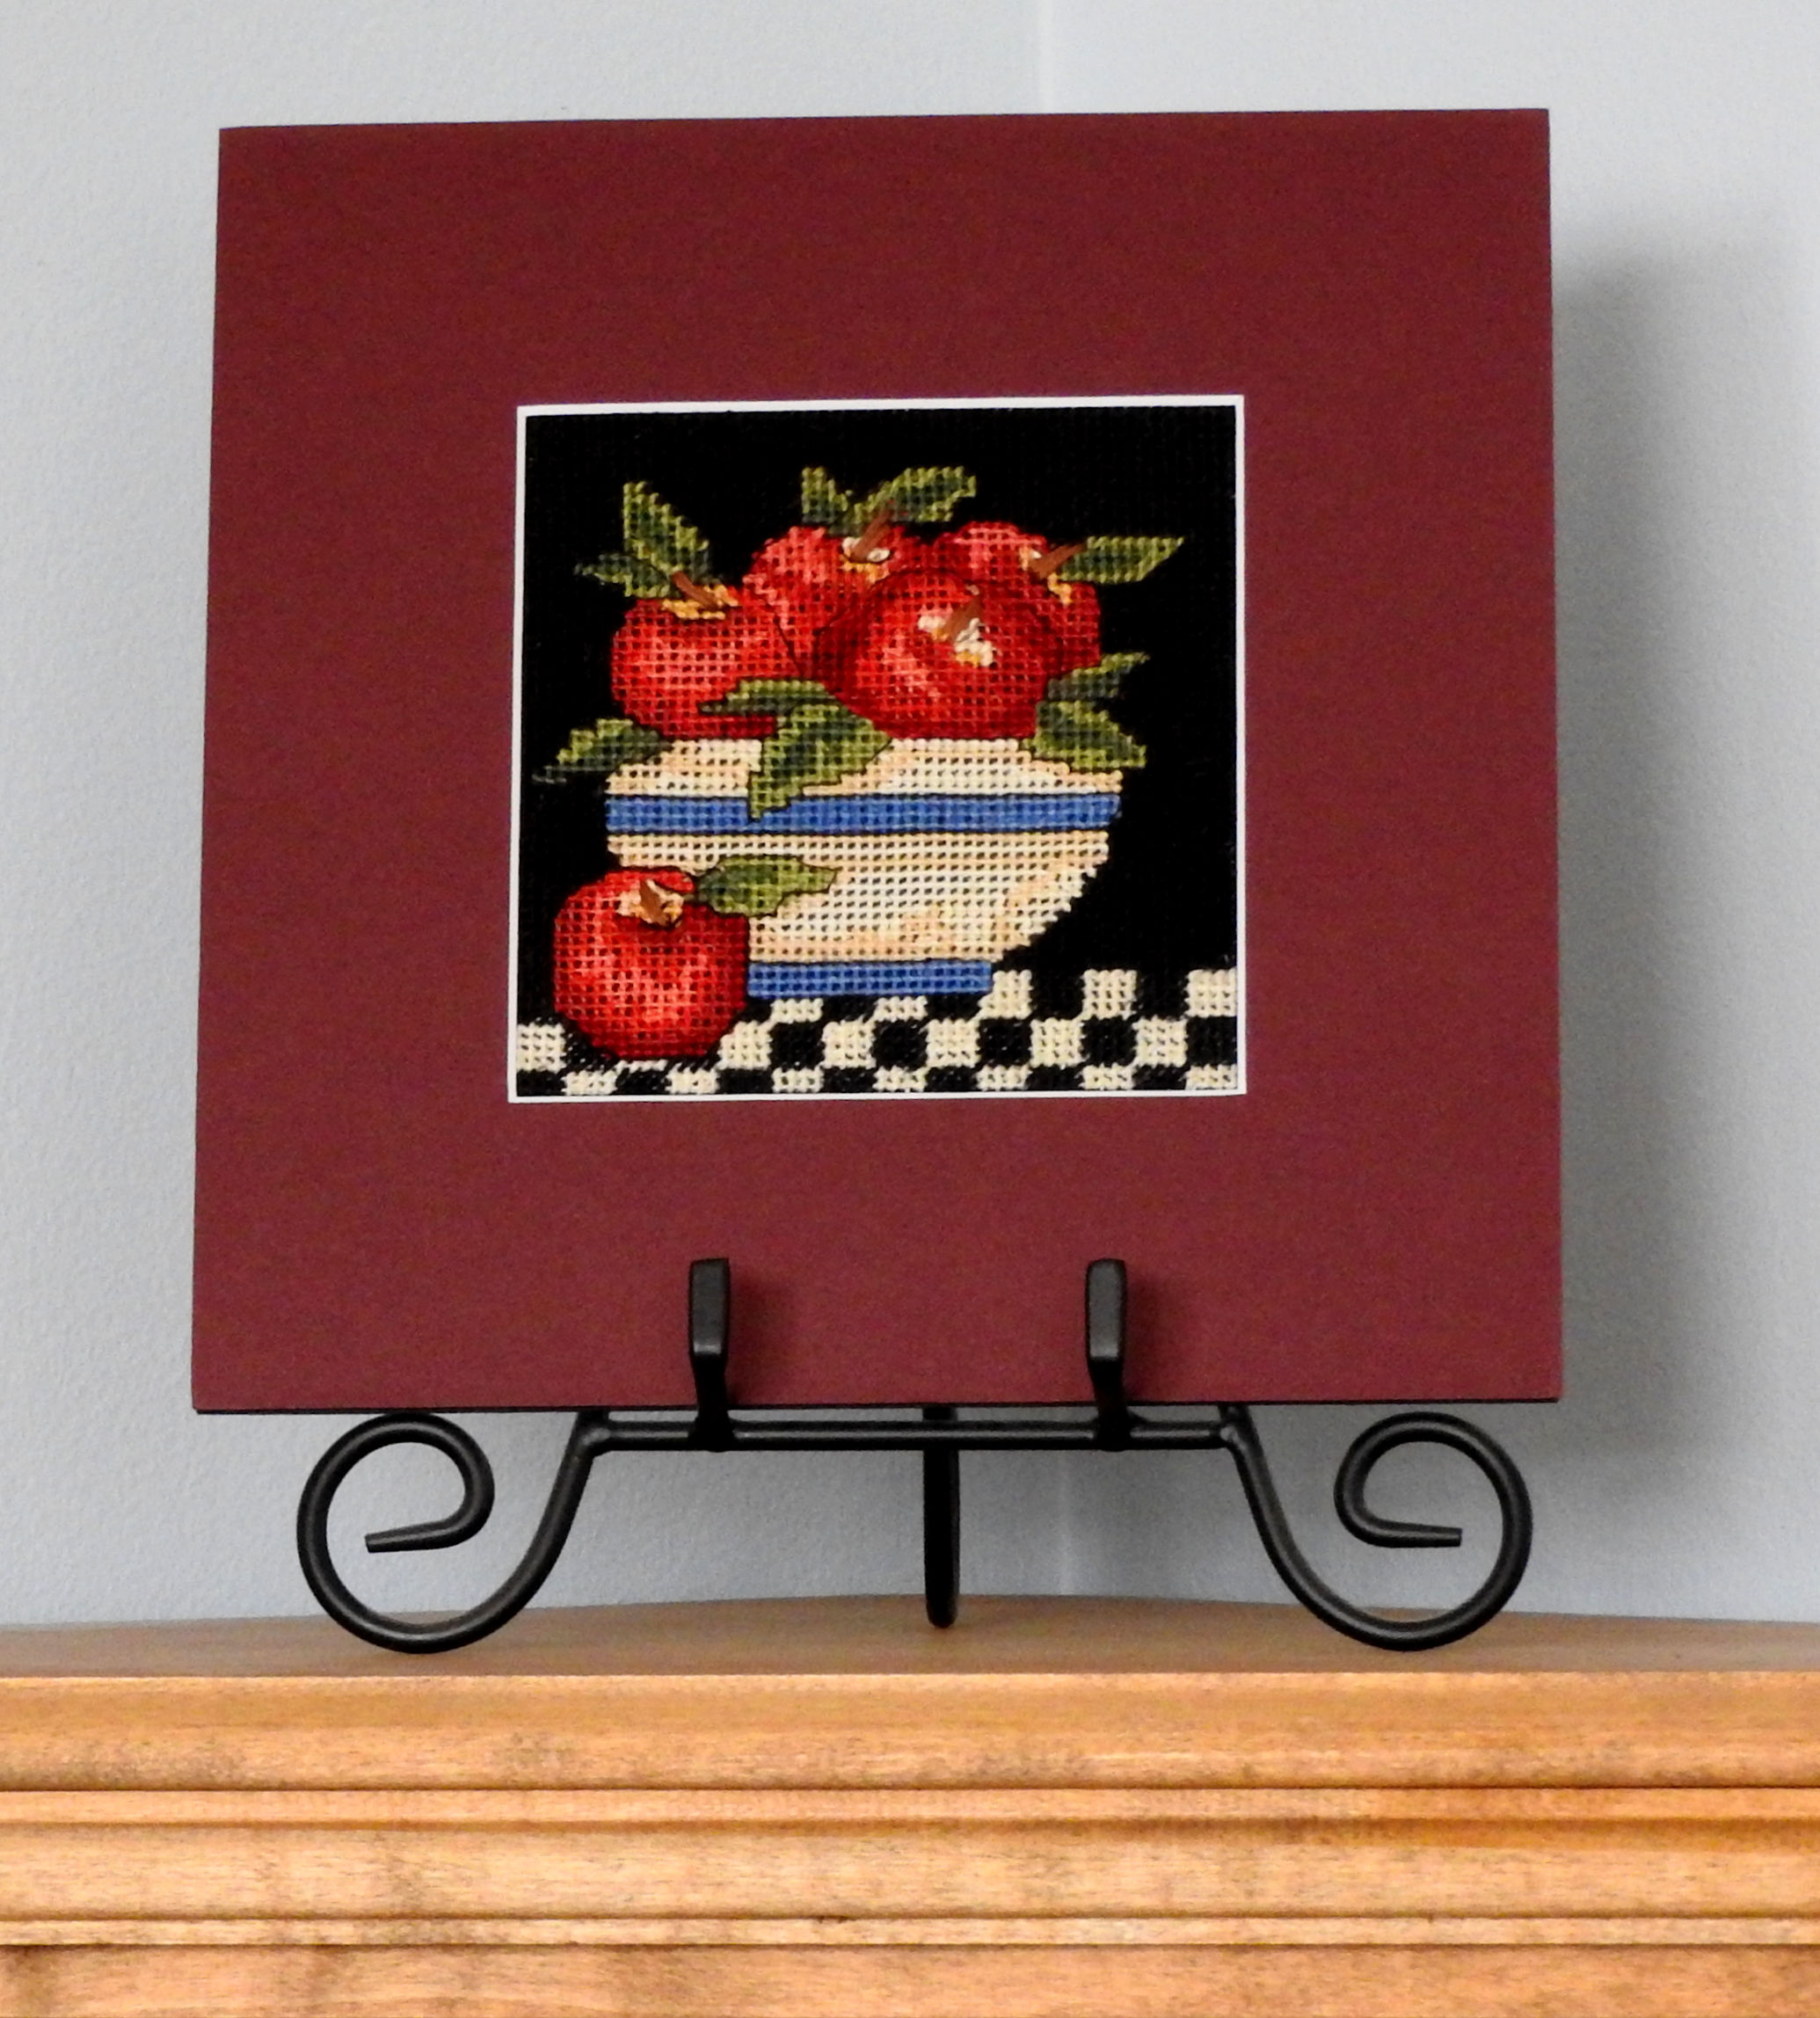
Below is a small (5-inch square) purchased crossed-stitch design: Bowl of Apples.
|
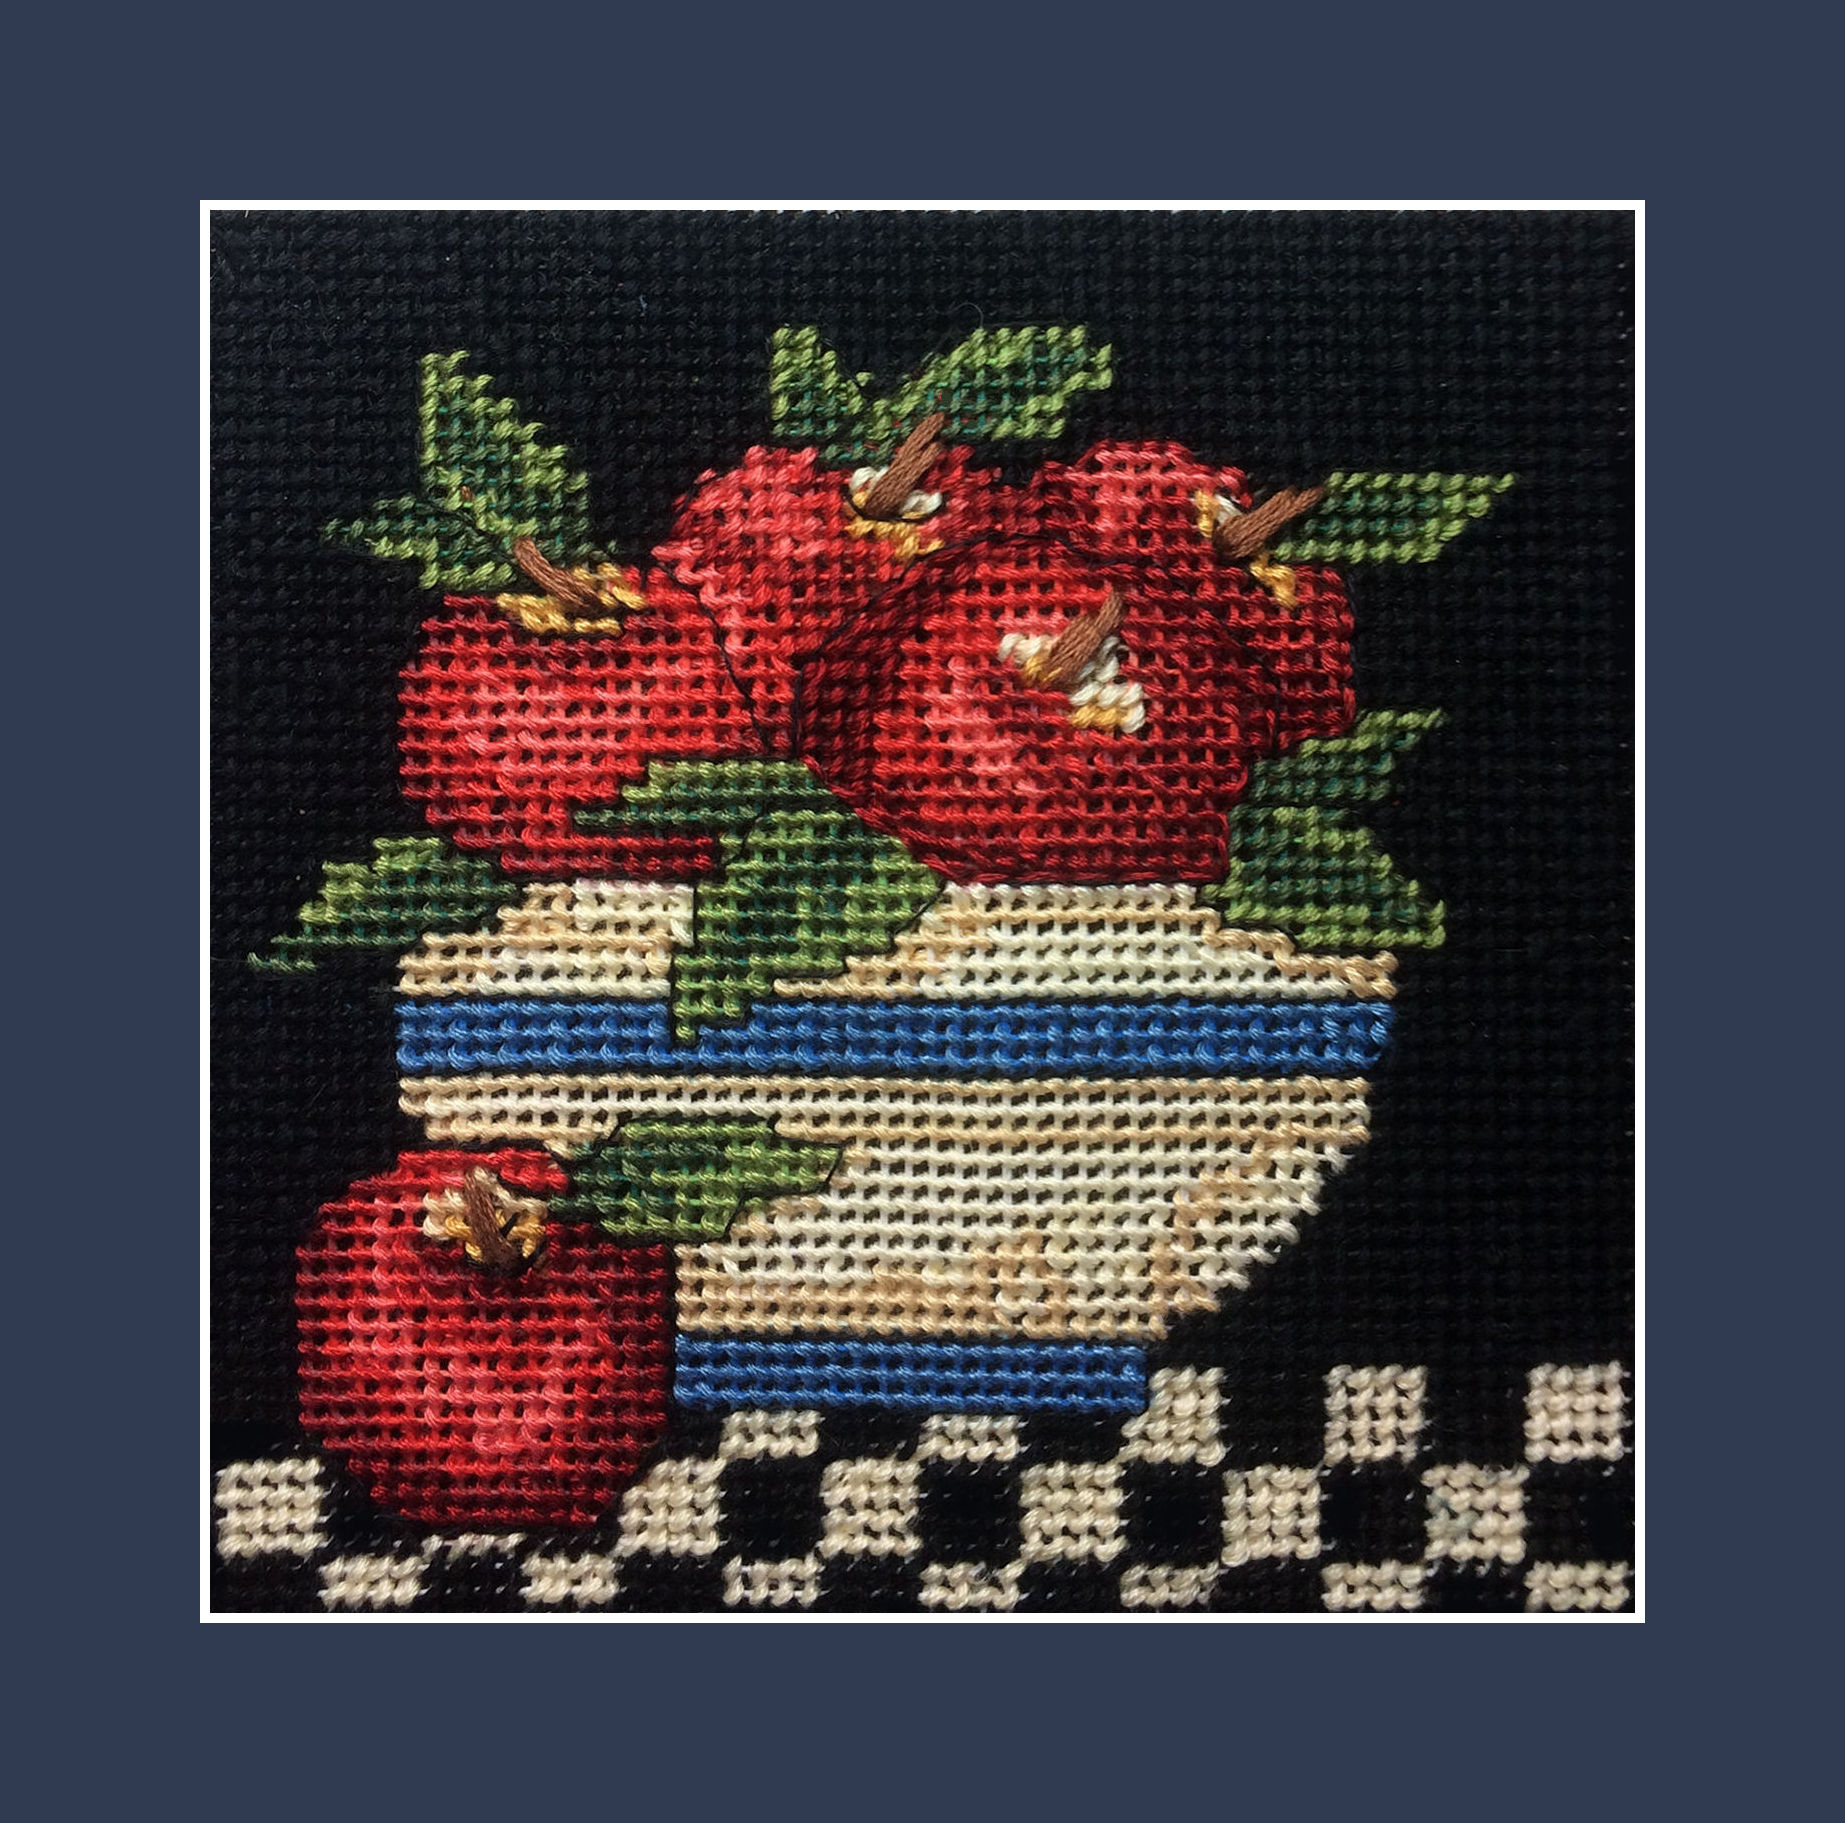
For the Bowl of Apples I thought I would like the neutral Cinder color mat the best, but when I clicked and enlarged the photo I thought it made the white of the table cloth look dingy. With the Bottle Blue color mat my eye kept jumping to the blue stripes of the bowl. Whereas with the Deep Red I feel that my eye kept spinning around the colors of the apples. I decided to go with the Maroon. To me the maroon brought the coloring of the apples forward without making my eye dart here and there.
If you do decide to DIY, you will need to decide how to secure your finished piece onto the backing board. When I have had a store mat my embroidery they stitched it (using clear thread) onto the back board. I think that is the best way but I use double-sided sticky tape.
Sticky tape: double sided archival quality tape that is 1.5 inches wide. So, for the taping, I make sure to have at least 2-inches of mat all the way around the cut-out area.
For measurements: metal square or straight edge ruler. If you purchase a frame it has to have the depth for the insertion of the mat(s), embroidery piece and backing board. Also the outer measurement of your mat needs to conform to what the frame needs.
Ordering mats: I ordered three mats (same outer measurements) for each worked piece. First (top) mat is the color that I want to accent the worked piece. Second mat supplies a little spacing for air circulation behind the worked piece. Third mat is the bottom mat, it is a blank (no center cut-out area). First and second mats have the same size center cut-out area.
S&H charges: When I ordered three sets of mats for three worked pieces I felt that $7.00 S&H was high on a $9.00 purchase (of 3 mats) but then that company’s packing was impressive. Course, on a first order from a company you do not know what their packing will be like.

| Putting it together:
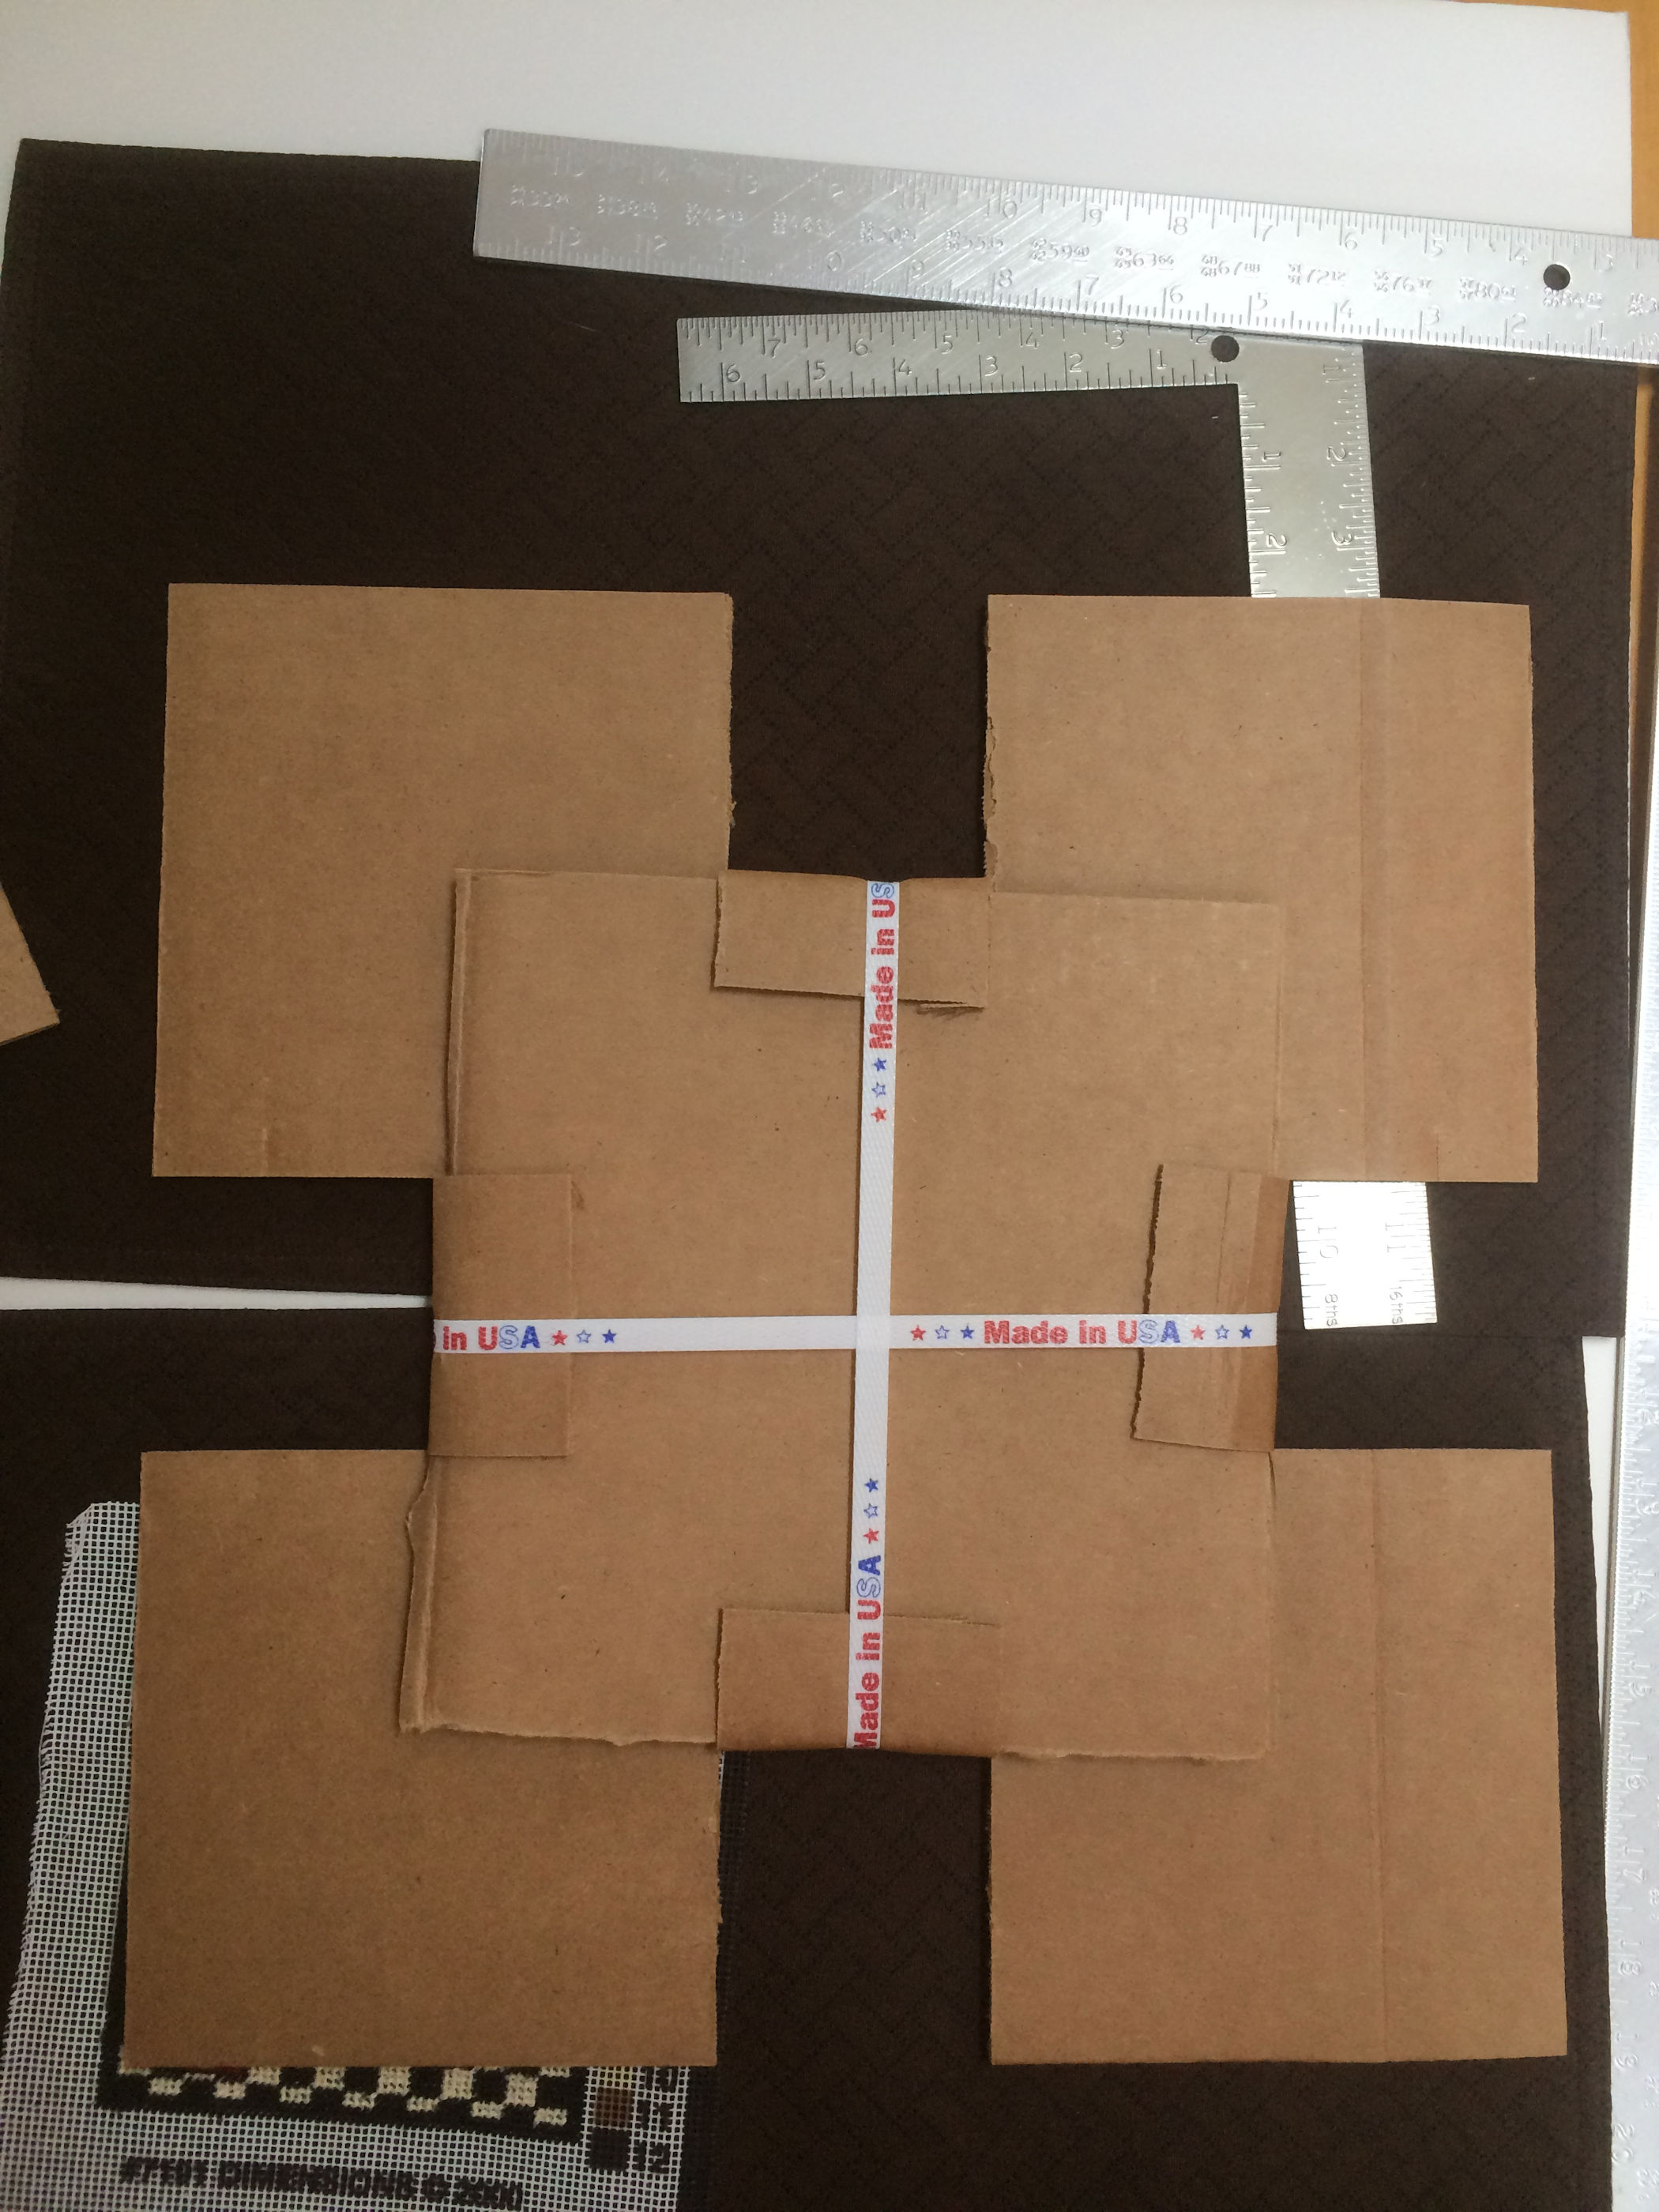
1) Where ever you get the mat boards they should be sturdy and acid free. 2) Once you have the mat boards in-hand check fit (around worked piece and in the frame, if using one). 3) I like to work on a padded surface. The brown material you see in the cut-out area (in the below photo) is a quilted table placement mat that I used to protect the front of the top mounting mat as I worked. 4) I use double sided tape to adhere it all together. Applying sticky tape to the top mat: 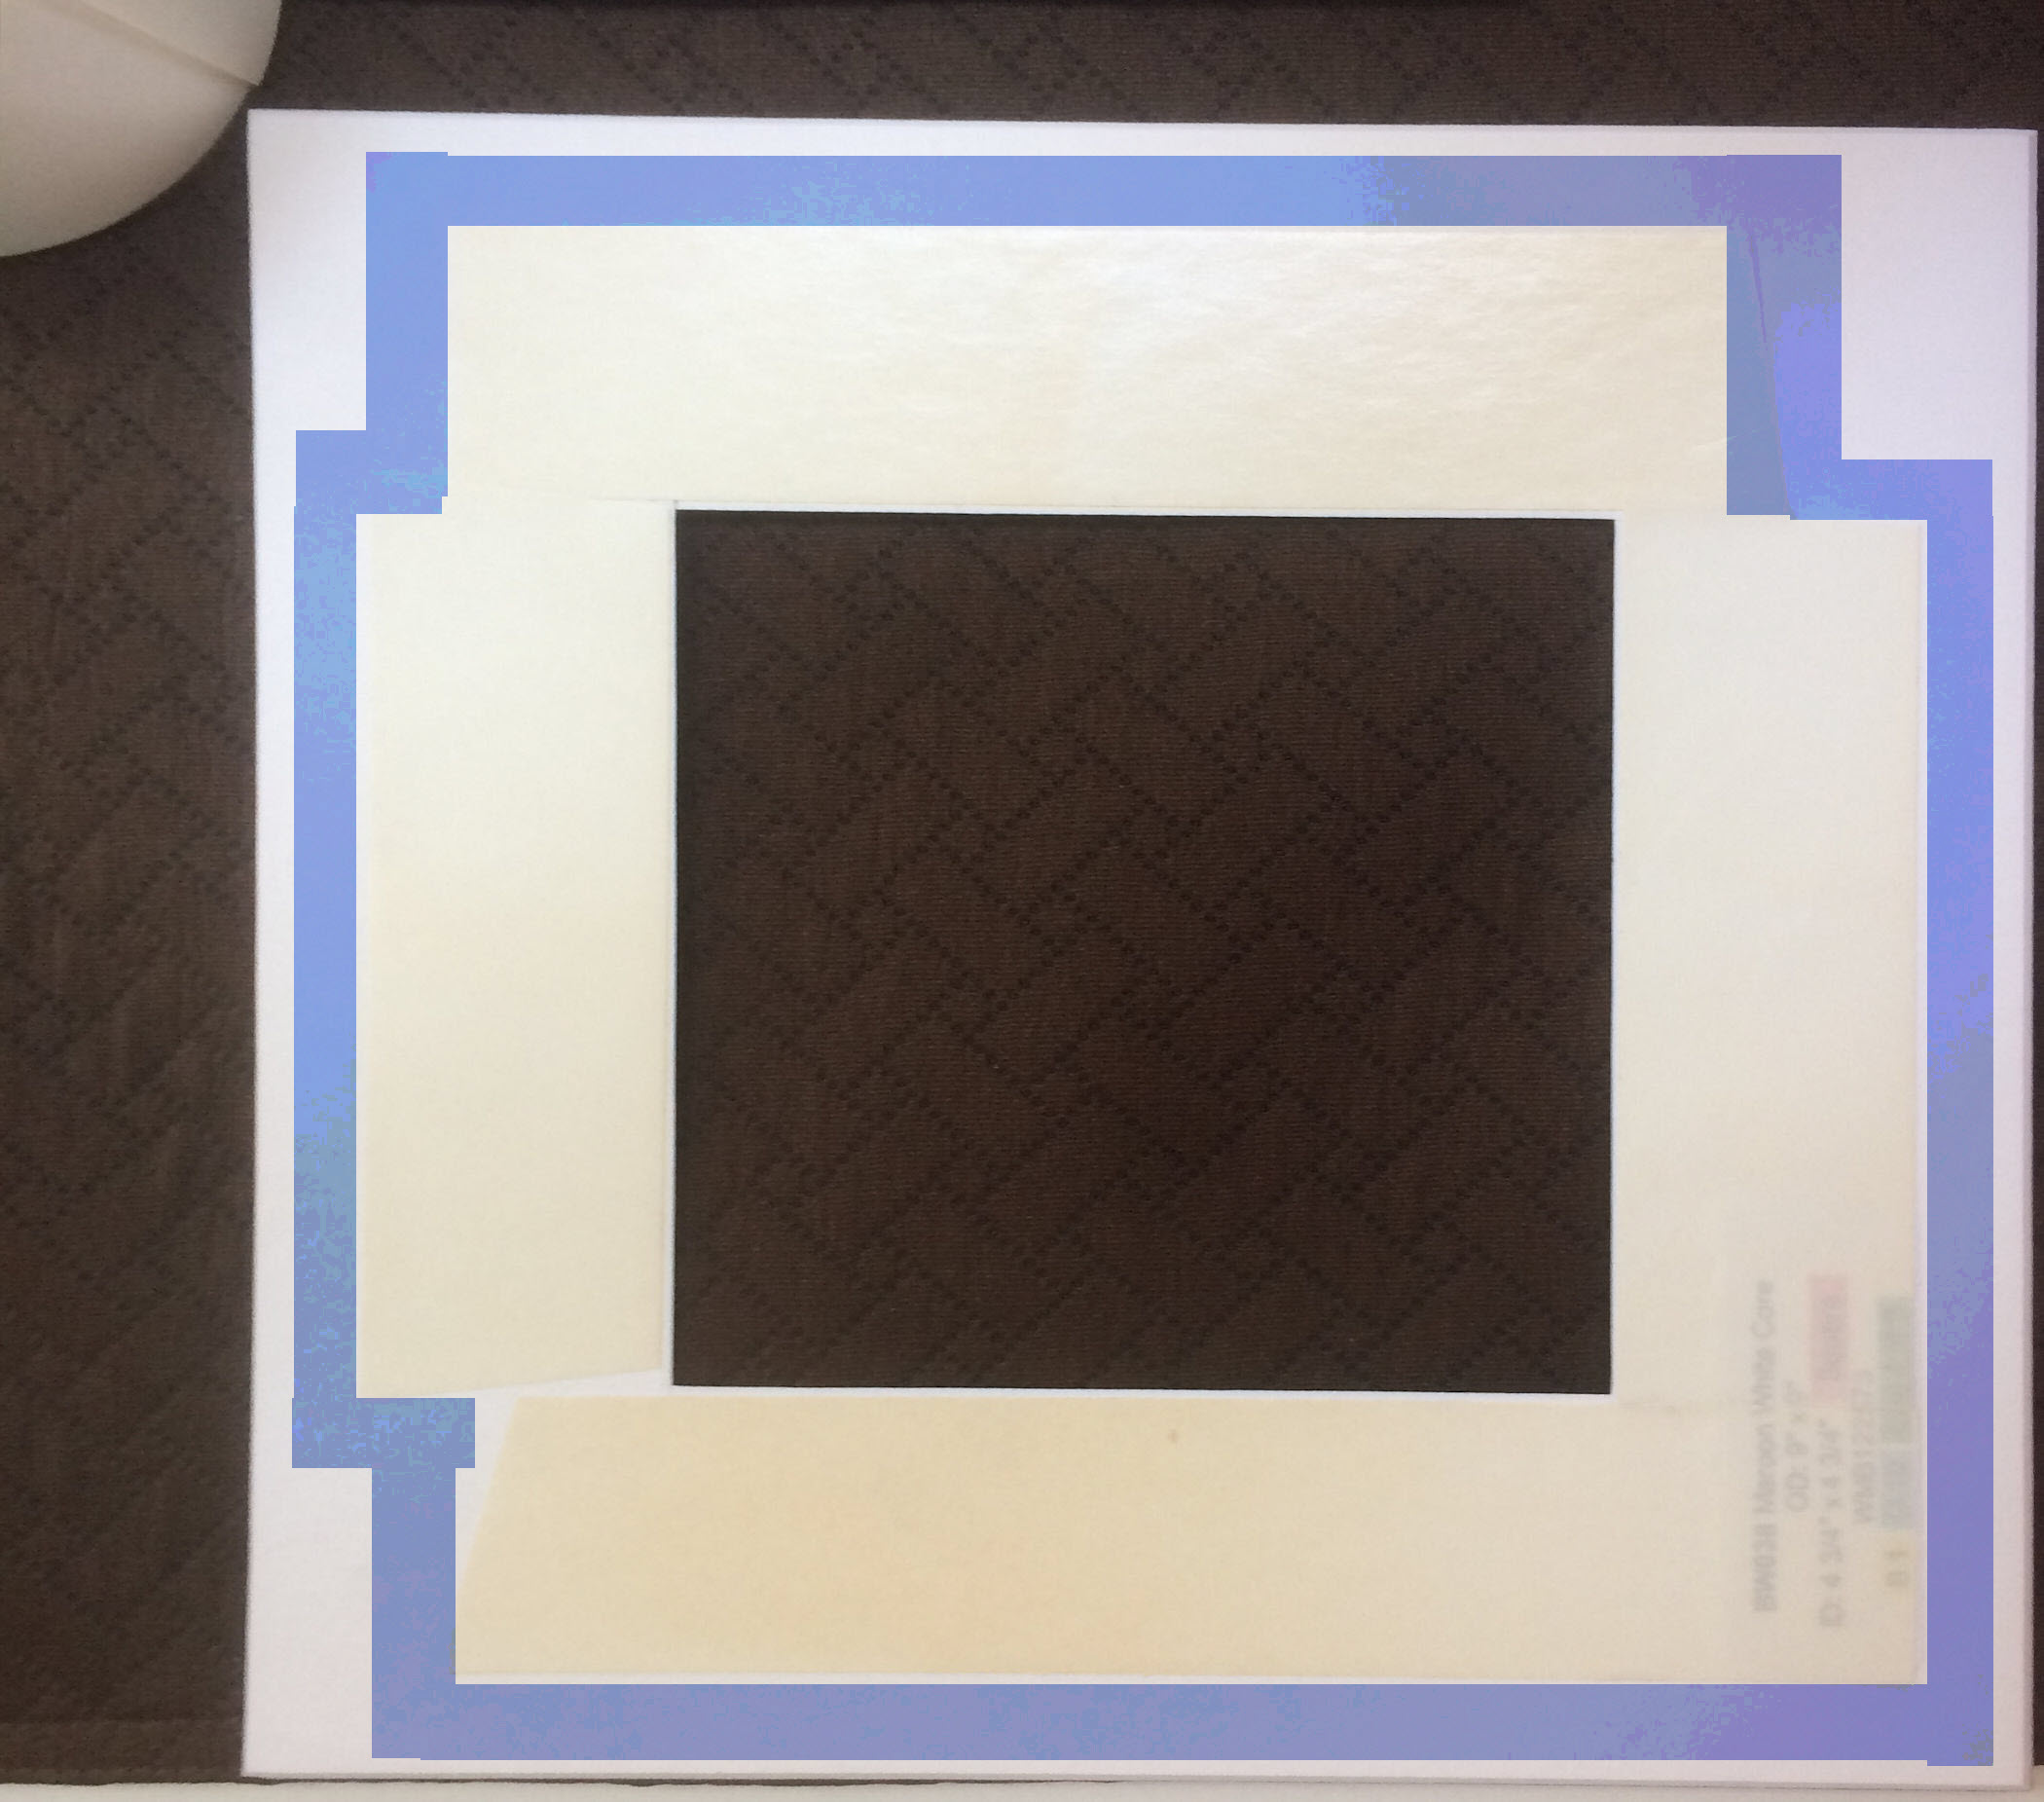 When I viewed this photo I realized it was quite hard to see the four strips of sticky tape that I applied to the backside of the top mat. The strips of sticky tape are between the blue highlights and the cut-out center area of the mat. The double sided tape comes off the roll with one sticky side uncovered (this I placed against the back of the top mat). The tape’s other side is covered in a protective, thick coated paper. Leave the thick coated paper on the strip lengths that you cut off the roll. Once the sticky side of the tape touches card stock (like the mat) it adheres and cannot be removed. I placed each sticky strip quite close to the edge of the cut-out area. You do not want the sticky tape to jut into the cut-out area as it will be seen, but you do want the sticky tape placement close enough to the cut-out edge to adhere the worked piece snugly to the mat. |
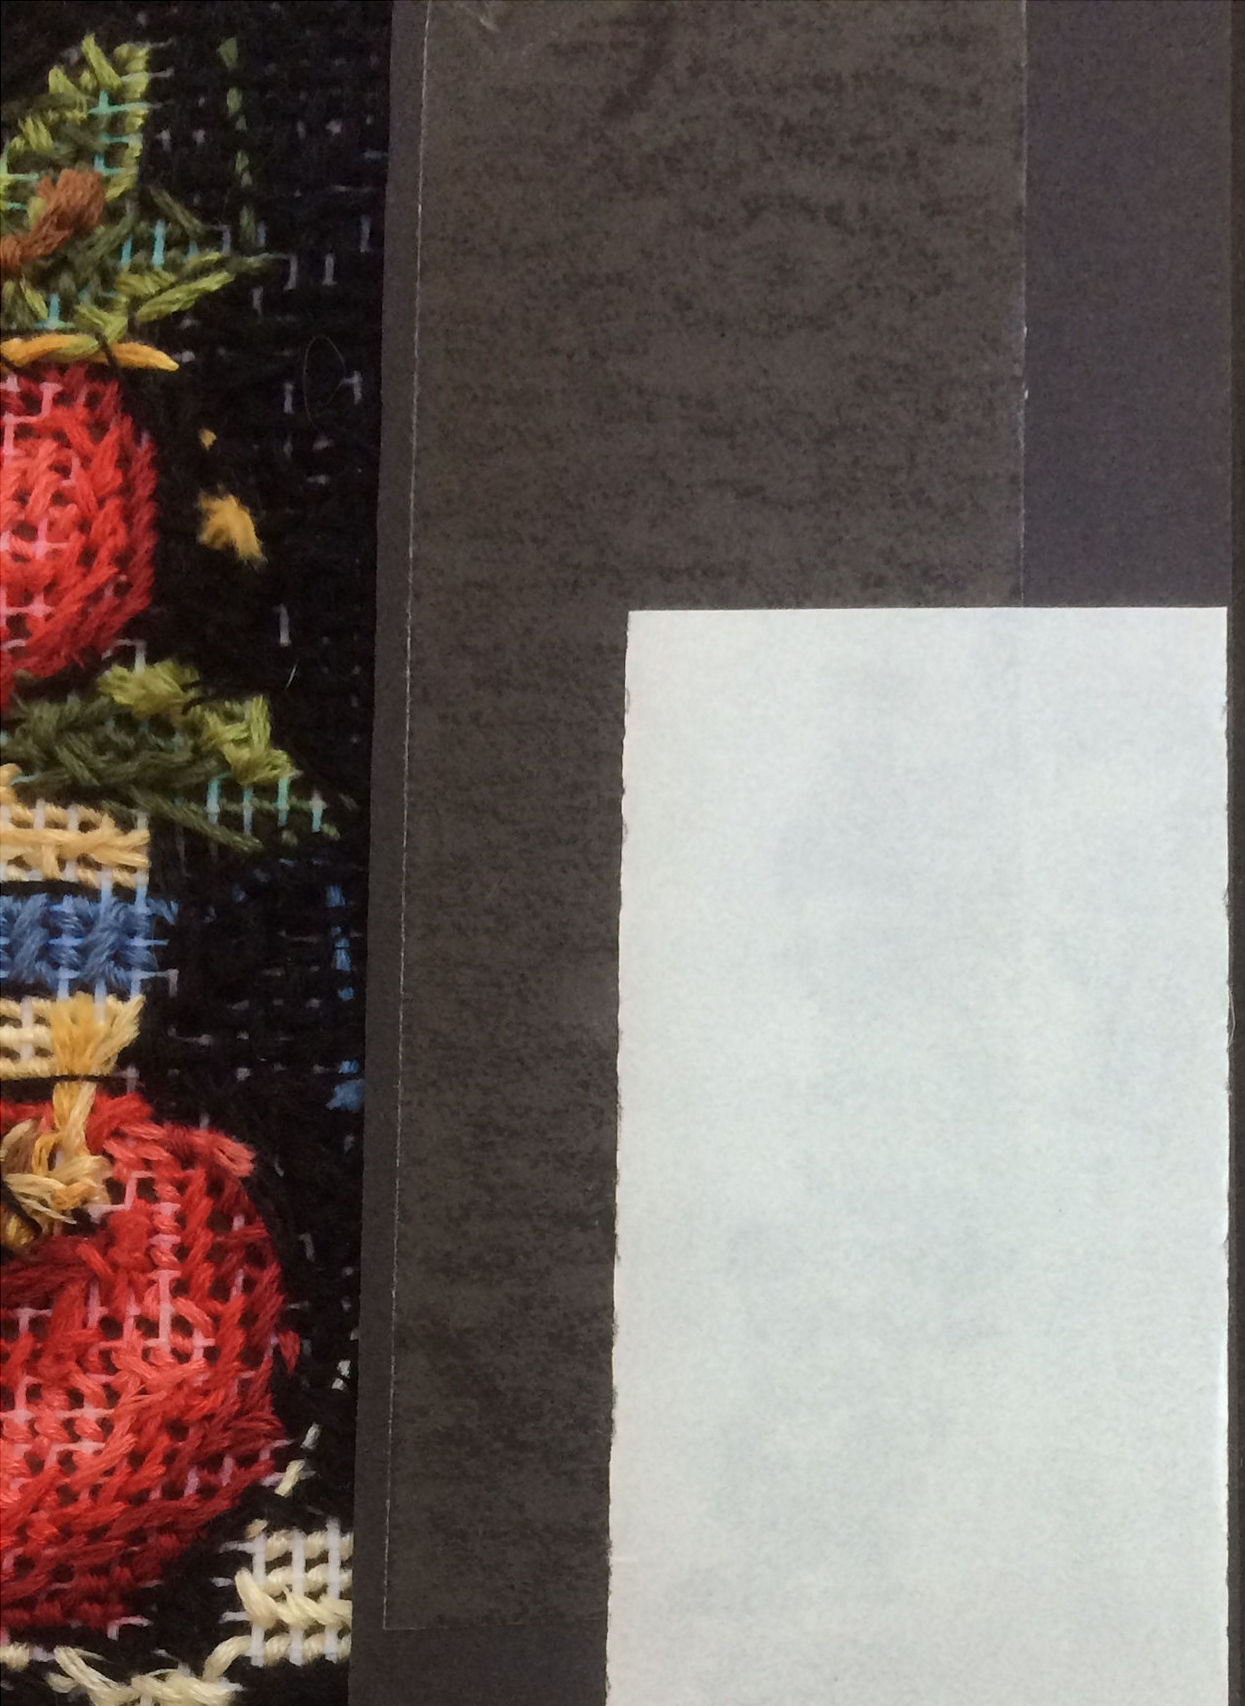
 This photo is taken after I removed the protecting coated paper from the four strips of sticky tape and adhered the worked piece. I used tip of a finger nail to remove the protective paper from the sticky tape but sometimes I have had to use the thinness of a craft blade to slide in between the coated paper and the sticky tape. Work carefully because if you lift the other side of the tape it might (probably will) tear up the back surface of the top mat. If you click and enlarge this photo you can see that the worked piece’s outer edge is trimmed so that there is a border of the top mat’s backside that does not have sticky tape and no fabric over it. |
 Aligning the worked piece within the cut-out area of the top mat: I wanted the edges of the cut-out area to align with the fabric holes of the rows and columns of the worked piece. So far I have not had problems adjusting (lifting up) unworked mono canvas or unworked Hardanger fabric off sticky tape, but if the worked area of your piece gets adhered, lifting will leave fuzz from the stitching threads behind on the sticky tape. When adjusting I did move the worked piece around several times, lifting it up off the back side of the top mat but in my measurements for purchase of these mats I had measured for the cut-out area to be snug against the stitching threads except along the bottom white/black stitching where I wanted the top mat to cut off a few of the bottom rows. |
 At the end of the above work, the worked piece is aligned within the cut-out area of the top mat and pressed down to adhere it to the sticky tape. If I was placing all of this into a frame, I would place these two layers (top mat and worked piece) into the frame, next place in the second mat (black mat with cut-out area), followed by the blank black backing mat and finish by closing up the back of the frame. If, because of the depth of the frame, you need more thickness for the combo of mats and worked piece I have used the plain cardboard (bottom layer in the above photo) that comes as part of the packing. For displaying frameless, I have a bit more work to do with the sticky tape. |
Read the next section, Aligning the mats when not using a frame, before applying sticky tape to the second mat.
 Applying sticky tape to the second mat: The front of the second mat is adhered to the top mat/worked piece layer after which the front of the bottom mat is adhered to the top mat/worked piece/second mat layer. Taping the front of the second mat: Place four strips of sticky tape along the edge of the cut-out area and remove the protective paper from the tape. Apply another set of four strips, this time placing the strips along the outer edge of the front side of the second mat. The two sets of sticky tape overlap each other. After removing the protective tape from the second set of four strips, place the top mat/worked piece layer and the second mat (sticky front is facing backside of the worked piece) into hand and fingers vise as discussed below. The sticky side of the second mat is resting on my thumbs. As I work my fingers upwards, the front of the second mat is adhered to the top mat/worked piece layer. The backside of the worked piece will show through the cut-out area of the second mat. At this stage the layers (top mat, worked piece, second mat) cannot be separated without destroying the mats. This is because the cardboard surface of the top mat’s backside and the cardboard surface of the second mat’s front side are both adhered by the sticky tape. |
| Aligning the mats when not using a frame:
This has taken me a bit of practice and I would suggest you do several practice runs before applying sticky tape. Working on a flat, clean surface (no bits of paper, fuzz, etc.) with clean hands (no grease, no hand lotion, etc..) place the the top layer and the second mat into your hands . Use your fingers to vise (from mat bottoms upward) the mats together so that they are aligned along the outer edges. Do the practice runs several times until you can hold the mats in place to be squarely aligned as you work your fingers up to the top edge of the layers. When you do this for real (sticky tape ready to adhere) you can not move adjoining mats once the cardboard surfaces touch the sticky side of the tape. Aligning the backing mat when not using a frame: 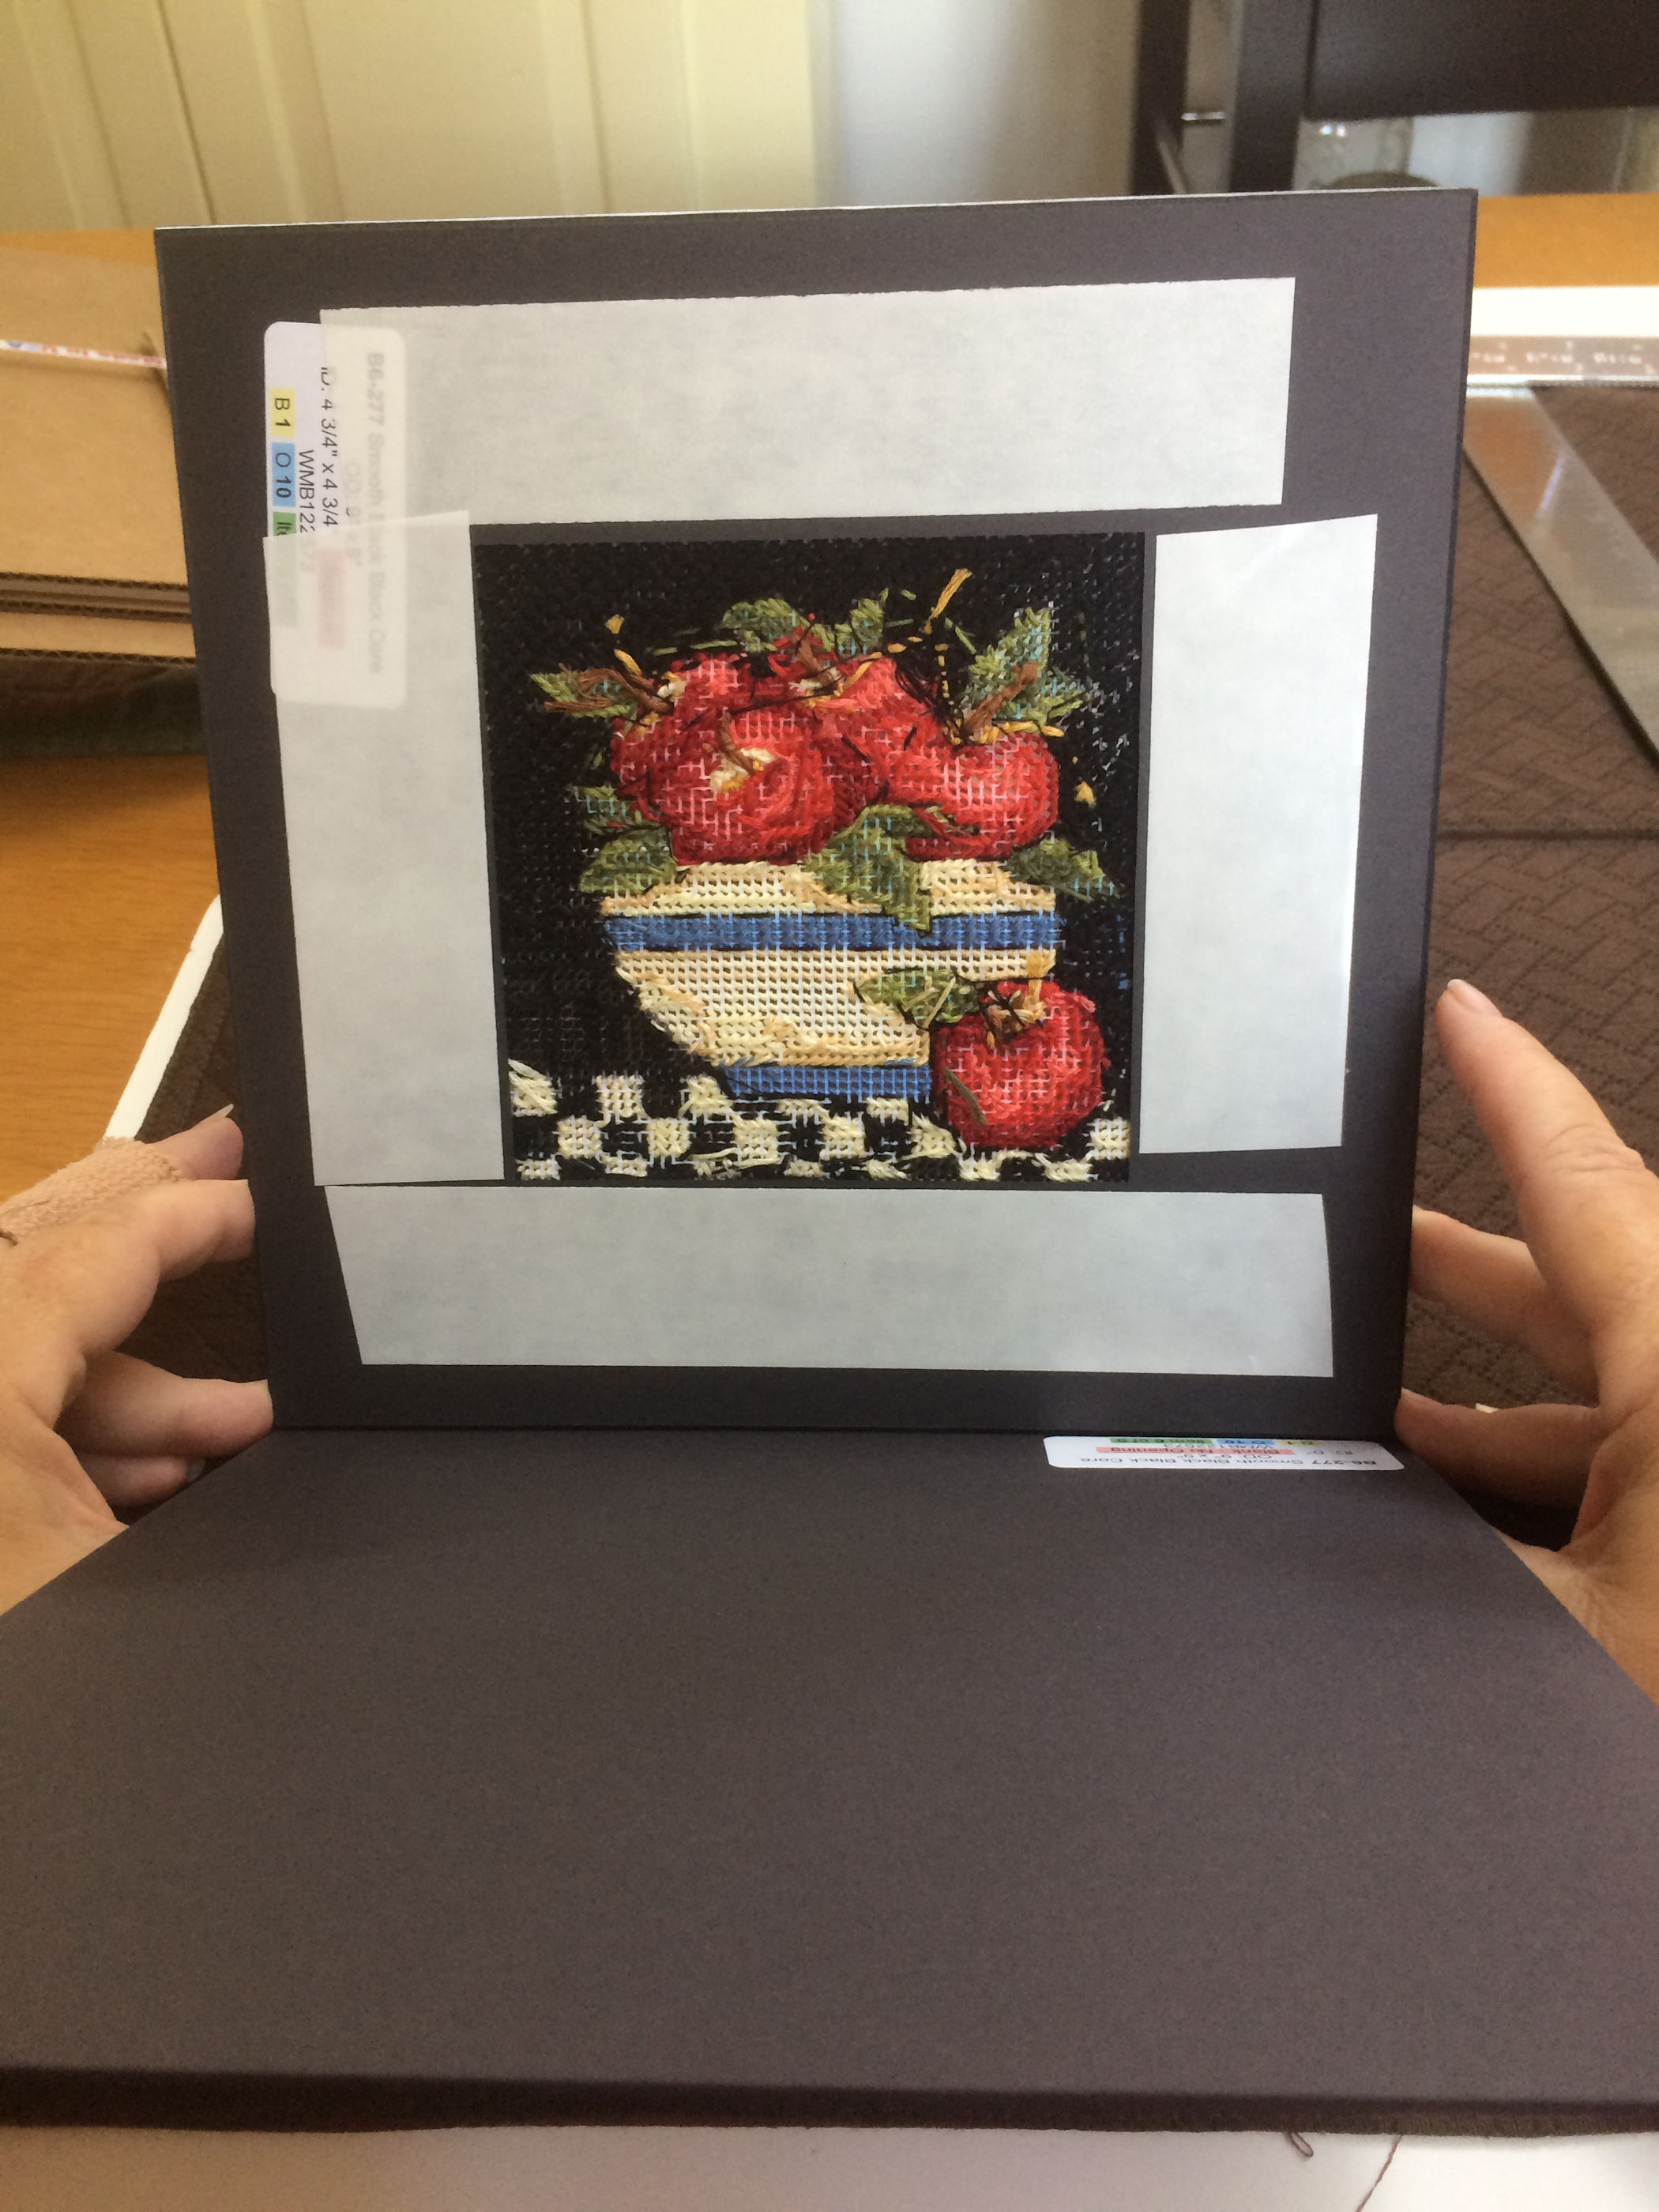 This photo shows the back side of the second mat (after second mat has been aligned and adhered to top mat/worked piece layer). First set of sticky tape has been applied and before I remove the protective paper I am practicing working the blank (bottom) mat up against the other layers. Hand/finger placement: With the layers held as shown (note bottom mat is resting on my thumbs), use (on each side of the mats) your little finger and the next finger to push against the bottom corner and align the mats then I use my thumbs and top two fingers (per hand) to vise the mats together.
Once I am comfortable with practicing aligning the layers, I removed the protective cover on the tape, applied second set of tape, removed the protective cover and use my fingers to work, vise the layers (mats and worked piece) together.
|